94
7
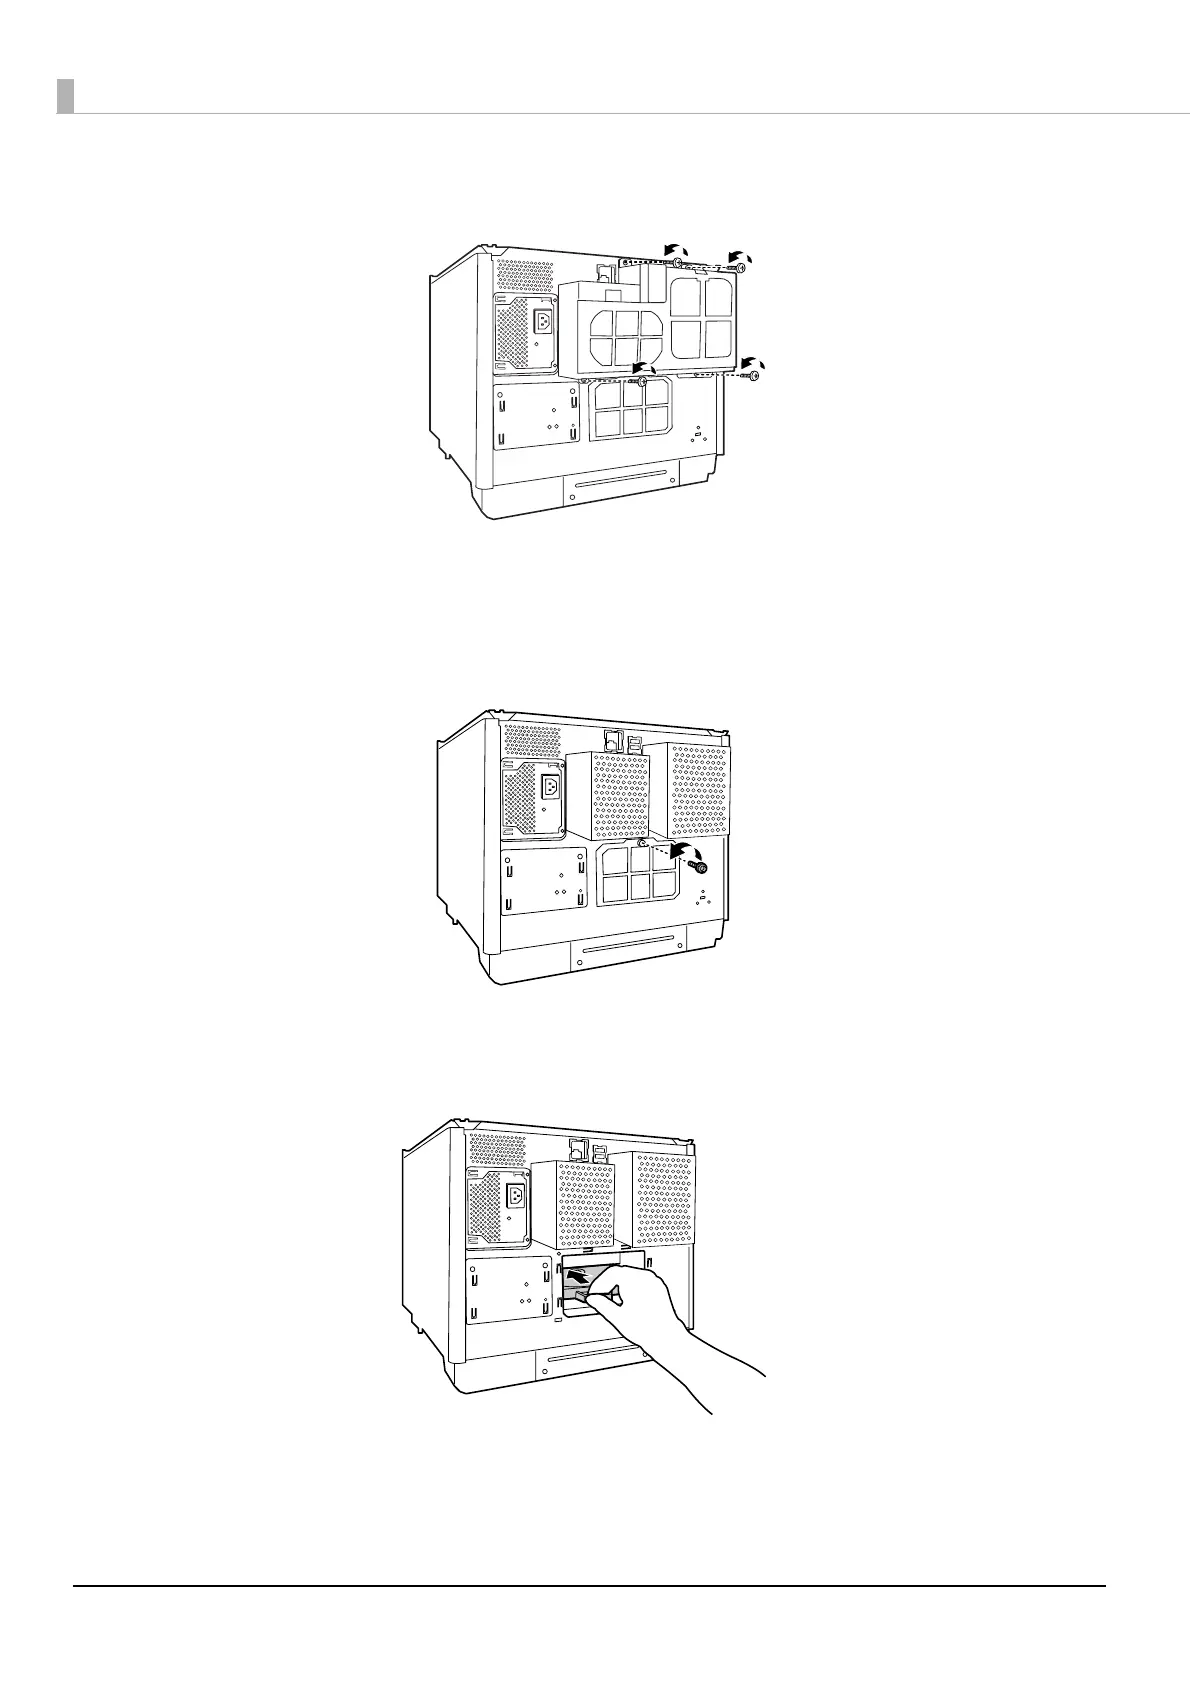
Remove the four screws on the product rear, and then remove the air vent cover.
8
Remove the screw, and then remove the rear printer cover.
If the disc can be removed, eject the disc and attach the rear printer cover. If the disc cannot be removed,
proceed to the procedure below.
9
Grasp the fixture as shown in the figure below, and pull out the printer tray towards you.
 Loading...