4.
Pick up the handset.
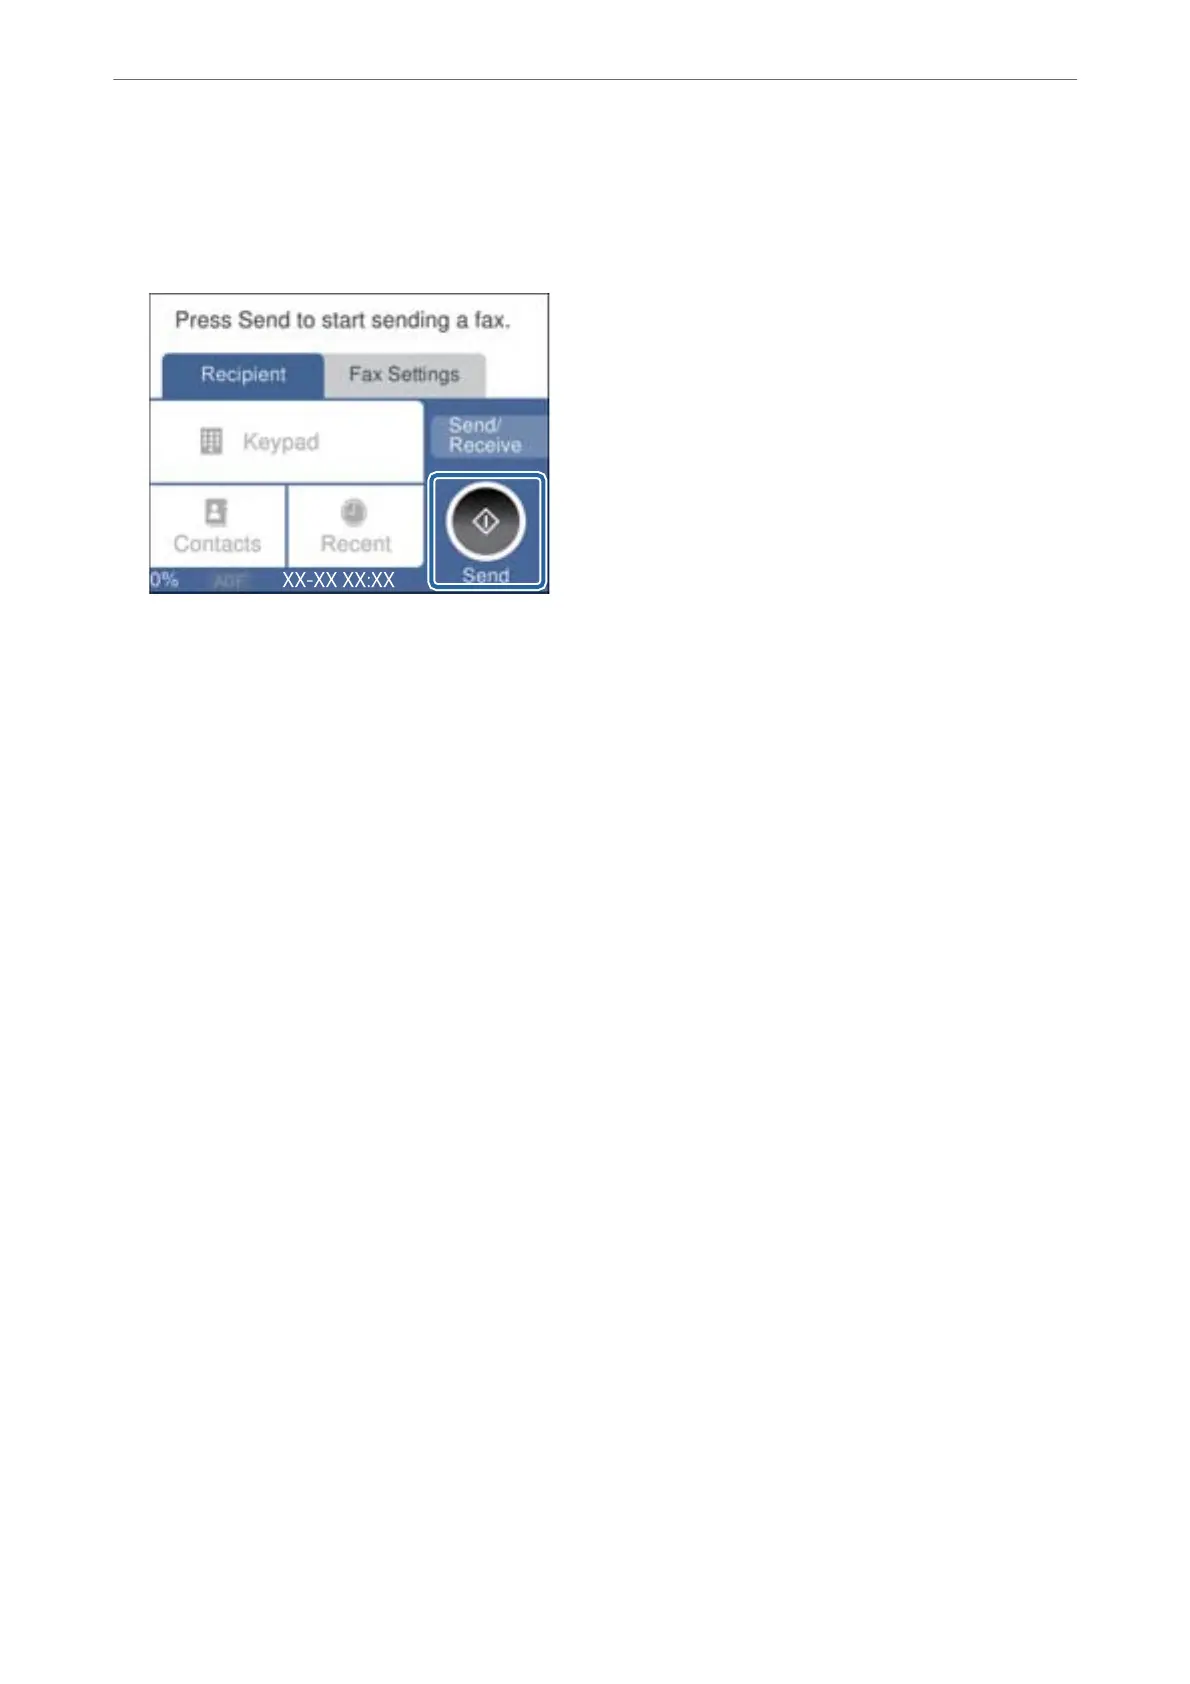
If a message to start sending or receiving faxes is displayed as shown on the following screen, the connection
has been established.
Related Information
& “Making the Printer Ready to Send and Receive Faxes (Using Fax Setting Wizard)” on page 323
& “Making Settings to Use an Answering Machine” on page 325
& “Making Settings to Receive Faxes Operating Only a Connected Phone” on page 326
& “Receive Mode:” on page 296
Making the Printer Ready to Send and Receive Faxes (Using Fax Setting
Wizard)
Fax Setting Wizard congures the basic fax features to make the printer ready to send and receive faxes.
e
Wizard is displayed automatically when the printer is turned on for the
rst
time. You can also display the
wizard manually from the printer's control panel. You need to run the wizard again in case the wizard is skipped
when the printer is rst turned on or when the connection environment has changed.
❏
e
items below are what you can set through the wizard.
❏ Header (Your Phone Number and Fax Header)
❏ Receive Mode (Auto or Manual)
❏ Distinctive Ring Detection (DRD) Setting
❏ e items below are set automatically according to the connection environment.
❏ Dial Mode (such as Ton e or Pulse)
❏ Other items in Basic Settings remain as they are.
Follow the steps below to start the Fax Setting Wizard to make Basic Settings.
1.
Select Settings on the home screen on the printer's control panel, and then select General Settings > Fax
Settings > Fax Setting Wizard.
2.
Following the on-screen instructions, enter the sender name such as your company name, your fax number.
Note:
Your sender name and your fax number appear as the header for outgoing faxes.
Administrator Information
>
Settings to Use the Printer
>
Making Fax Features Available
323
 Loading...