EPSON LX-300+II/300+II RTP/1170II Revision D
Disassembly and Assembly Disassembly and Assembly 81
4.2.7.8 PG Sensor Removal
1. Remove the printer mechanism. (See 4.2.3 “Printer Mechanism Removal”.)
2. Release 2 hooks of the PG sensor securing it to the left frame with tweezers and
remove the sensor.
3. Disconnect the harness from the sensor (white).
Figure4-21. PG Sensor Removal
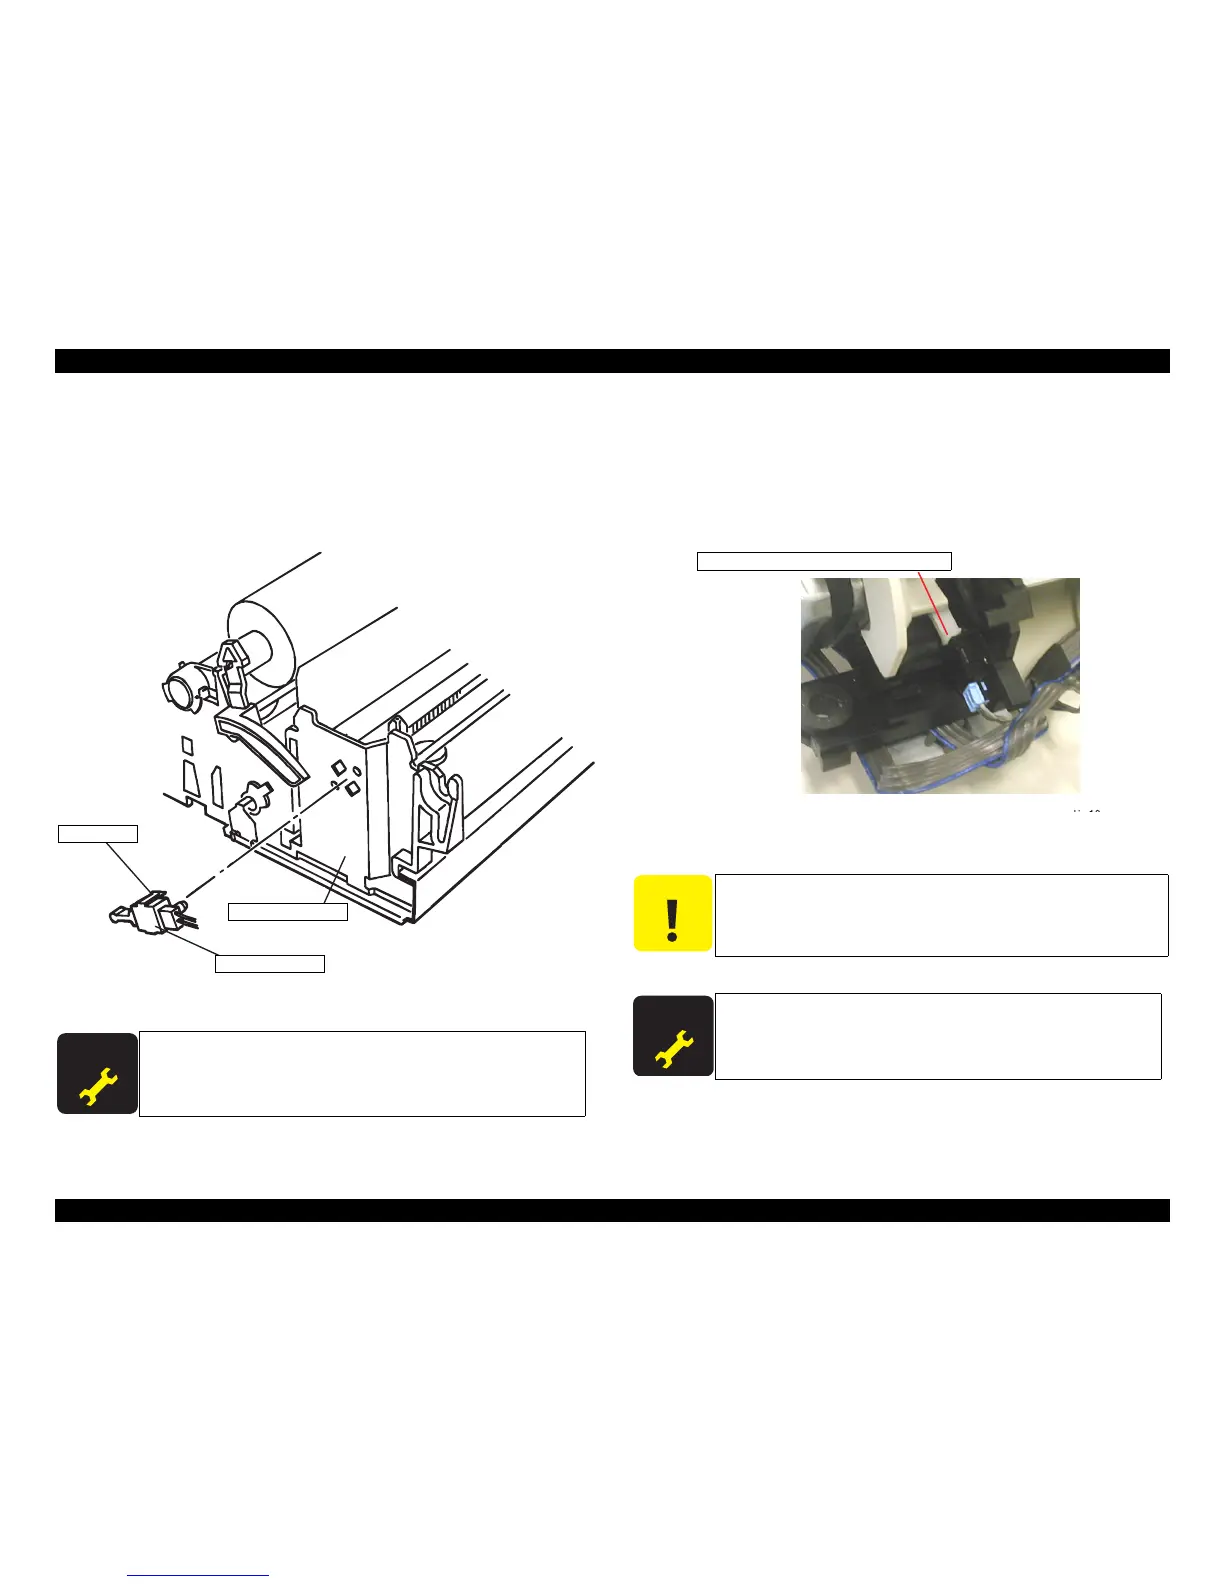
4.2.7.9 Release Lever Position Sensor Removal
1. Remove the printer mechanism. (See 4.2.3 “Printer Mechanism Removal”.)
2. Release 2 hooks of the release lever position sensor securing it to the right frame with
tweezers and remove the sensor.
3. Disconnect the harness from the sensor (blue).
Figure4-22. Release Lever Position Sensor Removal
When the PG sensor is removed or replaced, perform the platen gap
adjustment and Bi-D adjustment.
When installing the release lever position sensor, be sure to insert it
between the release lever and the right frame.
When the release lever position sensor is removed or replaced,
perform the platen gap adjustment and Bi-D adjustment.

 Loading...


