Installation 2. Installation
RC700 Series Rev.3 25
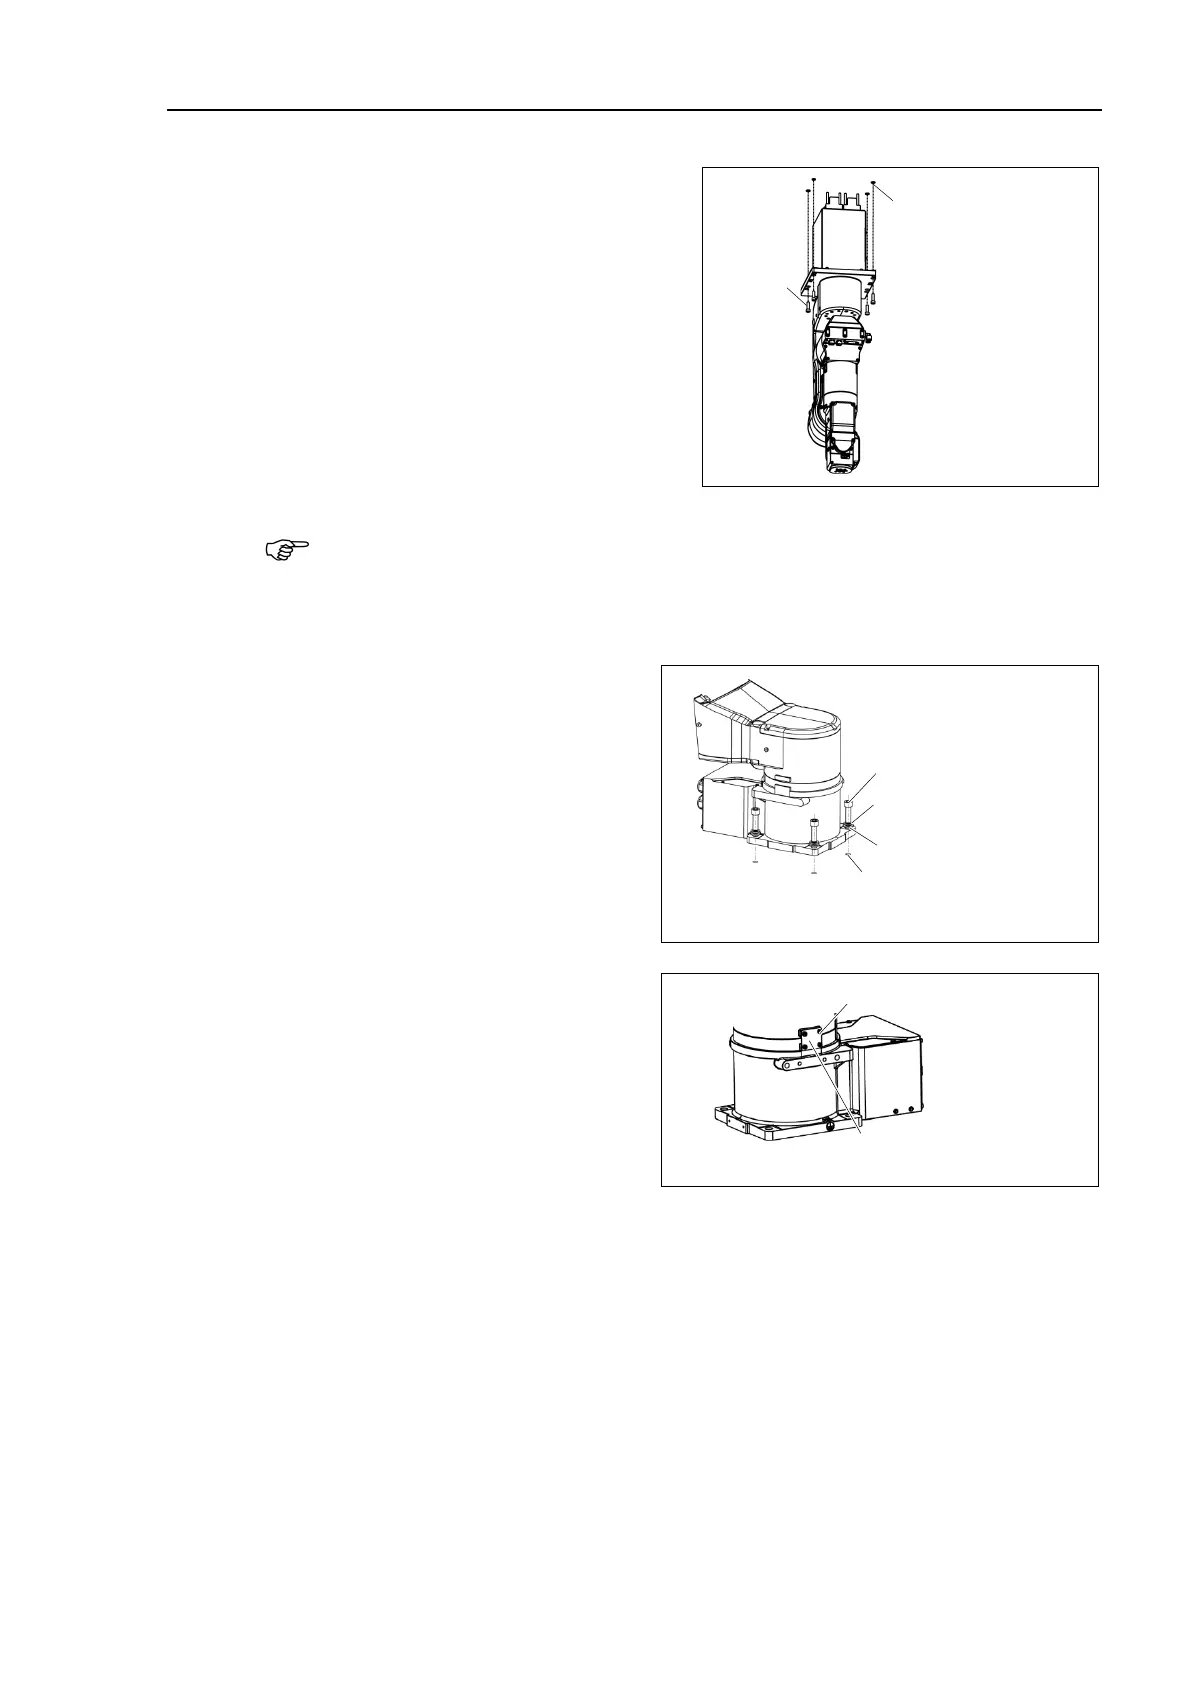
N2
There are four
Manipulator base.
Use M6 mounting bolts conforming to
the strength of ISO898-1 property class
10.9 or 12.9.
Tightening torque: 13 N·m (133 kgf·cm)
Screw Hole
(depth 12 mm or more)
The Joint #1 is not equipped with the brake. When installing the Manipulator, be careful
not to rotate the Joint #1.
The cable may break when exceeding Max. motion range. Be careful to operate.
N6
There are four threaded holes for the
Manipulator base.
Use M12 mounting bolts
conforming to the strength of
ISO898-1 property class 10.9 or
12.9.
Tightening torque:
100 N·m (1020 kgf·cm)
Screw Hole
(depth 25 mm or more)
After installing the robot, make sure
to remove the fixing jig that fix the
base and the Arm #1.
Hexagon socket head screws:
4-M4×8
Fixing jig for transportation
 Loading...


