Installation 3. Power-ON
56 RC700 Series Rev.3
3. Power-ON
3.1 Power-ON Precautions
Manipulator check :
Before operating the Manipulator, make sure that all parts of the
Manipulator are in place and have no external defects. Missing or
defective parts may cause improper operation of the Manipulator
Improper operation of the Manipulator
is extremely hazardous and
may result in
serious bodily injury and/or severe equipment damage
to the robot system.
Shipping bolts and
jigs check before
turning ON
:
Before turning ON the power after installation, be sure to remove the
shipping bolts and jigs from the Manipulator.
Turning ON the
power while the shipping bolts and jigs are attached may result in
equipment damage to the Manipulator.
Power activation :
Anchor the Manipulator before turning ON the power to or operating
the Manipulator. Turning ON the power to or operating the
Manipulator that is not anchored is extremely hazardous and may
result in serious bodily injury and/or severe equipment damage to the
robot system as the Manipulator may fall down
Initial operation :
Be sure to check at low speed when operating the Manipulator for
the first time or executing the operation program for the first time.
When it is suddenly operated at high speed, it may not be able to
respond to unexpected movements and may cause extremely
dangerous, serious injury or serio
us damage such as collision with
the Manipulator.
When supplying
the power again
:
When supplying the power to the Controller again, turn OFF the
Controller and wait for 5 seconds or more. Then, turn ON the
Controller again.
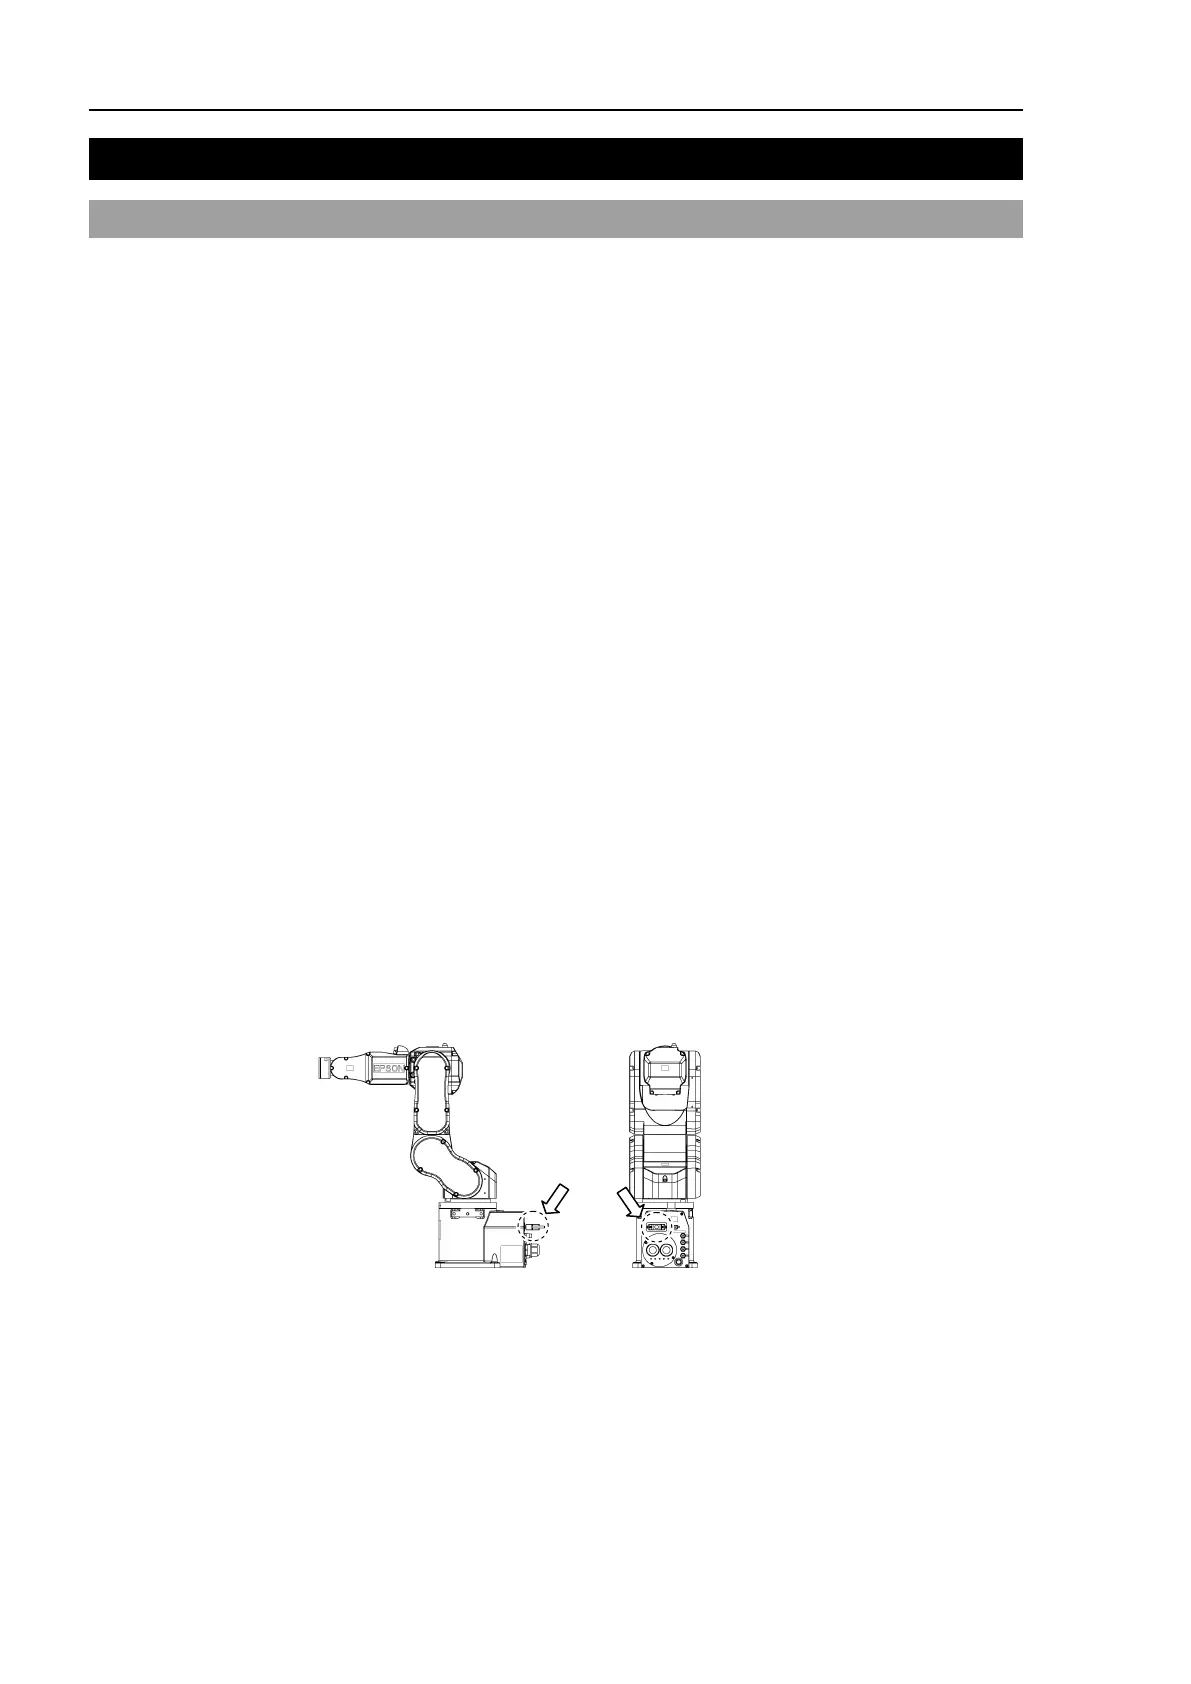
Manipulators shown below have the following parts for releasing brakes.
1. Brake release unit (option)
2. External short connector
When operating the Manipulator, be sure to connect either of the parts to the position
indicated below.
C4, C8, C12
(Figure: The external short connector is connected C4)
 Loading...


