1.
Select Settings on the printer's control panel, then select General Settings > Fax Settings.
2.
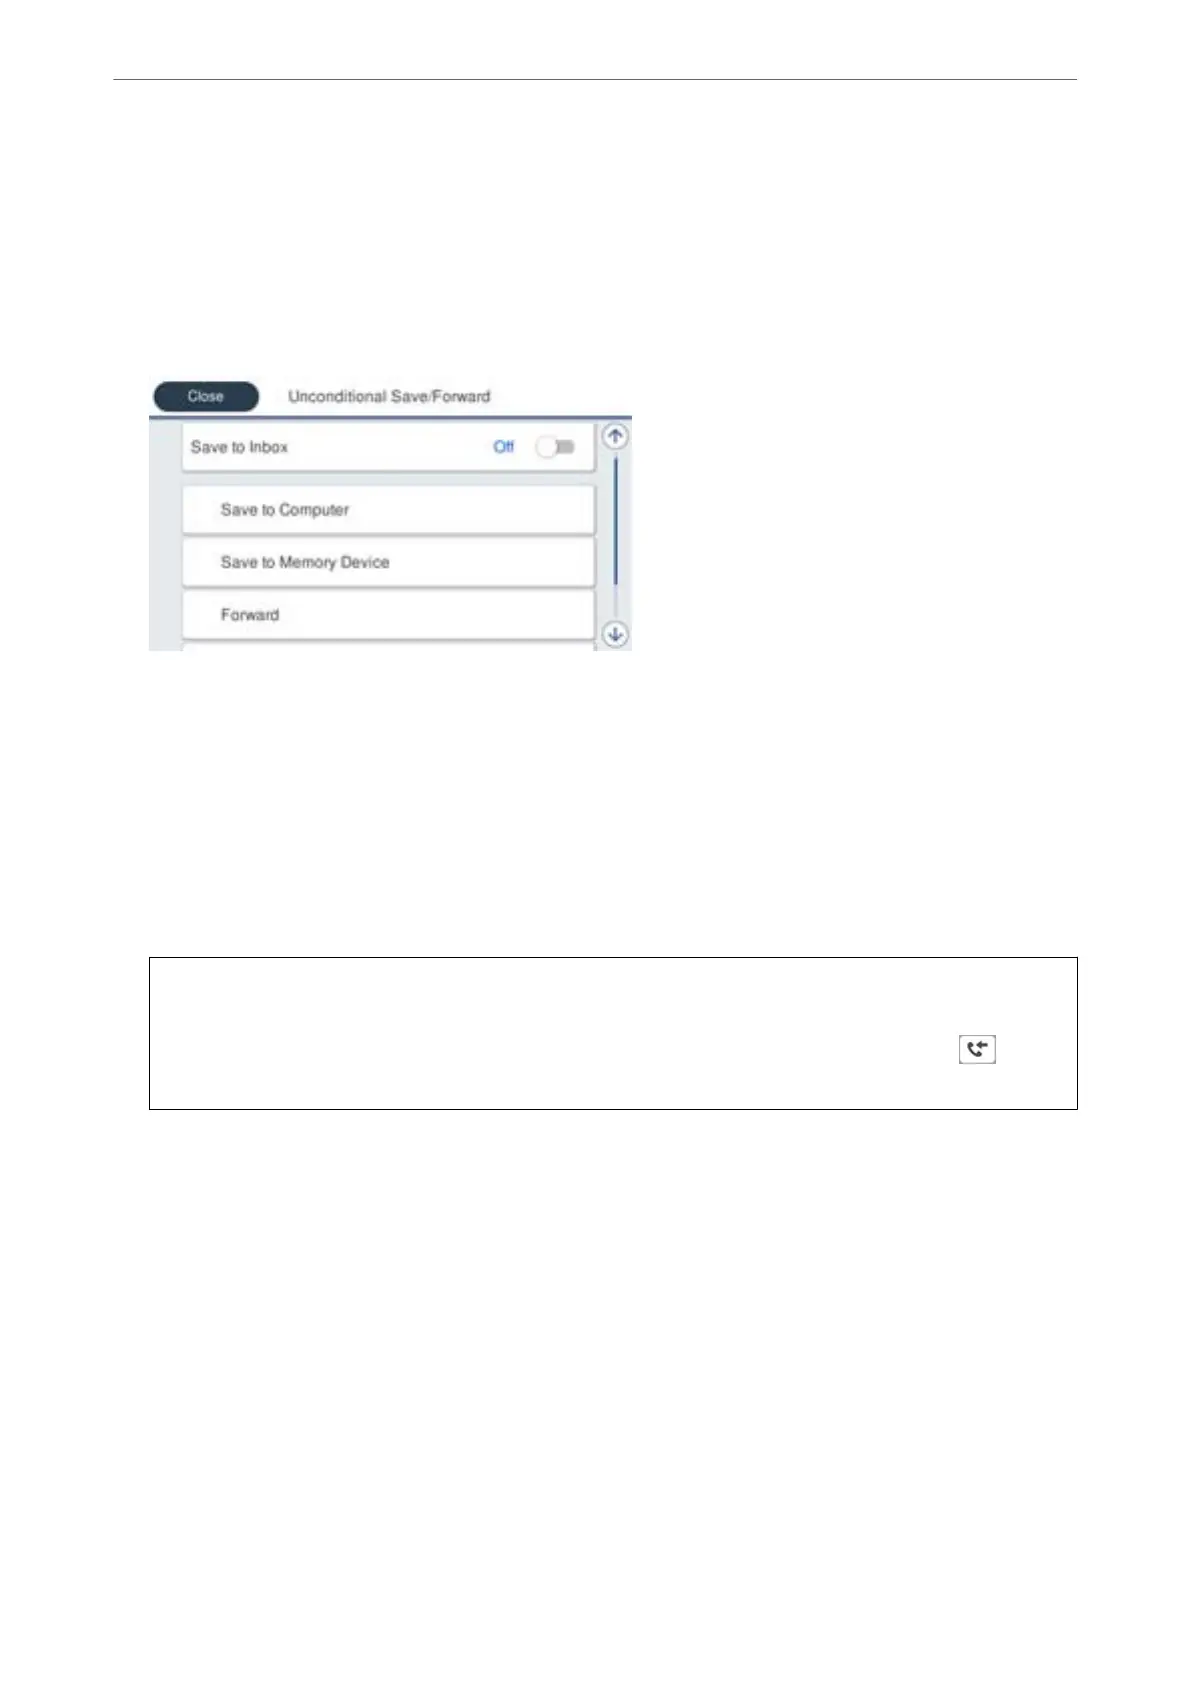
Select Receive Settings > Save/Forward Settings > Unconditional Save/Forward.
When a message is displayed, check the content, and then tap OK.
3.
Make settings for up to ve forwarding destinations.
A
Select Forward.
B
Select Ye s . To print the documents automatically while forwarding them, select Yes and Print instead.
C
Destination > Add Entry, and then select forwarding destinations from the contacts list. You can specify up
to
ve
forwarding destinations.
D
Tap Close to nish selecting forwarding destinations, and then tap Close.
E
In Options When Forwarding Failed, select whether to print received documents or save them in the
printer's Inbox when forwarding fails.
F
Tap OK.
c
Important:
When the Inbox is full, receiving faxes is disabled. You should delete the documents from the inbox once they
have been checked. e number of documents that have failed to be forwarded is displayed on the
on the
home screen, in addition to other unprocessed jobs.
Note:
You can set the printer to send emails to people you want to notify about the results of forwarding faxes when the
forwarding process is complete. As necessary, select Email
Notications
, set the processes, and then select the
destination to which you want to send notications from the contacts list.
4.
Select Close to complete the Unconditional Save/Forward Settings.
Note:
❏
is
completes making unconditional forwarding settings to receive faxes. You can set Common Settings as necessary.
For details, see the explanation for Common Settings in the Save/Forward Settings menu.
❏ If you have selected a shared folder on a network or an email address as the forwarding destination, we recommend that
you test if you can send a scanned image to the destination in the scan mode. Select Scan > Email, or Scan > Network
Folder/FTP from the home screen, select the destination, and then start scanning.
Related Information
& “Save/Forward Settings” on page 365
Administrator Information
>
Settings to Use the Printer
>
Making Fax Features Available (Fax-Capable Printe
…
466
 Loading...