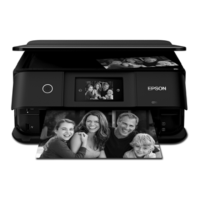
Guide to the Select Photo Screen (Single View)
Select Single View on the select photo screen to display this screen. Here you can view enlarged photos one by one.
A
Returns to the previous screen.
B
Displays the Select Photo Menu that allows you to select photos easily.
C
Displays Exif information such as the shooting date or shutter speed.
D
Enlarges a photo. Tap + to enlarge the photo and slide to display the part you want to check. Tap - to return to the
original view. You can also pinch out to enlarge the image and pinch in to reduce it. Enlargement on this screen
does not change the print result.
E
You can crop the photo or apply color correction.
F
Displays the home screen.
G
Scrolls the screen to the right or left to display another photo.
H
Sets the number of prints. Select - or +, or select the value to enter the number of prints using the on-screen keypad.
I
Select to switch between Correction On and Correction O.
When Correction On is selected, the color correction adjusted on the Image Settings screen becomes visible on
the screen. When Correction O is selected, the color correction remains invisible, but the correction is applied on
the printout.
J
Tapping an empty part of the screen hides the icons. Tap the screen again to restore the icons.
Printing
>
Printing Photos
>
Printing Photos from a Memory Device
61
 Loading...