8-1-5 Replacement of LD-R assy and LD-L assy
1) Load the calibration value to the PC, change it to the data of the parts for repairs and
save it (refer to 7-2-1).
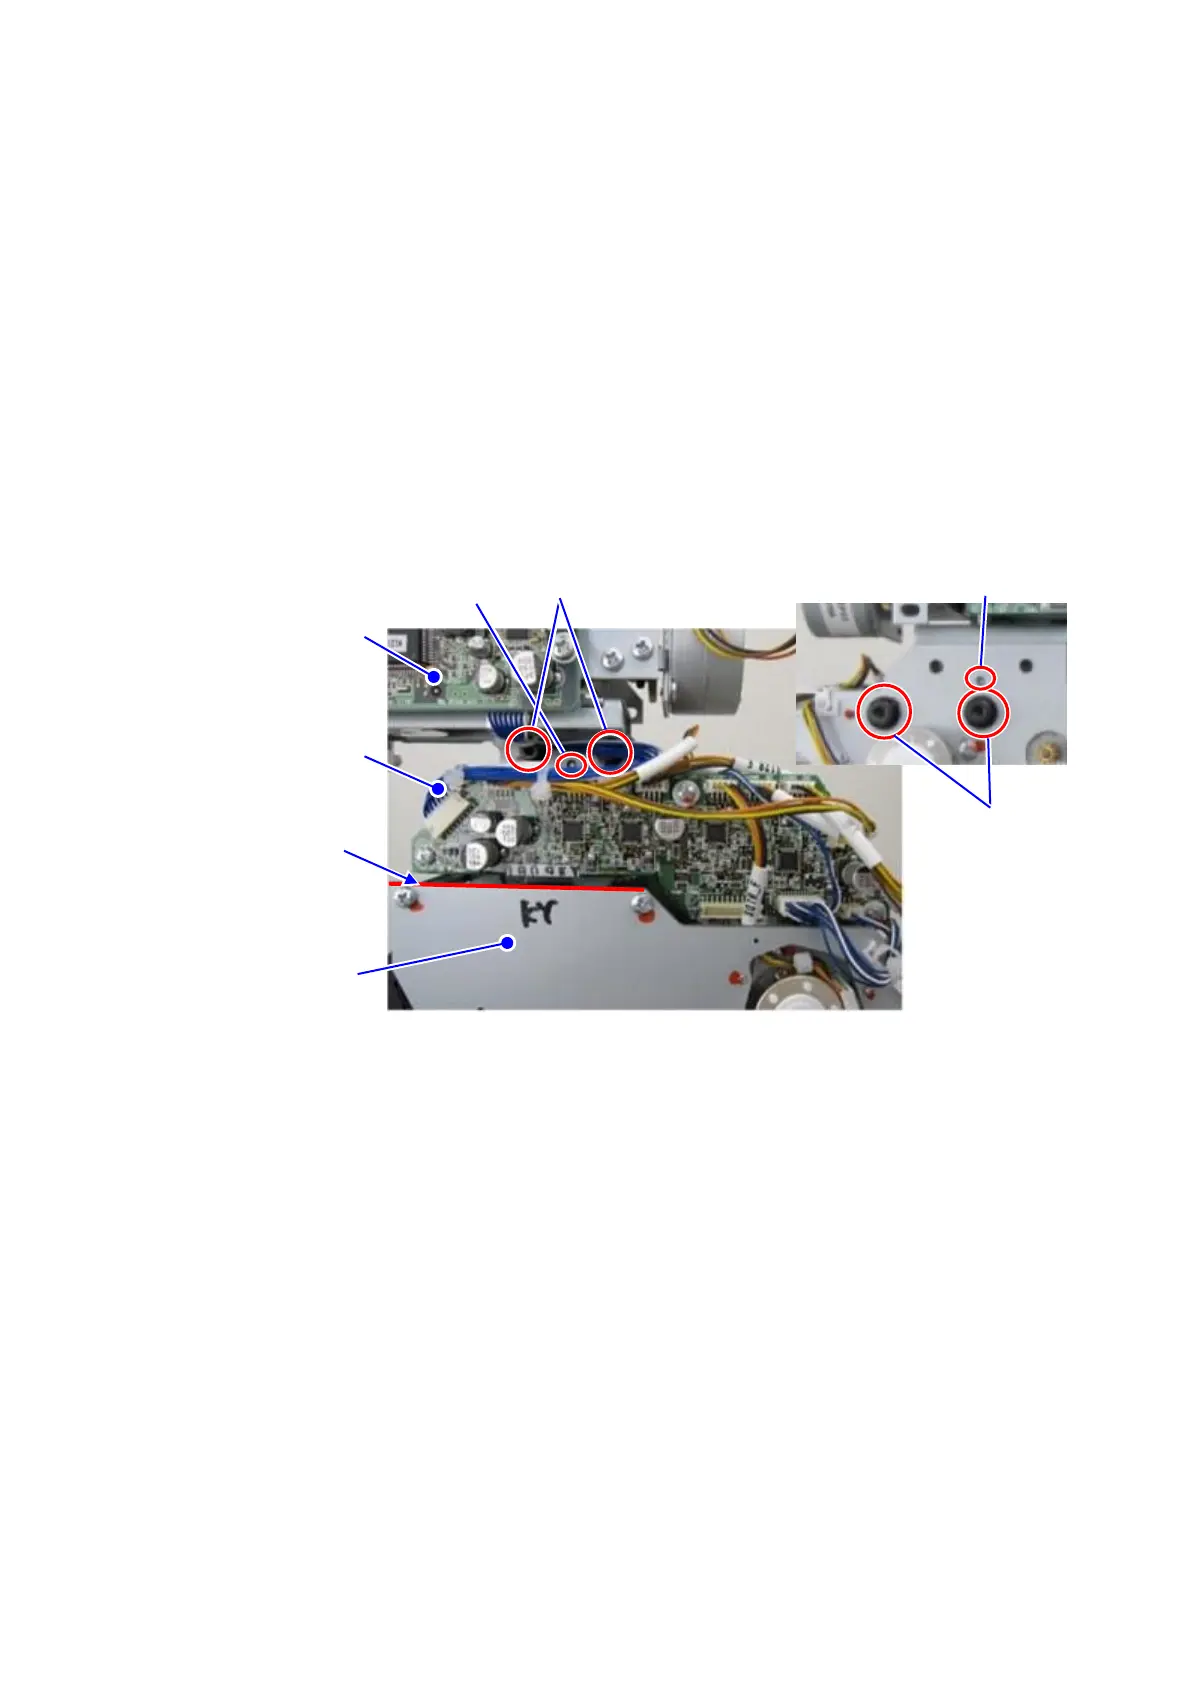
2) Remove the LD case assy, and the PD case F and B (refer to 8-1-1).
3) Replace the LD-R assy after removing the motor drive unit harness and the screws for
fixing the LD-R assy (total 4 for back and front sides).
In case of placing the LD-R assy, confirm that the head is horizontal by the level, and
adjust and fix it as its standard face to be horizontal. Also fix it as the boss for positioning
the LD-R assy and the hole for positioning the PD assy fit.
4) Input the data changed on 1) (refer to 7-2-1).
5) Follow the procedures 3) and 4) above when replacing the LD-L assy.
6) Procedure of the replacement is finished.
Reassemble it with the opposite procedures of disassembling.
Screws for fixing LD-R
assy (back side)
Screws for fixing LD-R
assy (front side)