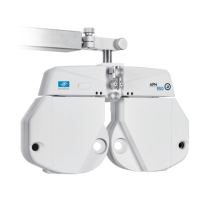
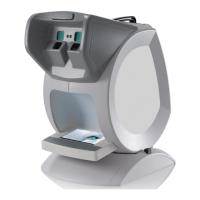
8-2 Controller
8-2-1 Replacement of LCD case 1 assy, LCD panel assy, control board
assy and legs for controller
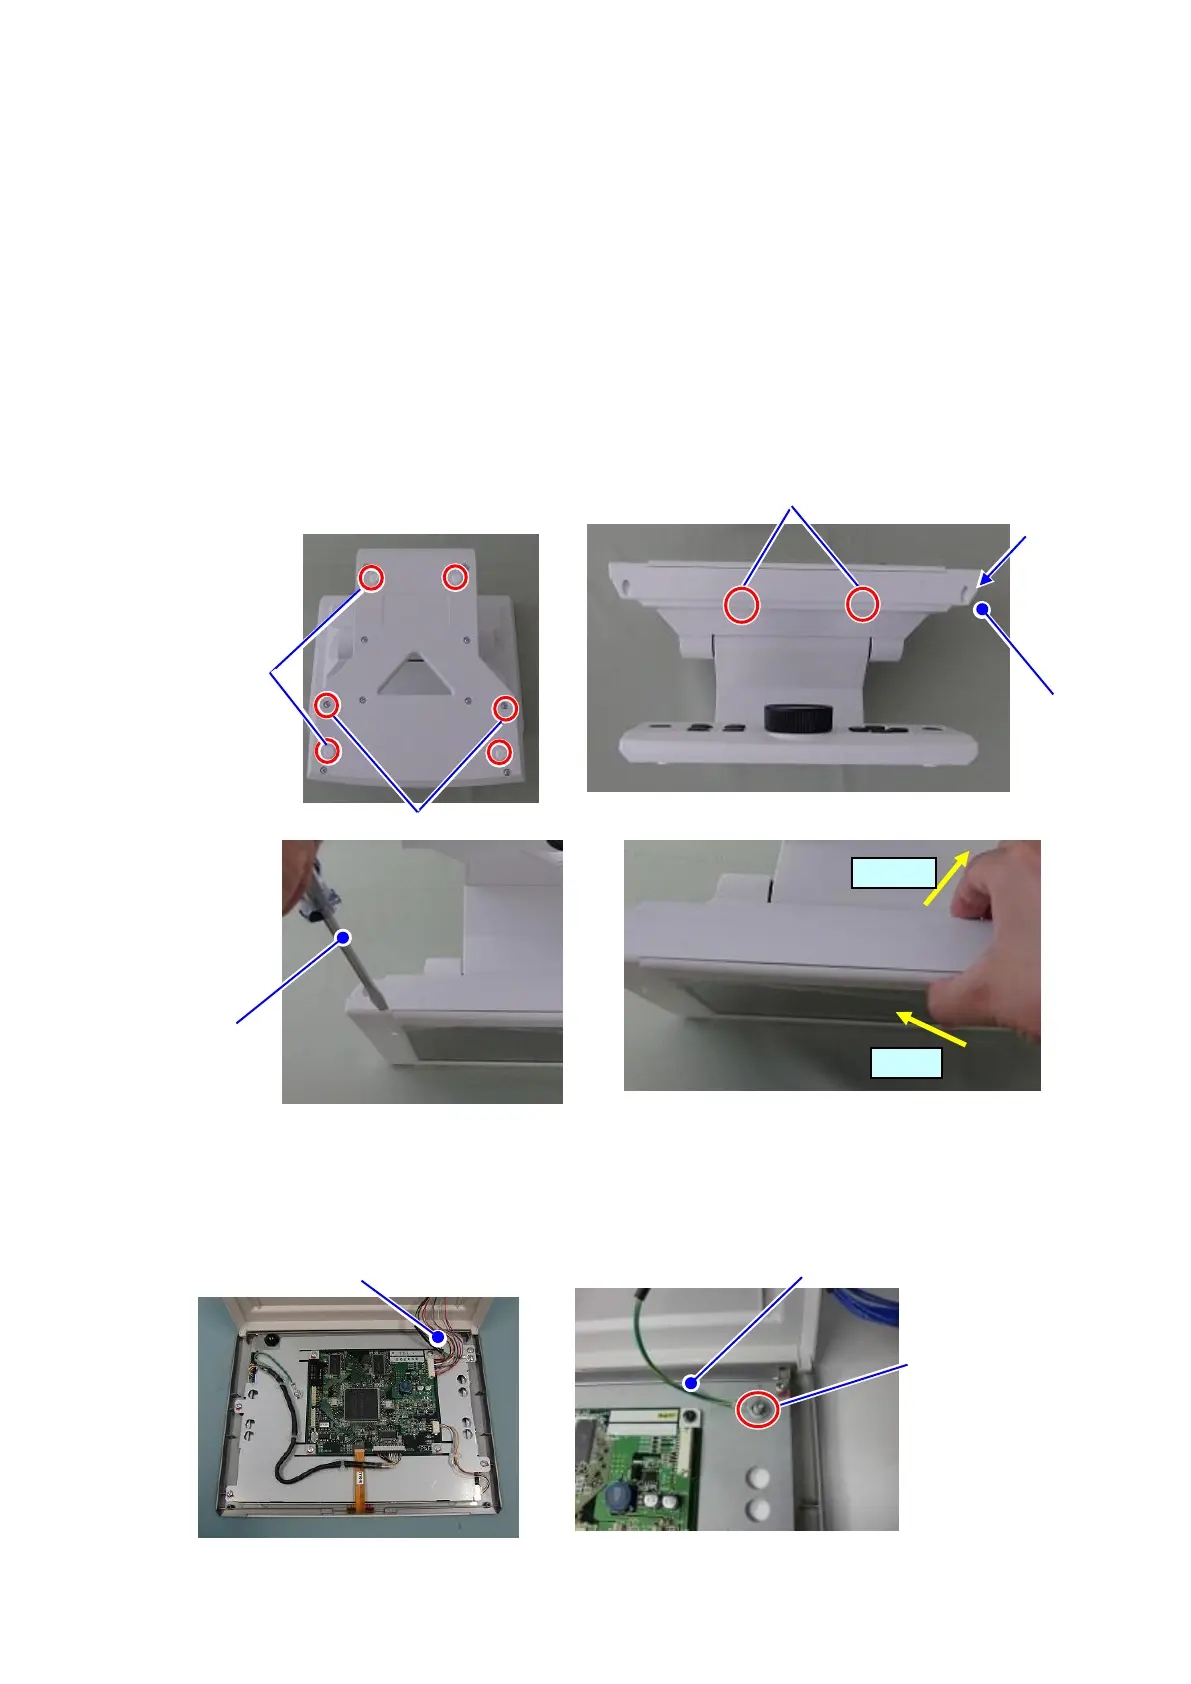
1) Unscrew 2 screws for fixing the LCD assy with the LCD panel facing down.
2) Replace the leg for the controller by peeling it off with the LCD panel facing down.
3) The LCD assy and the LCD case 2 are fixed with 2 internal tabs.
Place it with the LCD panel facing front. Make a clearance between the LCD assy and
the LCD case 2 and insert the flat-blade screwdriver in it.
4) Displace the LCD assy to the back and the LCD case 2 to the front with one hand, and
turn the flat-blade screwdriver and unfix the tabs with the other hand.
5) After unfixing the tabs, place it with the LCD panel facing down and separate the case.
At this time, unplug the harness by opening it slightly (if opening it widely, it may
damage the harness).
6) Open the case and unscrew the screw for fixing flame harness.
Screws for fixing LCD assy
Screw for fixing
flame harness