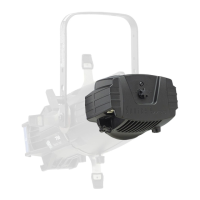
Lens Tube - 5° 21
Assembling lens tubes - 5° and 10°
Tools Required:
• #2 Phillips head screwdriver
Step 1: Place the lens tube assembly (5) on your work surface. Align the assembly so
that the colorframe grooves are to your left.
Step 2: If you are assembling a 5° tube, attach the handle (19) as shown in Figure 20,
using the screws (13), washers (12) and backing plate (2).
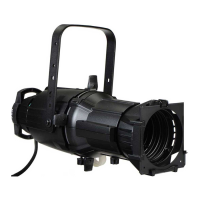
Step 3: Install the required lens as shown in Figure 19 or Figure 20 in the tube using
required bumpers (16), screws (9), nuts (11), and washers (10). The side of the
lens with the fresnel grooves should face the front of the tube. The smooth side
should face the rear.
Cleaning polymer lens - 5° and 10°
Remove dust with a blast of oil-free air. If this is not sufficient, follow the instructions below.
Step 1: Dip the lens in a clean isopropyl alcohol/water mixture (9 parts water to 1 part
isopropyl alcohol).
Step 2: Use a soft moistened nylon bristle brush to wash the lens’ smooth side in a linear
(non-circular) motion.
Step 3: Use the same brush to lightly wash the lens’ ridged side by following its ridges.
Step 4: Dip the lens in a clean isopropyl alcohol/water mixture (9 parts water to 1 part
isopropyl alcohol).
Step 5: Use air gun to dry the smooth surface. Use air gun to dry the ridged surface. Use
air stream to move the liquid away from you. Using this method, remove as much
liquid as possible. Inspect the lens for dirt. If necessary, repeat the entire
process.
WARNING:
Handle polymer lenses by their edges only. Never rub anything dry on a polymer
lens. Do not use glass and window cleaners on the lens. This will damage the lens.
 Loading...