3.1.4. Modifying the Views
Introduction
When you open the Clip view in a tab, you can display the clips in different ways, and
adapt the clip information you want to display.
The following table provides an overview on the various ways to modify the display and
the option available depending on the view type (grid or list view):
Action
Grid
View
List
View
How to Activate the Grid View or List View X X
How to Filter the Displayed Camera Angles X
How to Display or Hide Columns X
How to Change the Column Position X
How to Sort Clips X
How to Activate the Grid View or List View
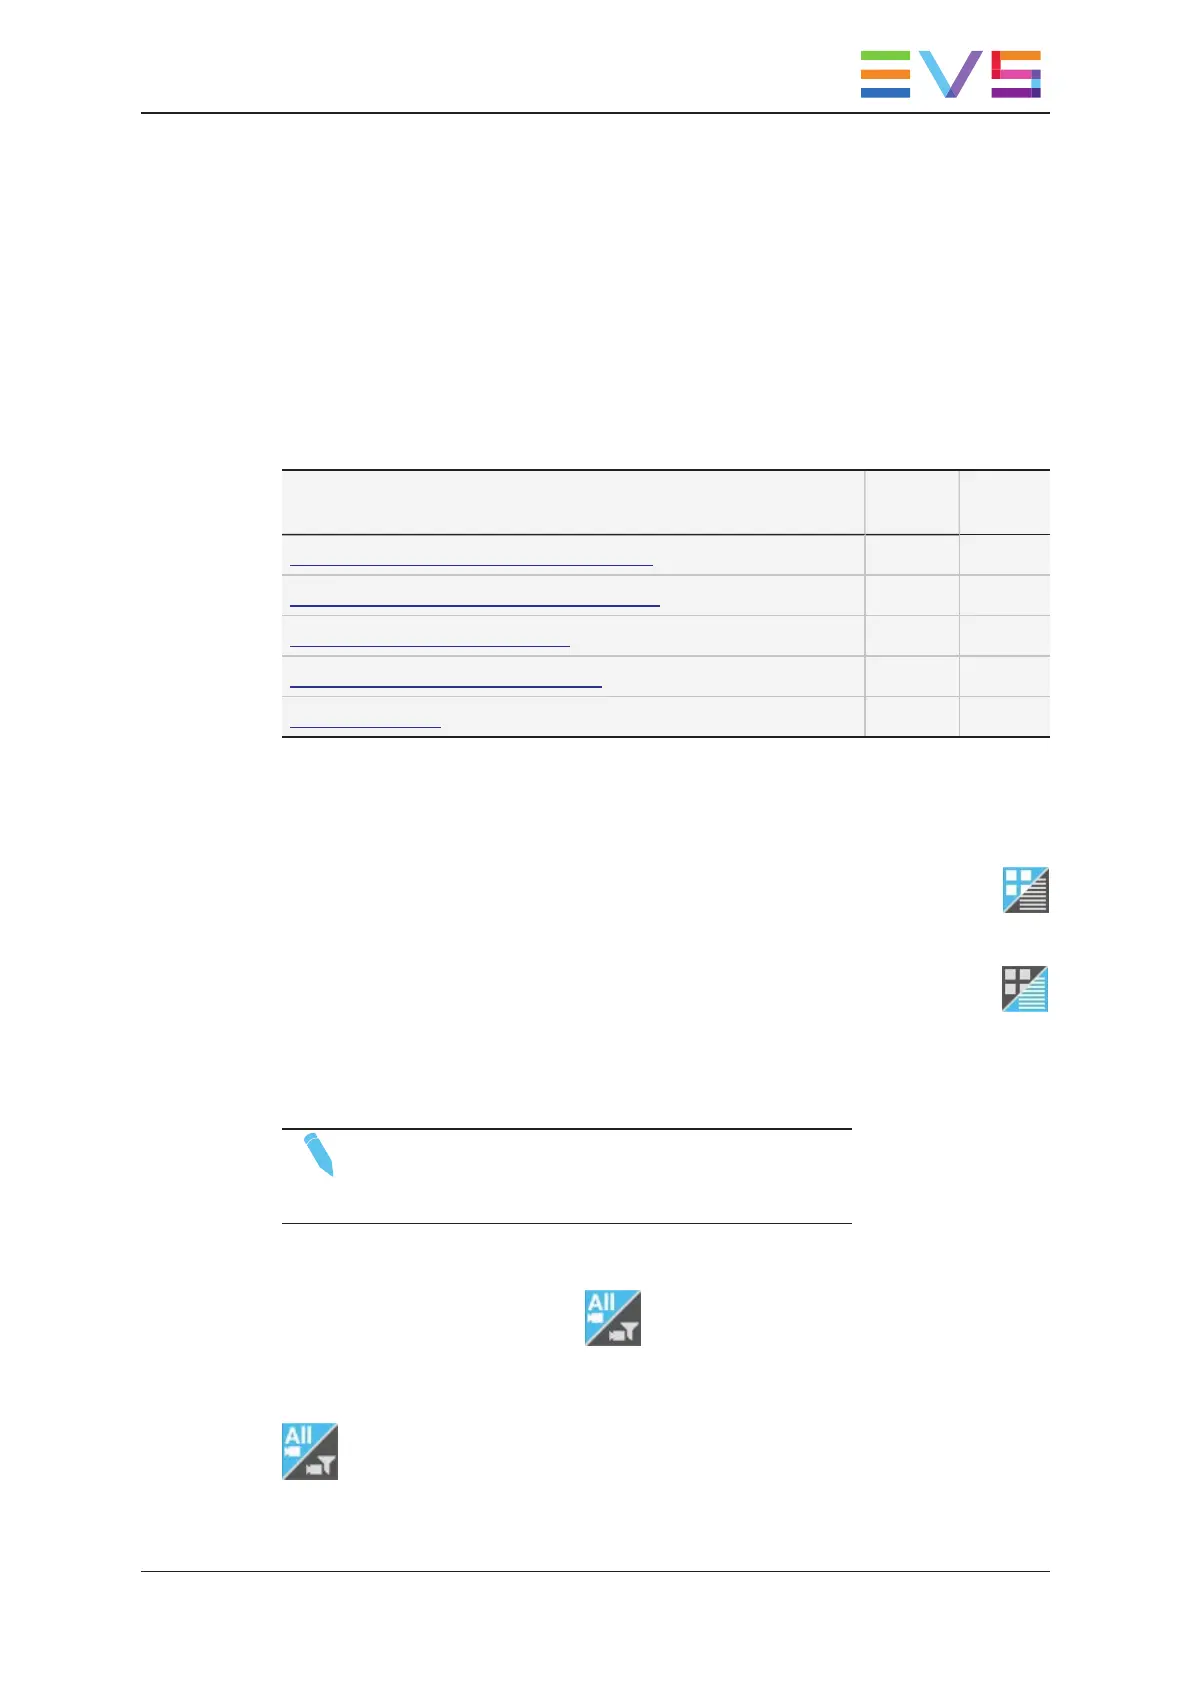
To activate grid view:
• Click the View button so that the upper corner of the button is highlighted in blue:
To activate list view:
• Click the View button so that the lower corner of the button is highlighted in blue:
How to Filter the Displayed Camera Angles
NOTE
This is only available in grid view.
By default, all camera angles are visible in the grid view.
To activate or deactivate the camera filter, do one of the following actions:
• Click the Camera Filter button in the option bar.
• Press CTRL+F on the keyboard.
All camera angles are shown when the upper corner of the button is highlighted in blue:
Only the camera angles selected in the Set Camera Filter parameter are shown when the
lower corner of the button is highlighted in blue.
USER MANUAL LSM Connect 2.12
3. Clip Management 21

![Preview: EVS XT[2]](https://data.easymanua.ls/products/617905/200x200/evs-xt-2.webp)