DXP HD 4K PLUS Series • Operation 18
Secondary:
• Select the 115200 baud rate for the Remote RS-232.
• With the Enter and I/O buttons, set the front panel lock mode.
• With the Enter and Preset buttons, place the switcher in serial port
configuration mode.
• Select 115200 baud for the Remote RS-232 port in serial port configuration
mode (see Selecting the Remote RS-232 Port Baud Rate on page30).
• Indicate that the Remote RS-232 port is set to 115200 baud in serial port
configuration mode.
E
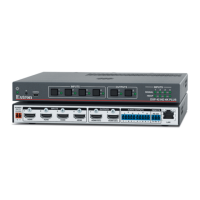
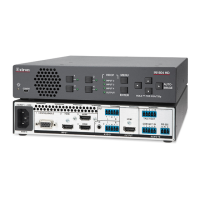
I/O button (see figure8 on page15) — (DXP 44, 84, and 88 only) For this button,
selecting Video routes HDMI signals from any of the inputs to any of the HDMI outputs,
while selecting Audio routes the de-embedded audio from any of the HDMI inputs to
any of the S/PDIF and analog audio outputs.
The I/O button has two LEDs to its right: a green Video LED and a red Audio LED.
Press this button to toggle between video (green LED lights) and audio (the red LED
lights) for the selected input or output.
NOTE: The I/O Video LED blinks to indicate that the unit is in power save mode.
The I/O button has the following functions:
• Primary:
• Select the signal type, audio or video, for the input or output.
• Select audio or video for the configuration that is being viewed.
• Secondary:
• With the Enter and Esc buttons, select between front panel lock modes 2
and 0) (see Locking and Unlocking the Front Panel (Executive Modes) on
page28).
• View the video or audio mute status of the selected input or output.
• Initiate system reset from the front panel (see Resetting the System from the
Front Panel on page32).
F
Audio and Video LEDs — (DXP 44, 84, and 88 only) These two LEDs are located to
the right of the I/O button and light to indicate whether the selected input or output is
audio or video. The Video LED lights green when the I/O button is pressed to toggle to
video. The Audio LED lights red when audio is selected.
The I/O Video LED also blinks while the DXP is in power save mode 1 or 2 (see Power
Save Modes on page30).
G
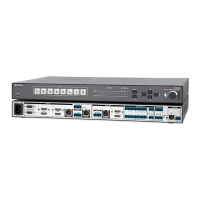
Signal LEDs — All models have a green Signal LED for each input. Each LED lights
when a signal (TMDS clock activity) is present on the input.
H
HDCP LEDs — All models have a green HDCP LED for each input, which lights if the
source connected to that input is HDCP encrypted.
I
Reset LED — (DXP 42 only) This green LED remains lit while the DXP has power (see
figure9,
I
, on page 16). While the Reset button (
J
) is being pressed and held, this
LED blinks every 3 seconds to indicate the level of reset that is initiated if the button is
released at that point (see Resetting on page32 for more information).