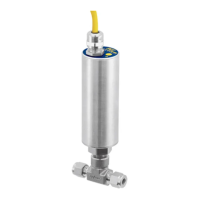
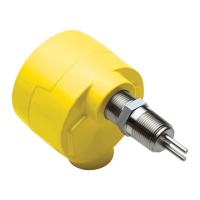
FS10 Series
26 Fluid Components International LLC
1. Enter “function selection” Push and hold both buttons simultaneously for 3 seconds
2. Select desired “function” Push (+) or (–) to step through (LEDs indicate function #)
3a. Enter “function adjust” Push and hold either (–) or (+) button for 3 seconds
3b. Adjust within function Follow instructions for particular function entry
4a. Exit “function adjust” Push and hold either (–) or (+) button for 3 seconds (now in “function selection” operation)
[Note: Function #4 or #15 requires holding both buttons to exit into function select operation]
4b. Exit “function selection” Push and hold both buttons simultaneously for 3 seconds (now in normal operation)
Table 5 – Button Operation
Bank No.
Process Fluid Range Setting
0 FS10 Current Active Parameters
1 Universal Default Setting A - Low flow
sensitivity
Uncalibrated output
–
low sensor excitation power setting
Full range gas or liquid
2 Reserved for customer saved settings
[user defined and stored]
Low sensor excitation power setting
3 Universal Setting B - High flow gas, liquids
Uncalibrated output – 1.5X sensor excitation power setting
Full range liquid and gas
4 Reserved for customer saved settings
[user defined and stored]
High sensor excitation power setting
5 Reserved for custom factory calibration
6 Reserved for custom factory calibration
Table 6 – Bank Default Values
Normal Set-Up and Operation Using the Button Interface
Refer to Table 6, Button Controls to address the below listed functions in the field.
Flow Switch Operation
Units supplied without factory switch point setting should be scaled in situ before setting the switch point. Default Universal Setting A from
Bank 1 is recommended for most low flow sampling gas or liquid service. Gas and liquid service applications where higher flow rate detection
is required may select Universal Setting B from Bank 3.
Scaling is performed in the following order:
Minimum Flow Setting (Function 6)
Select function 6 to capture the minimum flow rate. In liquids, optimum performance is achieved by setting the Minimum Flow to a full line at
no flow. If possible, with liquids, slightly pressurize the pipe and block the flow using valves to assure a full and static condition. Capturing the
no-flow value in Function 6 establishes the zero point.
Maximum Flow Setting (Function 7)
Run the process at maximum flow and use this function to capture the maximum flow in gas or liquid. Since liquids transfer heat very ef-
ficiently, depending on the sensor assembly and fluid, maximum signal level will likely be achieved at flow rates under 2 feet per second,
though the actual flow in the tube may be higher. Capturing the maximum flow effectively establishes the span in the installation.
Note:
Be sure to pause at least 30 seconds before capturing zero and span to assure unit has reached equilibrium.
Switch Point Adjust (Function 1 or 2)
There are two ways to set the switch point using the buttons.
Function 1 uses the LEDs as indicators to set the switch point in 10% increments within the established span.
Function 2 may be used to set the precise switch point by “capturing” the exact process flow rate. In liquids, make certain the desired
switch point is within the set operating range. That is, when capturing at the switch point, the LEDs should be showing no greater than
90% flow. Note: The switch point setting is saved in feet/sec; therefore, changing the span later may alter the relative position of the flash-
ing LED indicating the switch point value.
Low flow alarm applications with relay energized above the switch point (default setting): The switch point LED flashes quickly when the flow
is below the switch point. The LED flashes at a slower rate when the flow is at or above the switch point.