Do you have a question about the Festo CPX-FB14 and is the answer not in the manual?
Specific model of the bus node for the CPX terminal.
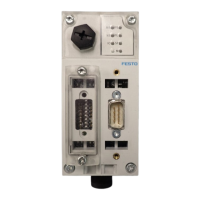
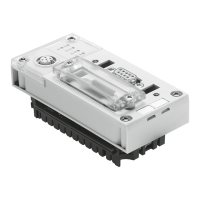
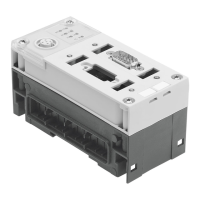
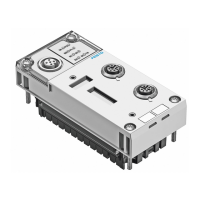
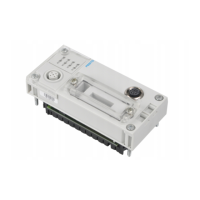
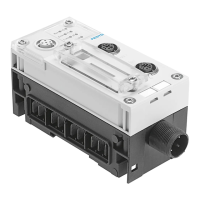
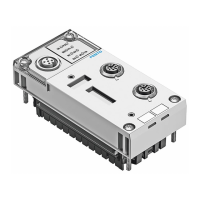
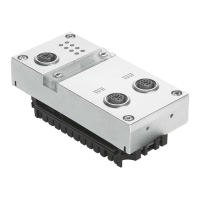
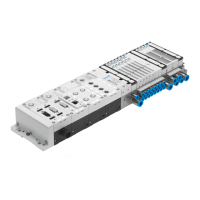
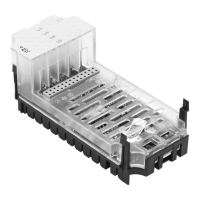
General description of the CPX-FB14 bus node.
Details about the CANopen protocol used by the bus node.
Important safety precautions for using the CPX terminal.
Specifies the intended audience for this manual.
Information on contacting Festo for service.
Guidance on how to use this technical description.
Explanation of danger warnings and pictograms used.
Explanation of symbols used for special information.
Explanation of text formatting for instructions.
General guidelines and safety warnings for installation.
Description of electrical connectors and display elements.
Step-by-step guide for dismantling and mounting the bus node.
Detailed steps for securely mounting the bus node.
Overview of DIL switch settings for the bus node.
Procedure for accessing the DIL switches.
Detailed steps for setting the DIL switches.
Guidance on assigning station numbers.
Procedure to activate LSS using DIL switch 3.
How to reset parameters to factory settings.
Specifications and notes for the fieldbus cable.
Information on fieldbus length dependent on baud rate.
Information on bus power supply and connection notes.
Details of the 9-pin sub-D fieldbus interface.
Instructions for connecting the Festo fieldbus plug.
Alternative connection methods using adapters.
Details and pin assignment for the M12 adapter.
Details and pin assignment for the screw terminal adapter.
Guidelines for using terminating resistors.
Recommendation for mounting terminating resistors.
Procedure for installing terminating resistors using adapters.
Important safety warning regarding power supply.
Steps for commissioning the CPX terminal on a CANopen master.
List of CANopen specifications considered for the CPX terminal.
Basic information about CANopen communication.
Overview of configuration options and services.
Explanation of LSS functionality and activation.
Details of LSS commands for configuration.
Procedure for global mode change in LSS.
Procedure for selective mode change in LSS.
Changing LSS mode based on vendor ID.
Changing LSS mode based on product code.
Changing LSS mode based on revision number.
Changing LSS mode based on serial number.
Procedure for configuring the node number.
List of error codes related to configuration.
Setting bit timing parameters for baud rate.
Reference table for bit timing parameter entries.
Specific values for bit timing table entries.
Command to activate configured bit timing.
Procedure for saving the terminal configuration.
Retrieving the manufacturer ID via SDO.
Retrieving the product code via SDO.
Retrieving the revision number via SDO.
Retrieving the serial number via SDO.
Retrieving the current node number via SDO.
Identifying the manufacturer's code of the LSS slave.
Identifying the product code of the LSS slave.
Identifying the lower limit of the revision number.
Identifying the upper limit of the revision number.
Identifying the lower limit of the serial number.
Identifying the upper limit of the serial number.
Procedure to identify non-configured LSS slaves.
Steps for configuring the LSS slave.
Configuration steps for a single LSS slave.
Configuration steps for multiple LSS slaves.
How to address the CPX terminal for I/O assignment.
Details on operating the terminal in remote controller mode.
Practical examples for terminal configuration.
Example of initiating a CANopen network connection.
Example of setting output states.
Example of starting node guard monitoring.
Example of loading terminal objects via SDO.
Example of writing terminal objects via SDO.
Brief overview of the terminal's functional scope.
Summary of the object directory structure.
Description of the CPX terminal's behavior upon power-on.
Default assignment of identifiers in the CANopen network.
Details on peer-to-peer communication objects.
Detailed structure of object directories.
Details of the communication profile objects.
Overview of the Process Data Object (PDO) structure.
Mapping and parameters for digital inputs.
Mapping and parameters for digital outputs.
Mapping and parameters for analogue inputs.
Mapping and parameters for analogue outputs.
Mapping and parameters for analogue inputs.
Mapping and parameters for analogue outputs.
Configuration of PDO 4 for modules, status bits, and diagnostics.
Parameters for Transmit PDO 4.
Parameters for Receive PDO 4.
Details on manufacturer-specific objects.
List of objects that support mapping.
How to manipulate signal statuses using the Force function.
Configuring functions and using virtual modules.
Setting terminal behavior via parameterisation.
Process of parameter loading during system startup.
Using the handheld terminal for parameterisation.
Practical example of parameterisation for improved performance.
Steps for commissioning the CPX terminal within a system.
LED indicators for correct operation.
Summary of available diagnostics options.
Using LEDs for diagnosing terminal status.
LED status indications during normal operation.
Detailed display information for CPX-specific LEDs.
Detailed display information for CANopen-specific LEDs.
Status display and error handling for the PS LED.
Status display and error handling for the PL LED.
Status display and error handling for the SF LED.
Status display and error handling for the M LED.
Status display and error handling for the MS LED.
Status display and error handling for the NS LED.
Status display and error handling for the I/O LED.
Using status bits for diagnostic messages.
Using the I/O diagnostic interface for diagnostics.
Methods for diagnostics using the CANopen protocol.
Composition and details of the CANopen emergency message.
How the pre-defined error field acts as error memory.
Detailed breakdown of the emergency message bytes.
List and explanation of CPX error numbers.
Additional technical information and data.
General technical specifications for the bus node.
General technical specifications for the bus node.
IP rating of the housing according to IEC/EN 60529.
Measures for protecting against electric shock.
Module codes for specific CPX operating modes.
Identifier for the bus node when used with handheld.
Details on operating voltage and current consumption.
Information on the operating and load voltage.
Current consumption details for the CPX-FB14 bus node.
Operating voltage specifications for the bus interface.
Details on galvanic isolation of the bus interface.
Practical examples of communication sequences.
Example of initiating a CANopen network.
Example of setting a specific output state.
Example of starting node guard monitoring.
Example of loading objects using SDO transfer.
Example of writing objects using SDO transfer.
Alphabetical index of topics covered in the document.
| Brand | Festo |
|---|---|
| Model | CPX-FB14 |
| Category | Touch terminals |
| Language | English |