SERVICING THE E100 18
Restoring functionality after service
To complete any service procedures performed on the E100, reassemble the E100, reattach it
to the copier, and verify that it is working properly. To verify the installation, check the
external connections of the E100 to the copier and then to the network and/or USB port.
TO REASSEMBLE AND VERIFY THE E100
1. Reseat any cables, devices, DIMMs, or other parts of the E100 assembly that you may have
loosened or removed during inspection or service (see “Checking connections” on page 24).
2. Secure the cover to the chassis with the two screws that you removed earlier.
3. Reattach the E100 to the copier and do the following:
• Connect the copier interface cable from the E100 to the copier.
• Connect the network switch (Ethernet) cable from the E100 to the network.
• Connect the copier (Ethernet) cable from the E100 to the copier.
• Connect the power cable from the E100 to a power outlet.
For more information, see “Checking the network connection” on page 20.
4. If you installed a new HDD, install system software according to the procedure in “System
software” on page 58.
NOTE: A spare HDD is shipped without system software.
5. Make sure that the service switches are set to normal mode.
For more information, see “Front panel” on page 27.
6. Reattach the AC power cable.
7. Before you leave the customer site, verify E100 operation as follows.
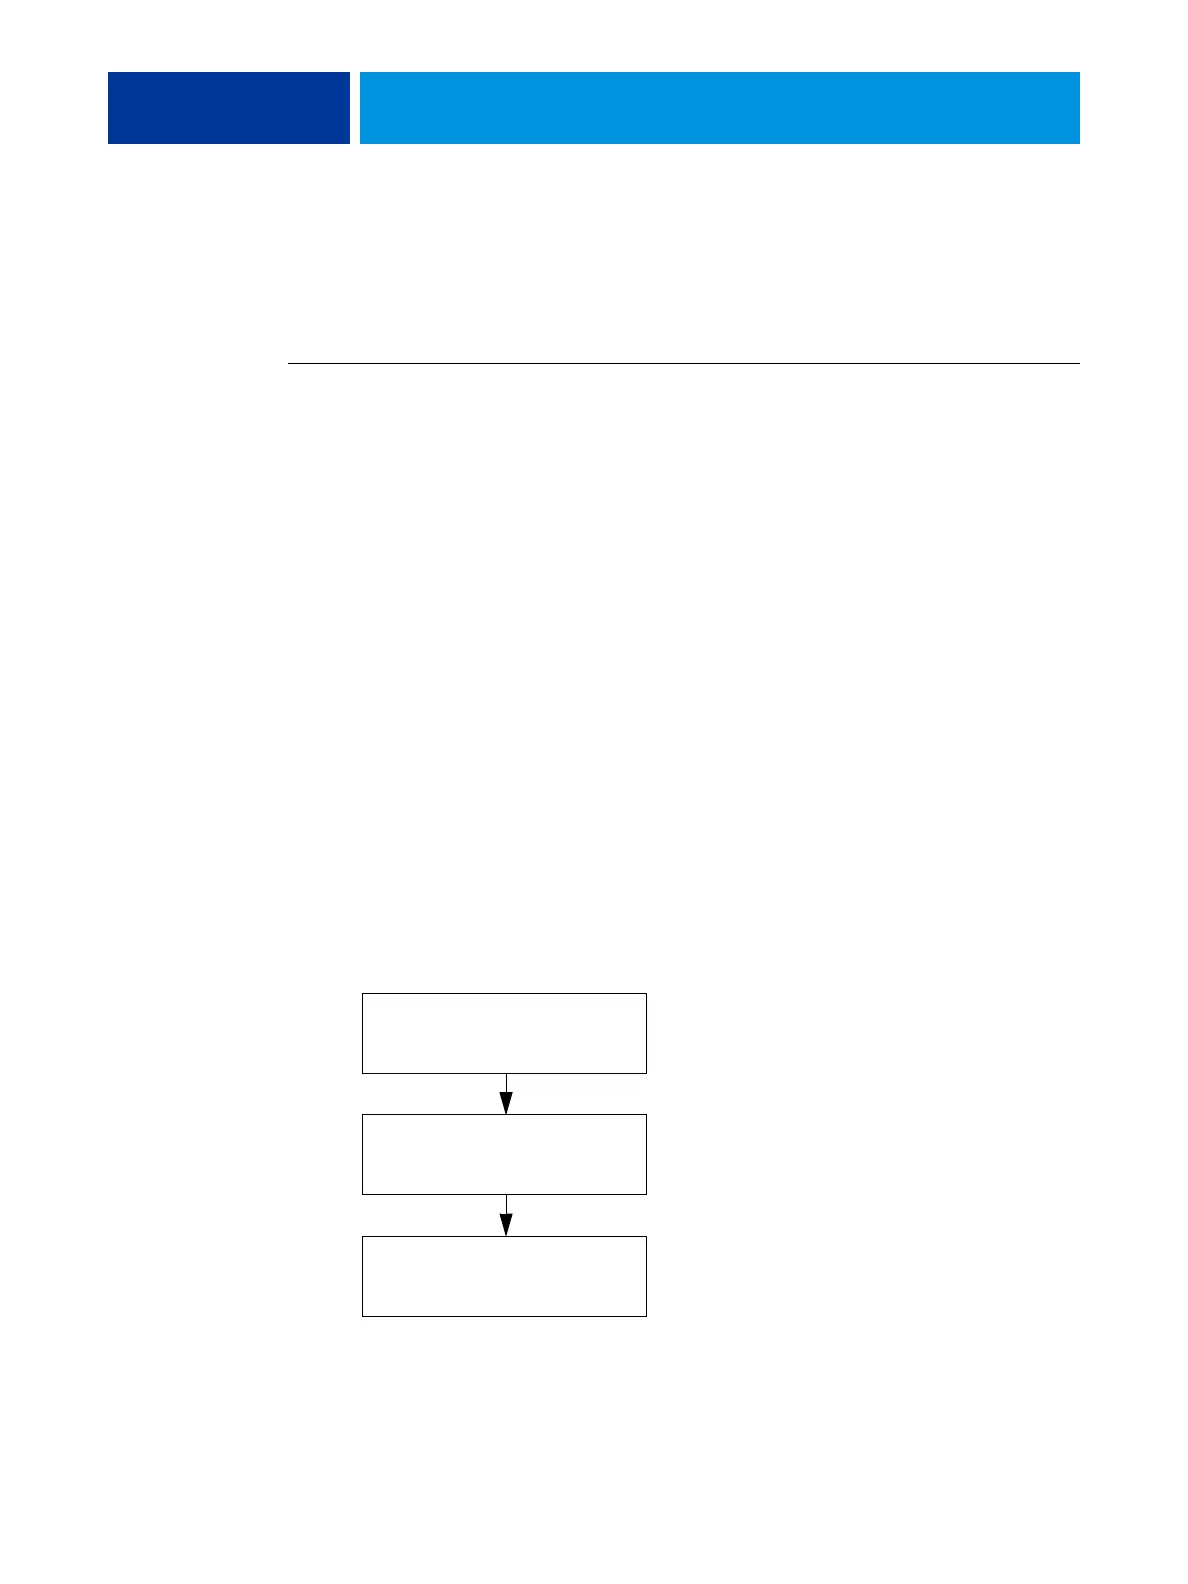
FIGURE 6: Steps to verify the E100
NOTE: After starting the E100, check the airflow of the fan to make sure that air is blowing
out.
Start the E100 and print Test Page
(see pages 16 and 19).
Check the Setup options
(see Configuration and Setup).
Connect the E100 to the network
and verify (see page 20).