COMPONENTS 46
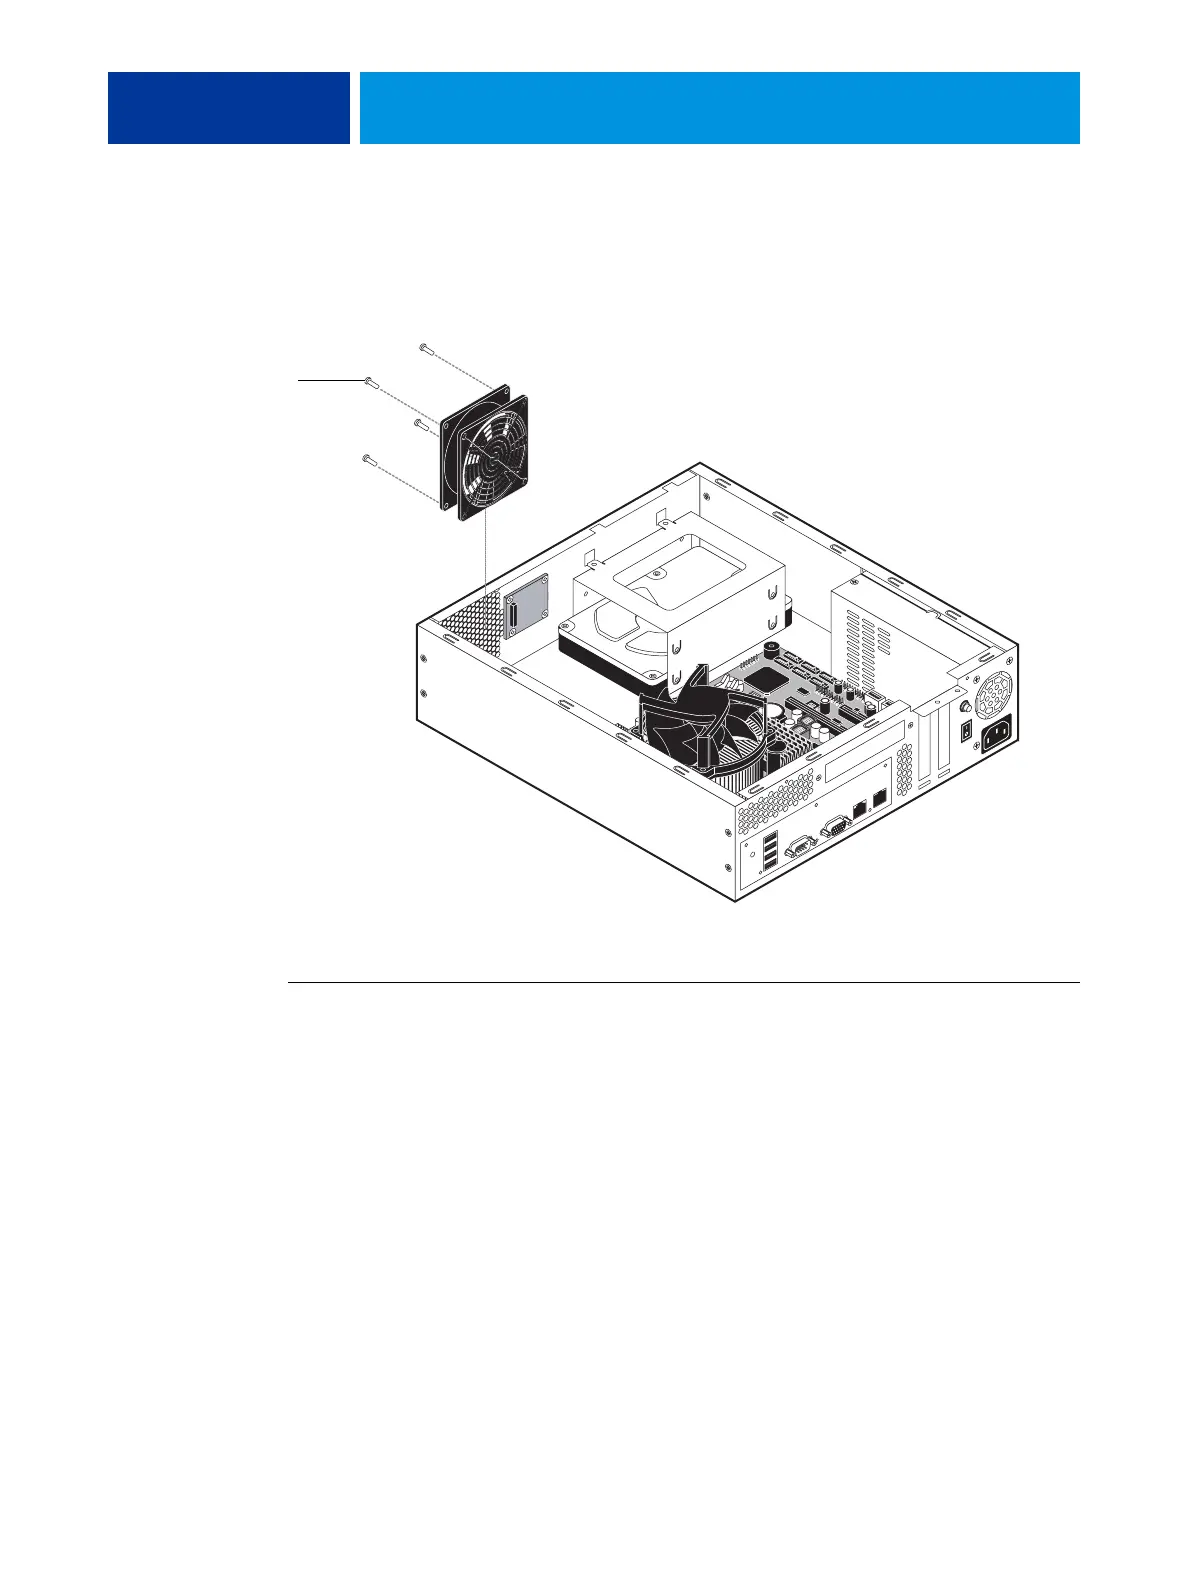
Enclosed fan
One enclosed fan is attached to the chassis to cool the system. As an exhaust fan, the fan blows
air out of the system. When replacing it, follow “Precautions” on page 9.
FIGURE 23: Location of the enclosed fan
TO REPLACE THE ENCLOSED FAN
1. Shut down and open the E100 (see page 14).
2. Remove the E100 from the copier (see page 17).
3. Note the orientation of the fan and the arrow indicating the air flow out of the vent.
Tip: The air flows out the vent holes of the chassis.
4. Remove and set aside the fan rivets; remove the fan.
Tip: Insert a short tool less than 4.4 mm in diameter into each access hole, find the center
of the rivet, and push the rivet out. Or, pry the cap of the rivet up with a thin, dull blade.
5. Transfer the fan guard (if installed) from the old fan to the correct side of the new fan, using
the guard rivets. Note that guard rivets may differ significantly from fan rivets.
6. Install the new fan inside the chassis using the fan rivets, and connect the fan cable to
motherboard connector FAN2 (see Figure 9 on page 24).
7. Reassemble the unit and verify functionality (see page 18).
Rivet (1 of 4)