COMPONENTS 25
TO CHECK INTERNAL CONNECTIONS
When you handle electronic components, follow standard electrostatic discharge (ESD)
precautions. For more information, see “Standard electrostatic discharge precautions” on
page 11.
1. Shut down and open the E100 (see page 14).
Make sure to remove the AC power cable from the power outlet before opening the E100.
2. Make sure that all E100 cables, devices, and the DIMM (dual in-line memory module) are
present, intact, properly aligned, and well-seated in their connectors.
Check the following for proper installation in the chassis: power supply, HDD, enclosed fan,
motherboard, and motherboard components.
Check motherboard cable and component connections:
Check all other power supply cable connections in the chassis.
3. If, after you verify connections, one or more E100 components is still not receiving power,
check the copier and its internal interface to the E100.
For more information, see the documentation that accompanies the copier.
Motherboard silk-screened label Component or cable
DIMM1 Socket for 1GB DIMM
Q44 Socket for BIOS chip
SATA1 HDD SATA data cable
FAN2 Enclosed fan cable
NOTE: Airflow is out.
[on CPU, no label visible] CPU cooling assembly
CPUFAN CPU cooling assembly fan cable
[no label visible] Power supply cable, 20-pin for motherboard power
[no label visible] Power supply cable, 4-pin for CPU power
BAT Battery (see “Specifications” on page 71)
J14 Power button with two attached cables (two wires each):
• SW LED wires are red and black to J14, pins 2 and 4
• SW wires are red and yellow to J14, pins 6 and 8
NOTE: Four wires left to right: red, black, red, yellow
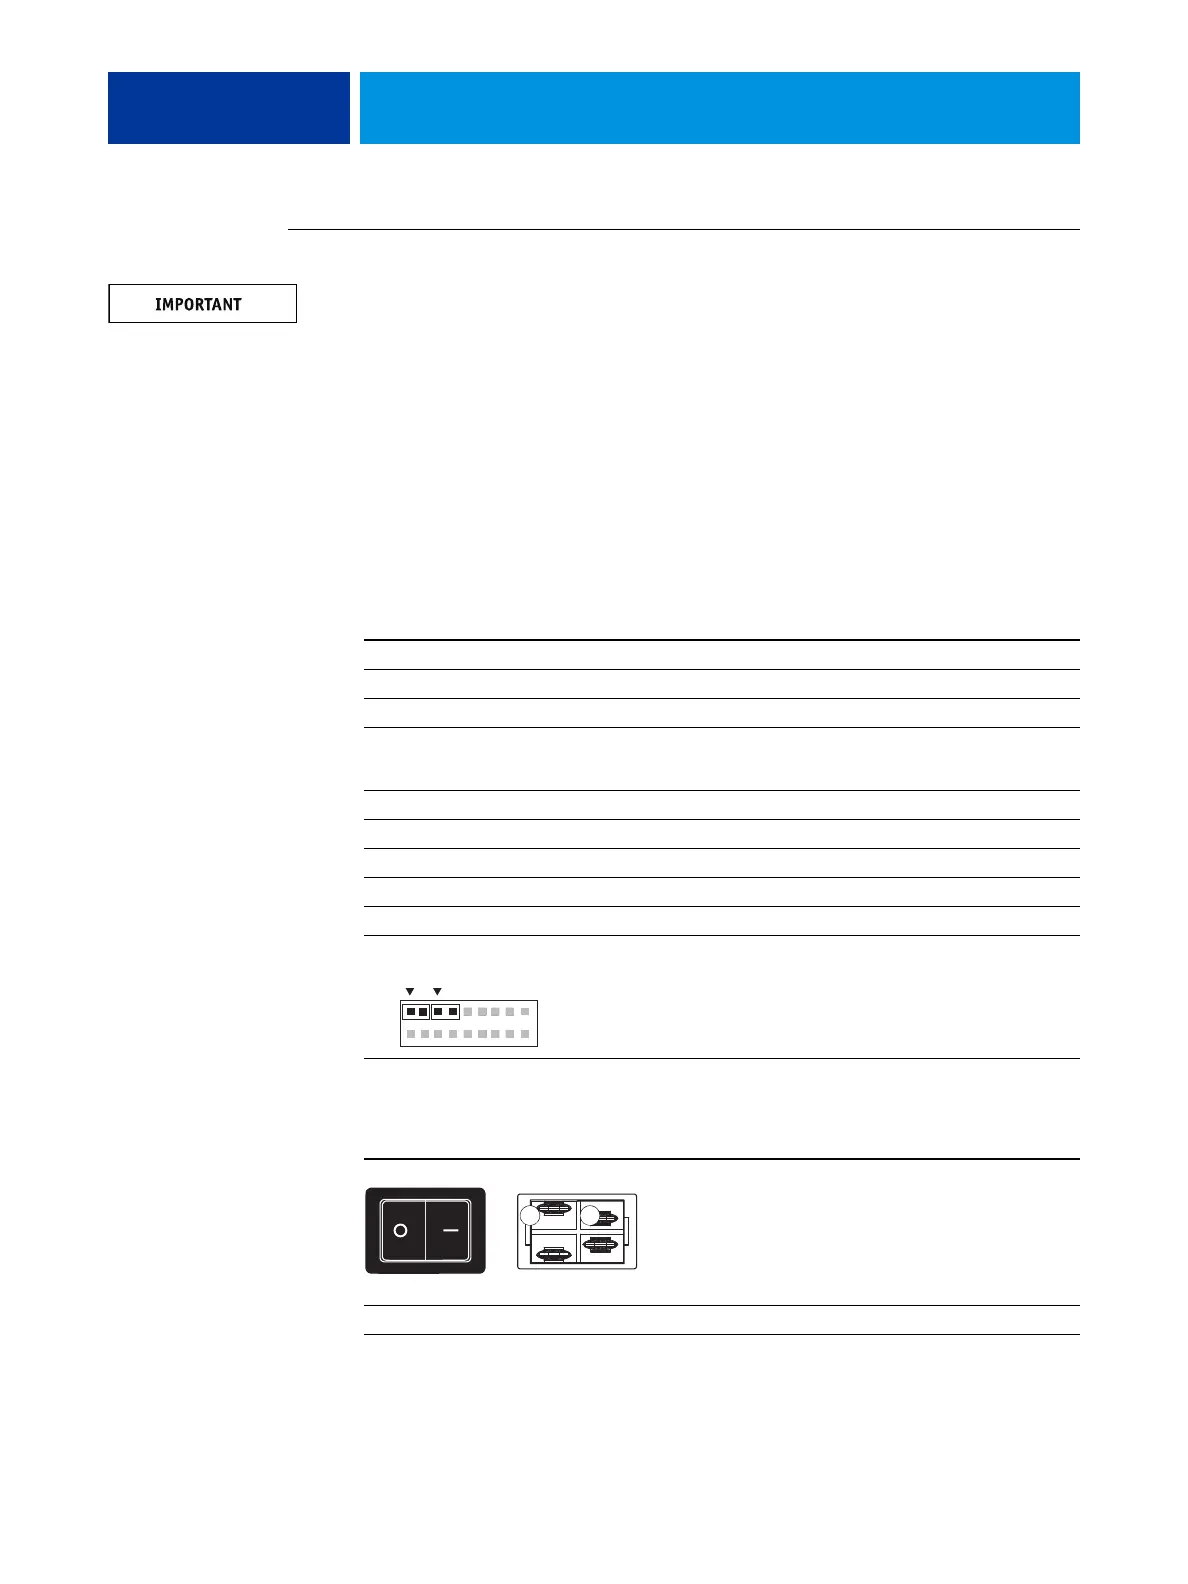
Location Component or cable
AC power switch Power supply cable with white and black leads.
Connect one wire to A and the other wire to B.
HDD Power supply with attached SATA power cable
1
2
17
18
SWSW LED
View from outside
A B
View from inside