38
In this phase the keypad and keys have the following
functions:
Alphanumeric keypad
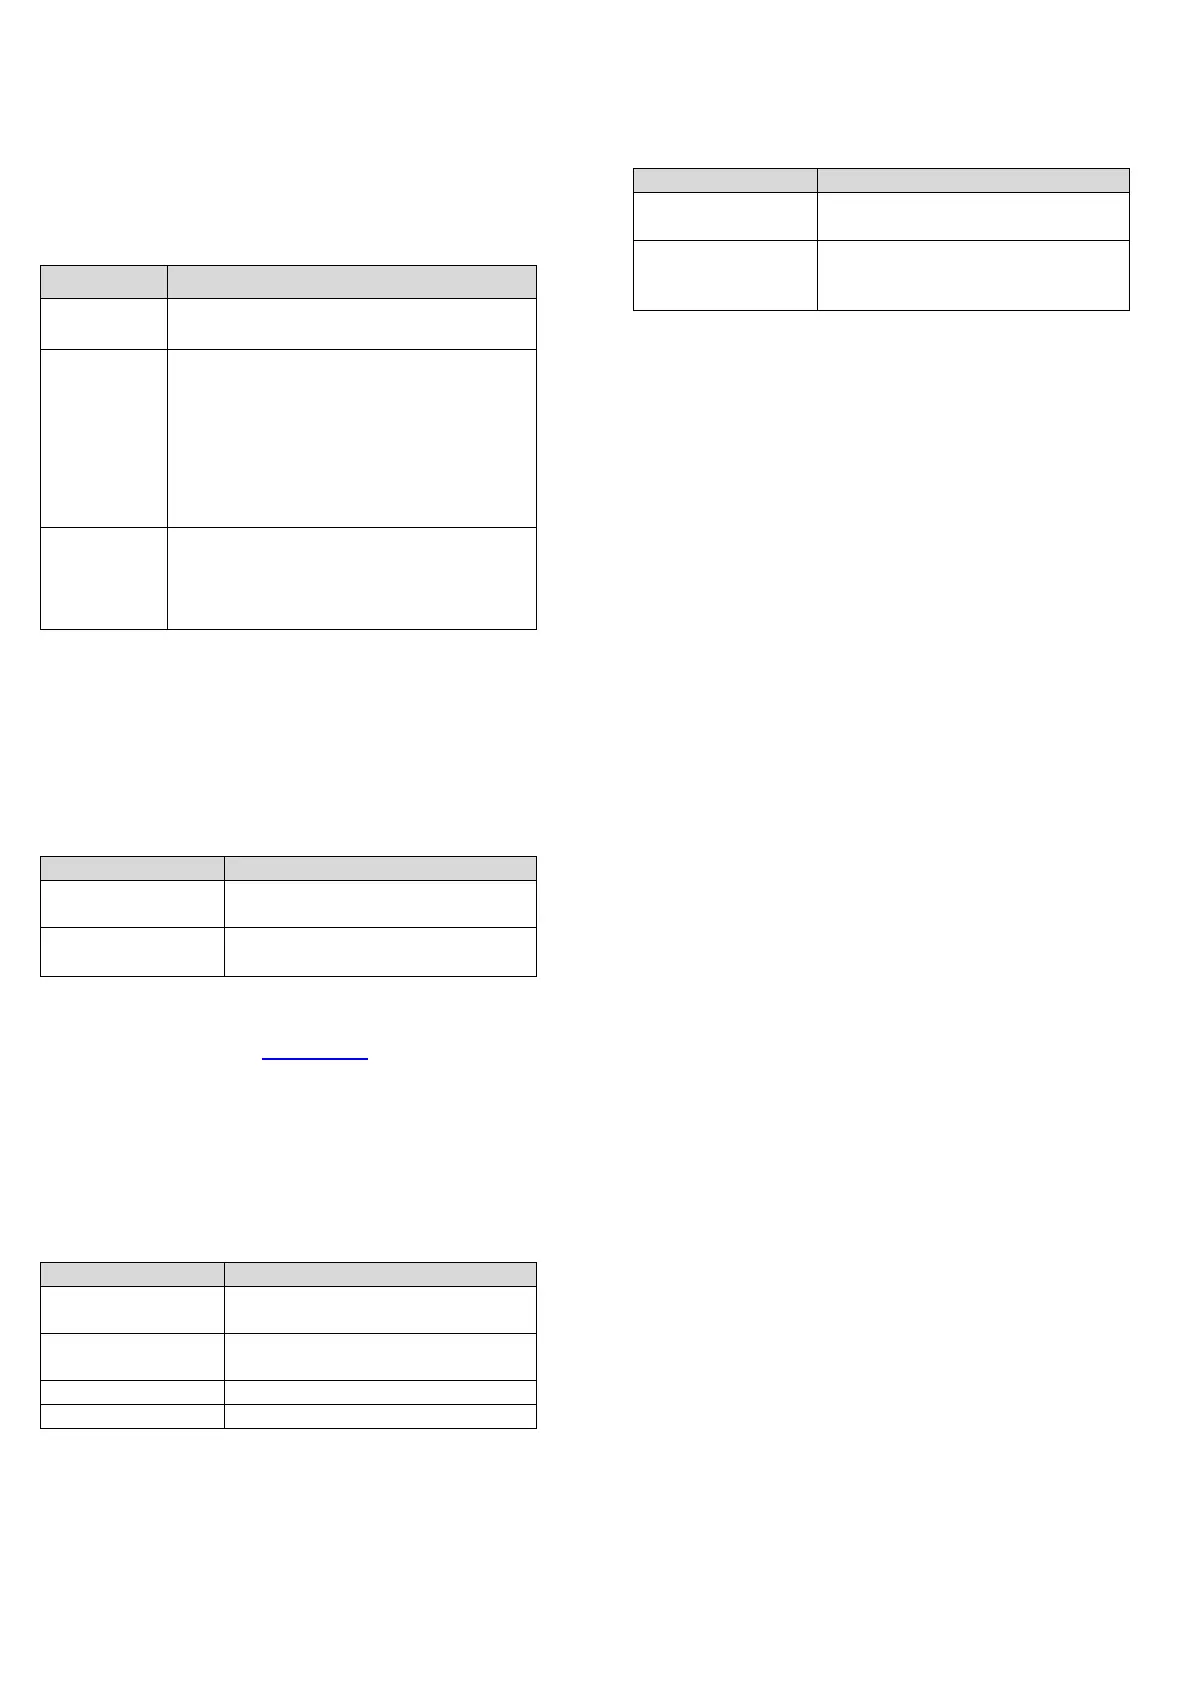
Table 28: Alphanumeric keypad function in warning
enrolling
Use to delete the old configuration and
accept the new configuration
Use to accept only the differences
detected between the new and the
previous configuration. The new
devices will be added, while the devices
that are no longer present will be
removed. This applies both to the loop
devices and 485 network devices.
Use to discard the current
configuration that is detected. The
previous configuration will still be
valid.
Cursor keys
No functions are related to the Up, Down, Right, or Left
keys.
ESC and ENTER keys
Table 29: ESC and ENTER key function in warning
enrolling
Use to cancel the operation and
return to the MAIN screen
Use to activate the device
details screen
The fields Loop1, Loop2, and Loop3 show if there are any
devices connected. In Autoscan OK or NO, you can view
details on the Loop. See Figure 23, c. The RS485net: Rep
shows the number of repeaters found on the network
RS485.
In this phase the keypad and keys have the following
functions:
Cursor keys
Table 30: Cursor key functions in loops
Use to show information relating
to the next loop
Use to show information relating
to the previous loop
ESC and ENTER keys
Table 31: ESC and ENTER key function in loops
Use to cancel the operation and
to return to the MAIN screen
Use to accept the device
selection and activate the loop
device programming
Note: When the enrolling is done, the devices
programming data, except their assigned names, will
restore to the factory defaults. Any previous configurations
will be lost.
Auto-addressing procedure
Auto-addressing creates a sequence of operations to
make all the devices accessible by the panel without
executing any previous configuration action on the devices
during their installation phase. Use the auto-addressing
procedure instead of the FC490ST programming tool for
loop devices and instead of manually assigning device
addresses. The auto-addressing procedure is also used
in the device mapping phase to determine or set the
geographical position of the devices on the site.
Note: In the program menu of the loop devices, a new
item appears. This allows you to switch on and off the
device LED to activate the device LED from the control
panel user interface in order to easily identify the device
on a given field.
The auto addressing procedure is part of the loop devices
enroll process in the FC503 and FC506 panels.
To initialize the loop devices enroll process follow these
steps:
1. Press the 1 key to enter the PROGRAMMING mode.
Enter the default INSTALLER PIN (00000). Each
digit will be masked by an asterisk.
2. Select option 1: AUTO.
When all the devices are initialized in the Loop, the panel
will prompt you to choose the type of automatic zones
assignment:
1 = According to the loop
2 = According to the addresses of the devices
3 = Do not assign. When this choice is made, the user can
reach the results phase by:
Pressing the ENTER key to activate the AUTO-
ADDRESSING phase
or
Pressing the ESC key to go to the FAULT screen
(not addressable devices).
By default, any addressable device has the address 255.
The fire panel examines the serial number of each device
and assigns it an address from 1 to 250.
If the control panel finds a device with a different address
than the default, it leaves the address set on that device.