65
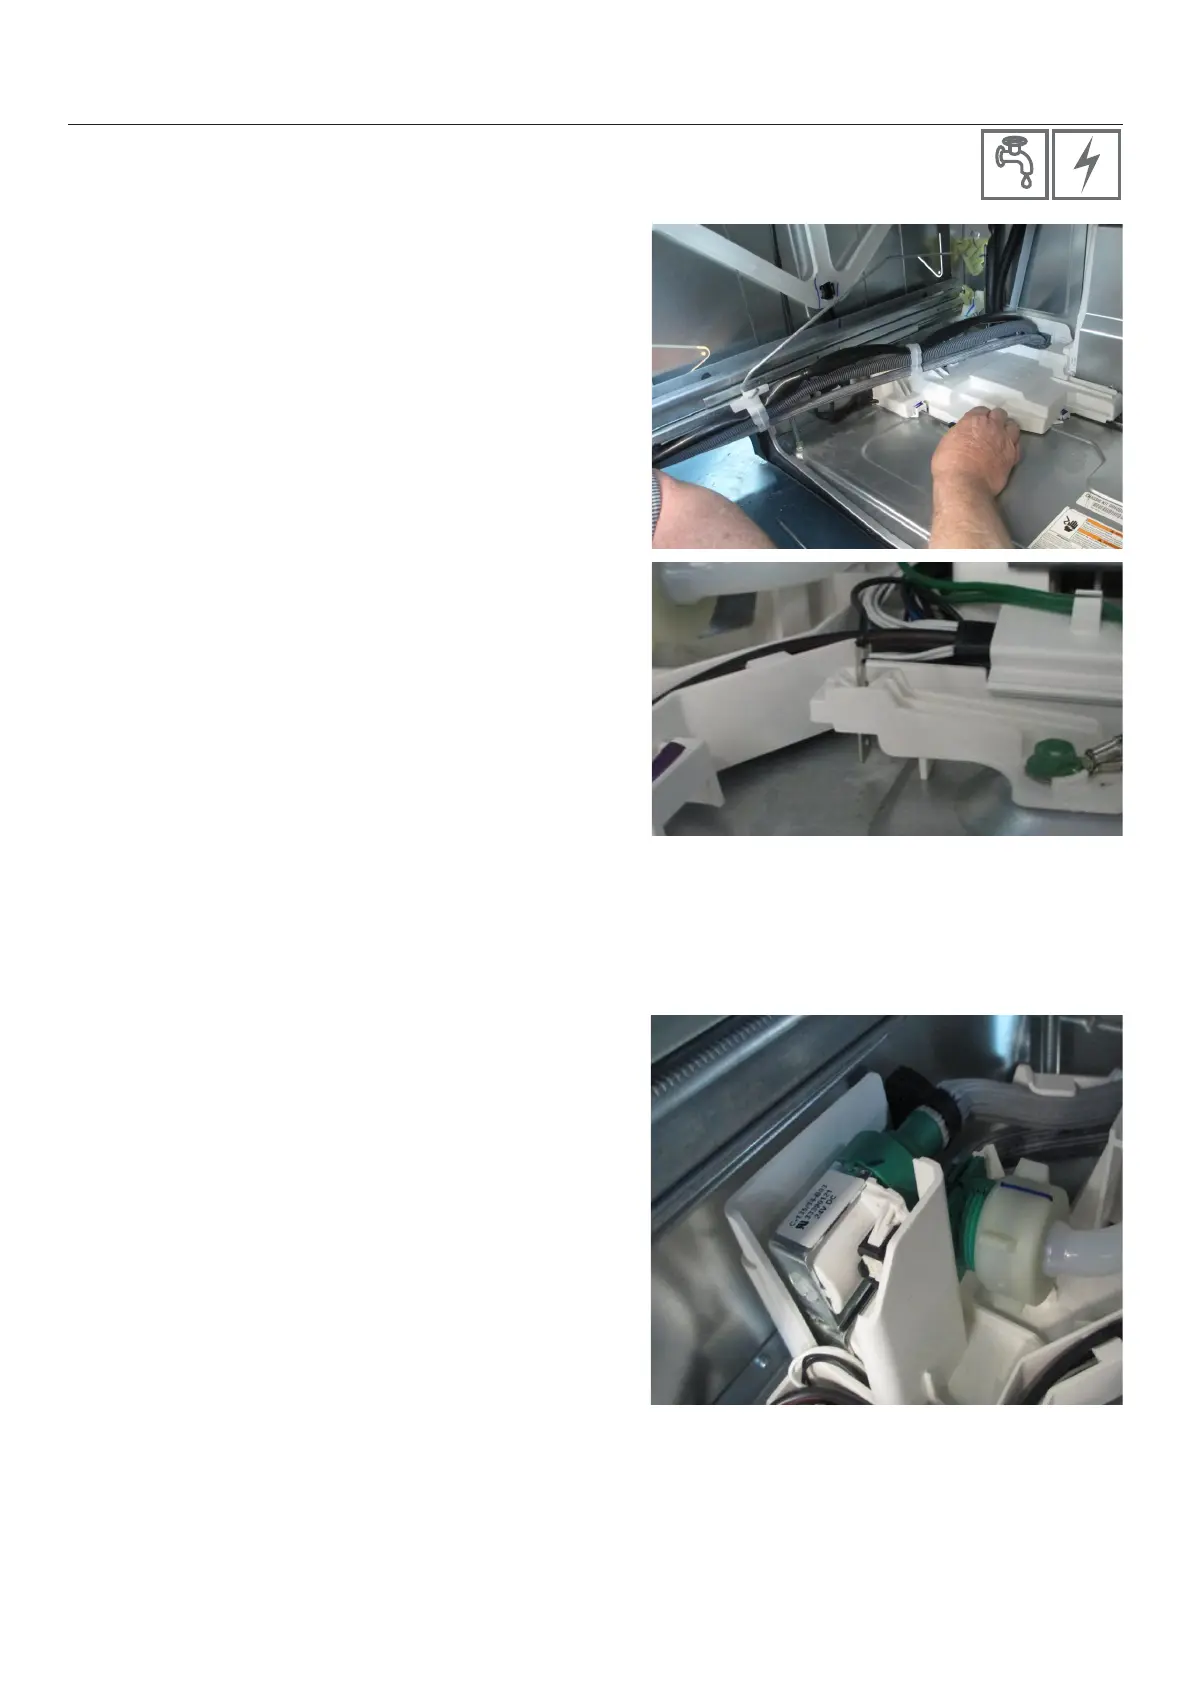
1 Remove the lower tub, refer section 8.13.
2 Remove the chassis module cover by releasing the 2
clips, and slide forward to release.
3 Partially lift the inlet valve up out of the housing.
4 Disconnect the water inlet hose connection,
CAUTION - water will drip.
5 The water valve can now be removed up and out of
the housing.
6 Remove the wire harnesses, and mark which fill hose
goes to the top tub. Unclip the hose clips by pushing
the ends apart sideways, then remove the hoses
from the valve.
7 Refit in reverse manner, and check the inlet hose
does not leak.
8.22 Replacing the Water Valve
8.21 Flood Sensor Harness
8 SERVICING PROCEDURES
1 Remove the bottom tub, refer section 8.13.
2 Remove the chassis module cover by releasing
the 2 clips, and slide forward to release.
3 Use a small flat blade to release the harness.
4 You can check continuity of the sensor wire from
controller connector P201.
5 When refitting, ensure the wire is correctly
located in the assembly, there should be approx
4mm gap to the base pan.
NOTE: The PH8 water valve has a green body
and is a 4L/min valve, do not fit this valve to a
standard PH7 product, unless fitting it for low
water pressure issues.
The 4L valve can not be fitted to water softener
PH7 models.
http://vimeopro.com/fisherpaykeltechnical/training-videos/
video/121917258
 Loading...