Infill: Click the Infill tab to reveal the infill options. Infill is the structure that is printed inside the
model. Infill directly affects the strength of the printed mode.
· Fill Density: Sets the fill density in 5% increments. A 100% density results in a solid model,
while a 0% density results in no infill.
· Fill Pattern: Allows you to select the shape of the infill structure. You can select Line, Hexagon,
or Triangle.
· Combine Infill: You can select the layers for combining according to the layer thickness.
The combined thickness should not exceed 0.4mm. The Every N Layers option is
for all infill, while the Every N Inner Layers affects only the inner infills, which
generally save print time.
Speed: Click the Speed tab to reveal the speed settings.
· Print Speed: Determines the speed that the extruder moves while printing filament. It can be
set from 10 to 200 mm/sec in 10mm/sec increments. The slower the speed, the
higher quality the resulting printed models. For PLA printing, 80mm/sec is
recommended.
· Travel Speed: Determines the speed that the extruder moves while moving from place to place
and not actively printing filament. It can be set from 10 to 200 mm/sec in
10mm/sec increments. The slower the speed, the higher quality the resulting
printed models. For PLA printing, 100mm/sec is recommended.
Temperature: Click the Temperature tab to reveal the temperature options.
· Right Extruder: Sets the operating temperature of the extruder from 0 to 248°C, in 5°C increments.
Set the temperature according to the type of filament being printed.
· Platform: Sets the operating temperature of the build platform from 0 to 120°C, in 5° increments.
Set the temperature according to the type of filament being printed.
Others: Click the Others tab to reveal additional options.
· Pause At Heights: Sets the height at which the print will automatically be paused. This is usually
done to allow you to change filament at one or points. Click the Edit button to
set the pause point(s). The print can be paused anywhere from 1 to 59.9 mm.
File Menu
The File Menu contains the following options.
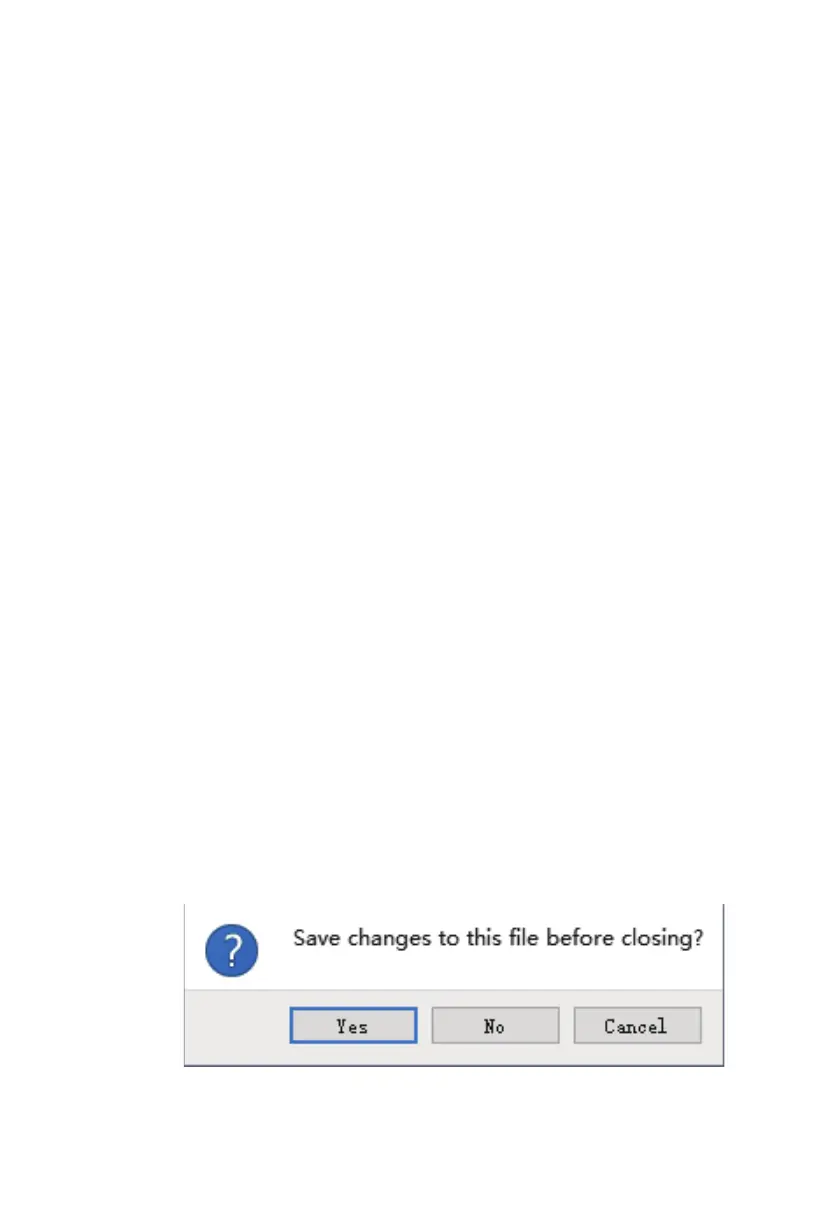
New Project: Click File > New Project or press CTRL+N to create a new, blank project. A project
saves in one place all the models in the scene, including positions, supports, and
settings. If there are any unsaved changes to a previously loaded project, you will
be prompted to save the changes.
33