21
Build Plate Leveling
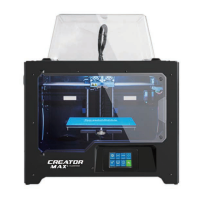
1. If it is not already powered on, flip the power switch to the ON position. Wait for the system to
stabilize. Touch the Tool button on the Top Menu, then touch the Level button on the Tool Menu.
The extruder and build plate will move to the starting position.
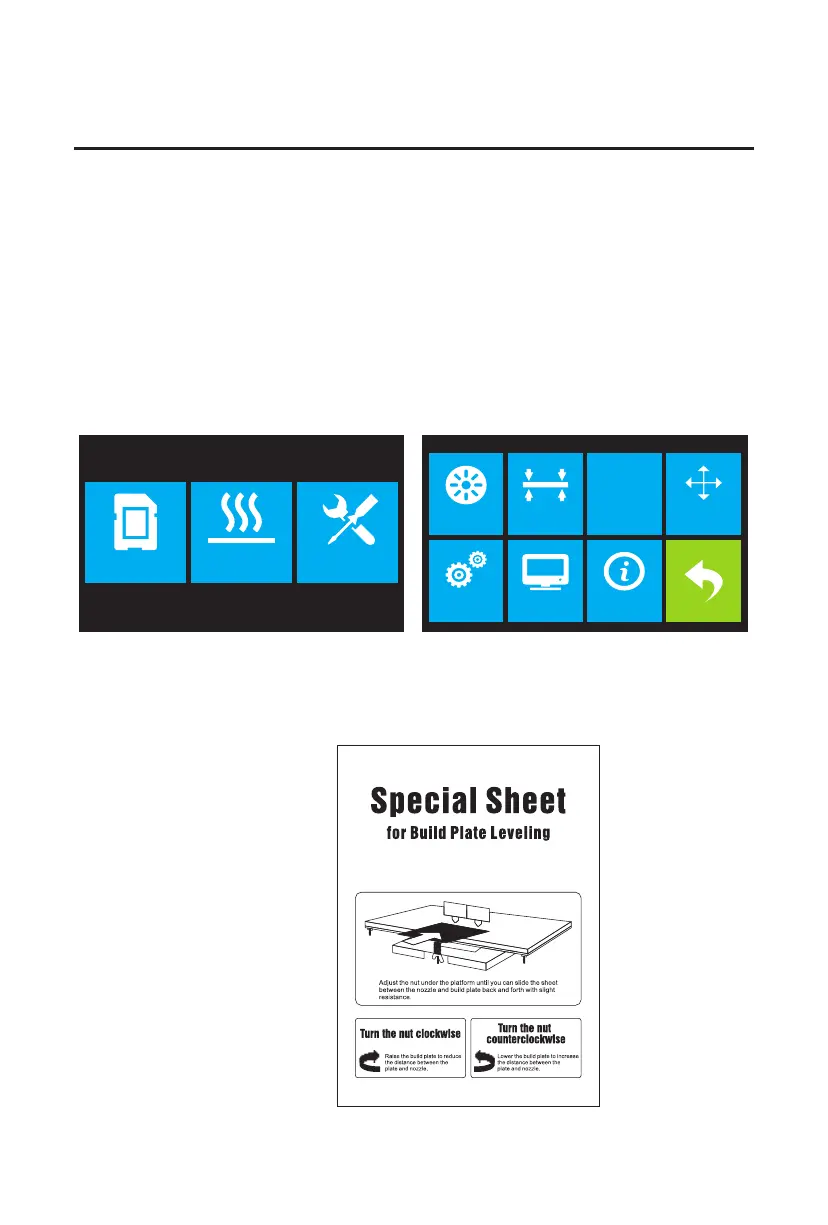
2. Take out the Leveling Card.
A properly leveled build plate is required for high-quality 3D prints. If you have any problems
printing an object, you should first check whether the build plate is properly leveled or not.
A general rule of thumb is to leave a gap that is the thickness of a piece of paper. However,
for printing finer objects (150 microns and lower), use a feeler gauge to level the build plate as
it requires a lesser gap between the nozzle and the build plate.
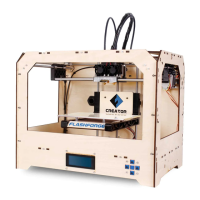
The Flashforge Creator Max uses a three-point leveling system for the build plate. At the bottom
of the build plate, there is a spring-loaded knob in the front and two in the back. Tightening the
knob will increase the gap between the build plate and the nozzle and loosening it will reduce
the gap.
Perform the following steps to level the build plate.
Print Preheat Tool
HOME
Filament Level Home Manual
Setting Status About