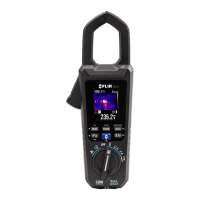
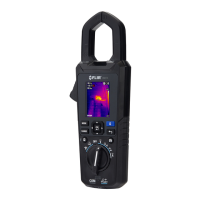
5. Operation
Note: Before operating the device, please read, understand, and follow all instructions,
dangers, warnings, cautions, and notes.
Note: When the meter is not in use, the function switch should be set to the OFF
position.
Note: When connecting the probe leads to the device under test, connect the negative
lead before connecting the positive lead. When removing the probe leads, remove the
positive lead before removing the negative lead.
5.1 Powering the Meter
1. Set the function switch to any position to switch the meter ON.
2. If the battery indicator shows that the battery voltage is low or if the meter does not
power on, replace the batteries. See section 6.2 Battery replacement.
5.1.1 Auto Power Off
The meter enters sleep mode after 10 minutes of inactivity. The meter beeps three
times before powering off. Press any button or turn the function switch to prevent
the meter from powering off. The auto power off time-out is then reset. Deactivate
APO (or set the APO timer) using the Programming Menu (refer to Section 5.10.2
Programming Menu). The APO icon is displayed when APO is active.
5.2 Auto/Manual Range Mode
In Auto range mode, the meter automatically selects the most appropriate measurement
scale. In Manual range mode, the desired range (scale) can be set manually.
Auto range mode is the default mode of operation. When a new function is selected with
the function switch, the starting mode is Auto range and the indicator is displayed.
To enter Manual range mode, press the RANGE button. To change the range, press the
RANGE button repeatedly until the desired range is displayed.
To return to Auto range mode from Manual mode, press and hold the RANGE button
until the indicator is displayed.
5.3 HOLD Mode
In Hold mode, the display freezes the last reading and continues to display this
value.
Use the HOLD button to toggle between Normal and Hold modes. In Hold mode,
the indicator is displayed.