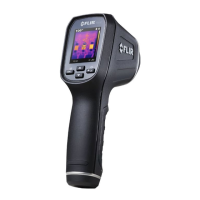
Handling the camera
11
11.1 Charging the battery
11.1.1 General
• Before starting the camera for the first time, charge the battery for 3 hours using the
stand-alone battery charger.
• Select a mains socket that is near the equipment and easily accessible.
11.1.2 Using the stand-alone battery charger to charge the battery
11.1.2.1 Stand-alone battery charger LED indicator
Type of signal Explanation
The white LED flashes. The battery is being charged.
The white LED glows continuously. The battery is fully charged.
11.1.2.2 Procedure
Follow this procedure:
1. Put one or two batteries in the battery charger.
2. Connect the power supply cable plug to the connector on the battery charger.
3. Connect the power supply mains-electricity plug to a mains socket.
4. When the white LED on the battery charger glows continuously, the batteries are fully
charged.
5. It is good practice to disconnect the stand-alone battery charger from the mains socket
when the batteries are fully charged.
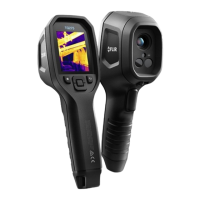
11.1.3 Using the USB battery charger to charge the battery when it is inside the
camera
Follow this procedure:
1. Put the battery into the battery compartment of the camera.
2. Connect the USB battery charger to a mains socket.
3. Open the cover for the connector compartment at the bottom of the camera.
4. Connect the USB connector of the USB battery charger to the USB-C connector in the
connector bay of the camera.
#T810253; r. AA/42549/42549; en-US
28