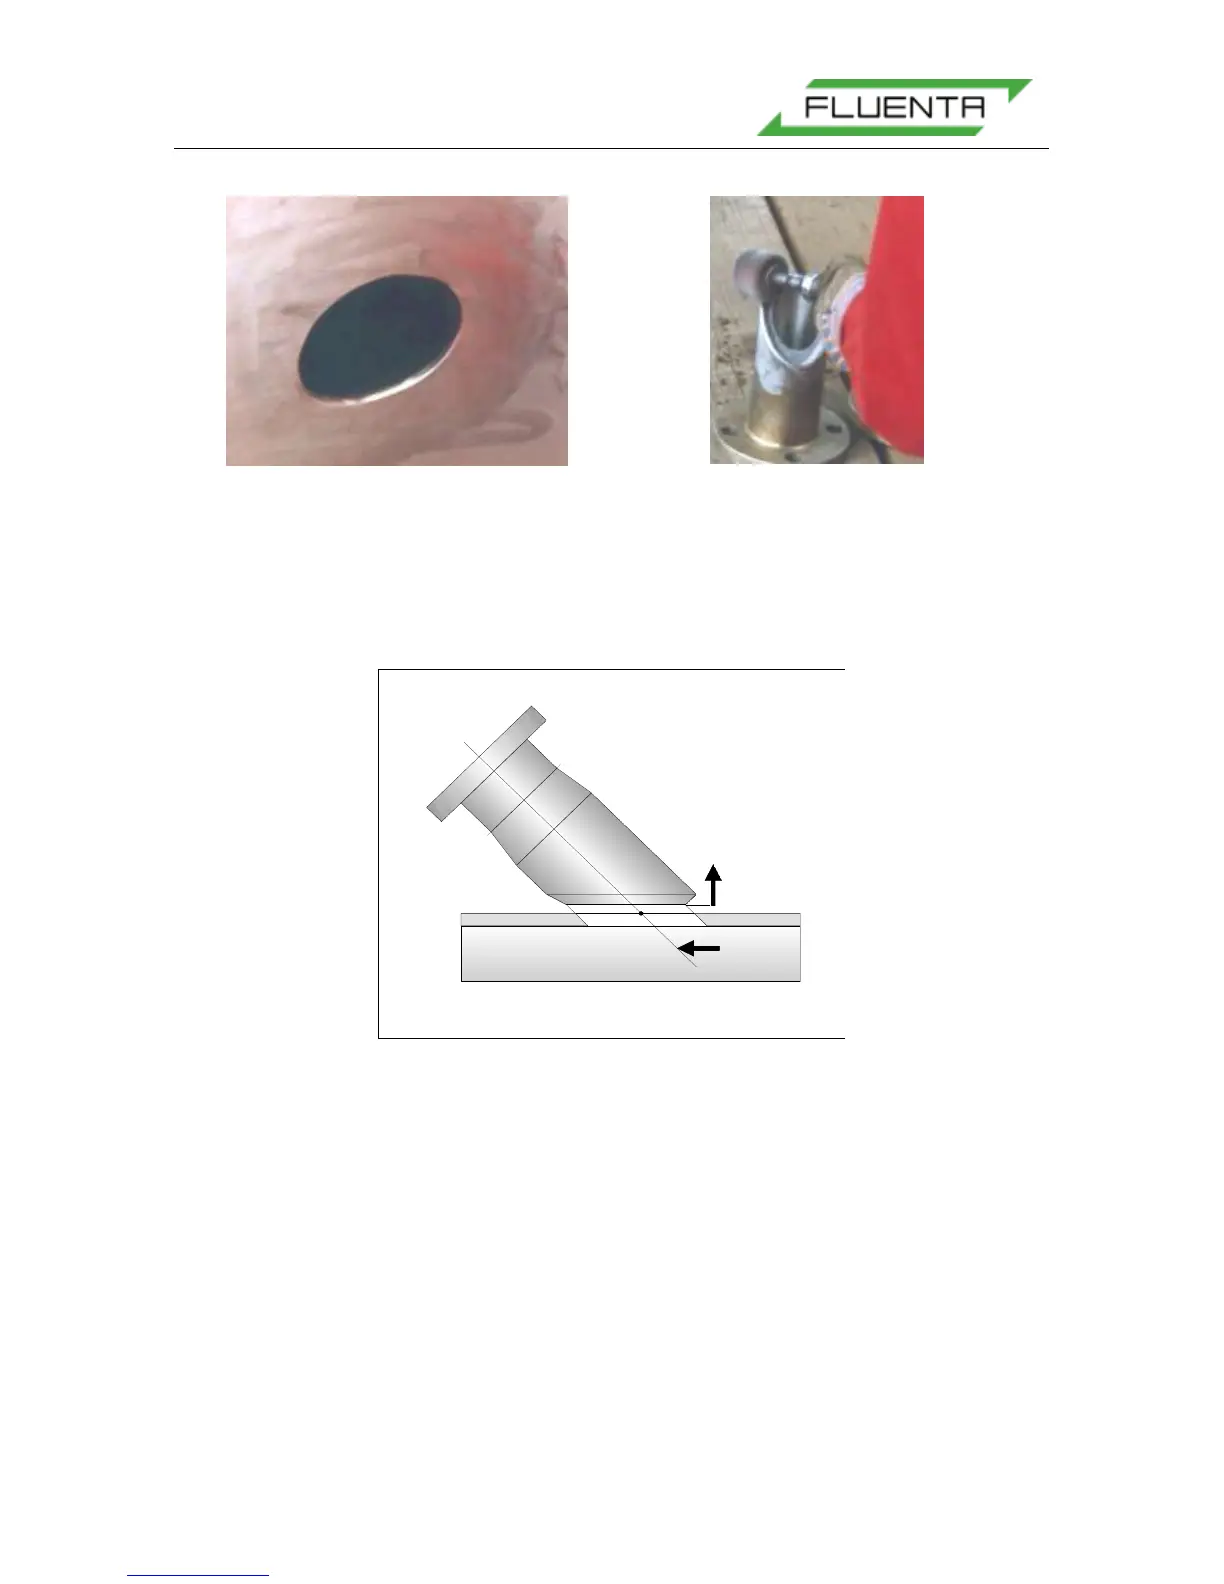
Adjust the gap between the pipe and the transducer holder until it is correct. This is done to
get a satisfactory welding connection. Usually, the spacing will be between 2mm and 4mm,
depending on the welder’s preference, but always at the correct angle (45º/48º/42). Note that
as you raise the transducer holder from the pipe, it must be moved backwards with the same
amount (applies only to 45º installations), see Figure 11.
Figure 11: As you raise the transducer holder, you must also move it backwards to keep the
centering correct.
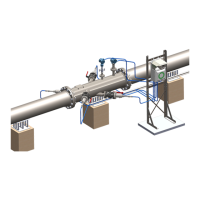
When the transducer holders are grinded and the holes have been made, the welding-jig
should be located in the right position and the transducer holder connected. The transducer
holder can now be tacked to the pipe. Usually, the welder will use three or four tacks. Ensure
that there is enough space to insert the transducer. Fluenta recommends using the sighting
tool to verify this. The tool should be able to be inserted without any friction or obstructions.
The next step is to mount the second transducer holder. Repeat the procedure, but to verify
the exact location/position, you must use the special measuring/view tool.
It is assumed that the buyer’s welding procedure is approved before the work starts and that
the welding is performed by certified welders.
When correct alignment of both transducer holders is ensured (see section 0), the welder
can weld and fill out both transducer holders. Be aware that as the welding is in progress, the
transducer holders can be pulled off their angles by the welding process. Therefore, it is