necessary to pay close attention during the welding, regularly checking the angles with the
digital electronic level.
This activity needs to be carried out by a skilled welder as precision and accuracy is
necessary to get the transducer holders welded into their right positions. The transducer
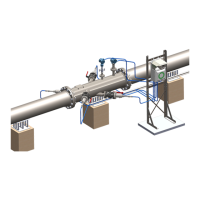
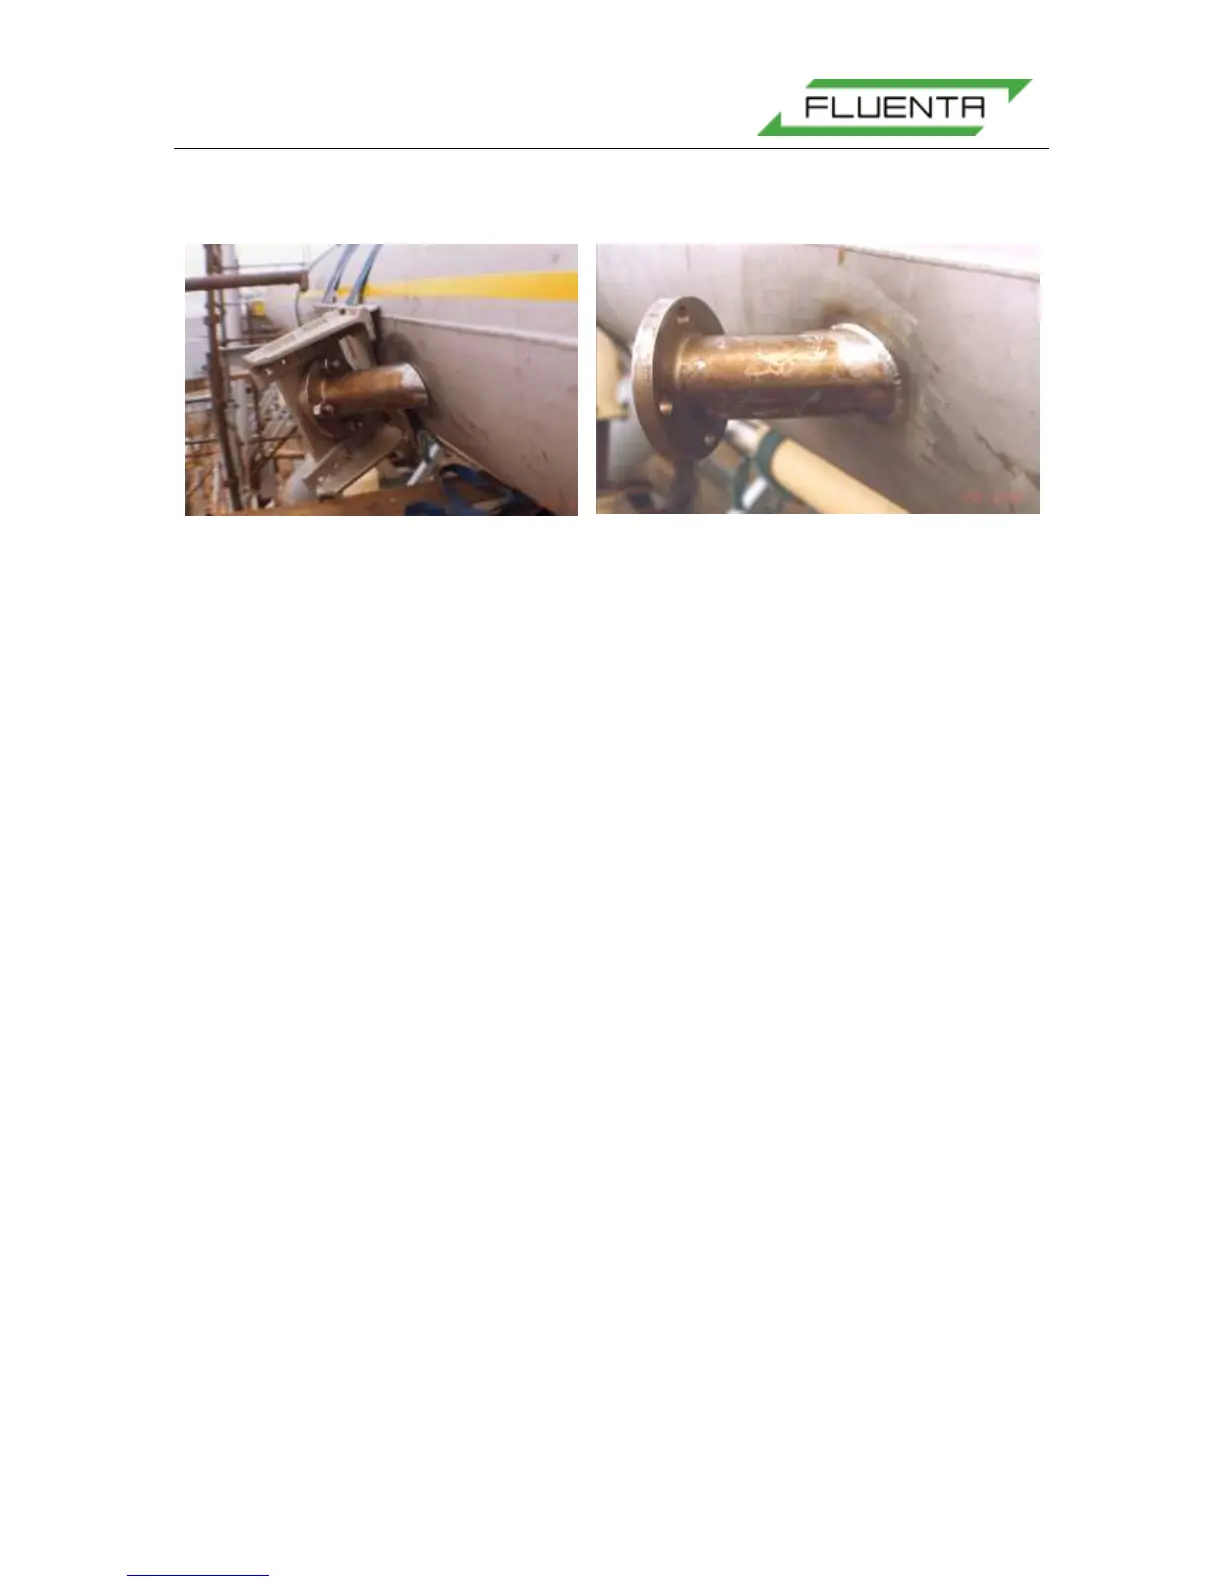
holders are welded onto the pipe according to the buyer’s welding procedure. Next step will
be NDT and final approval of the welding. The welding-jigs can be dismounted when the
transducer holders are properly connected to the pipe as shown in Figure 13.