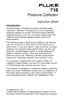
Process Calibrators
Calibration
51
4. Press O to turn the calibrator off.
Sensor Jack Verification
1. Make sure nothing is connected to the sensor port of the calibrator. Push
O to turn
the calibrator on. The display should read:
----------
then change to:
0.000
2. Plug the Fluke Pressure Module into the sensor port of the Fluke 718. The display
should change to:
----------
A pressure value should appear on the screen after all of the calibration constants
have been downloaded.
3. Disconnect the Fluke Pressure Module and push O to turn the calibrator off.
Display Verification
1. Press and hold the
Z key and then press and release the green O key. This locks
the 718 in a mode where all display segments are on. All segments will stay on until
the
Z key is released.
2. Check to see that all segments of the display are showing.
3. Turn the calibrator off. The 718 and 718Ex verification test is now complete.
Calibration
Re-calibration (obtaining new cal-constants) is required only if a calibrator fails
verification. Always re-verify after a re-calibration.
Note
Throughout this section, the 71X Calibrator may be referred to as the
“UUT” (unit under test).
Preparing for Calibration
To prepare for calibration, do the following:
1. Make sure fuse(s) in the UUT are intact. By referring to Table 33, you should not
have to open the unit.
2. Make sure you have the required test equipment available. (Refer to Table 34.)
3. Turn on and warm up the test equipment for the time required.
4. Allow UUT to come to ambient temperature. Turn it on and allow 5 minutes for
warm-up of the UUT.
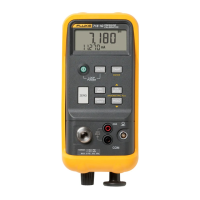
712 Calibration (V1.1 and Earlier)
Millivolts Measure
1. Hold down the
R and the C key at the same time, then press and release the O
key.
2. When the display momentarily shows CAL , release both the
R and the C keys.
This puts the 712 into Cal Mode. The 712 should display:
INPUT 0.00 mV