Process Calibrators
Calibration
61
12. Press any key on the 715 Calibrator. The display should read:
INPUT ----- V
then change to:
INPUT 0.00 mV
13. Set the Fluke 5520A to 0.0000 mV.
14. Press any key on the 715 Calibrator. The display should read:
INPUT ----- mV
then change to:
INPUT 100.00 mV
15. Set the Fluke 5520A to 100.0000 mV.
16. Press any key on the 715 Calibrator. The display should read:
INPUT ----- mV
then change to:
OUTPUT mV
mA/Volts Source Measure
1. Remove all test leads from the 715 Calibrator.
2. Press any key on the 715 Calibrator. Display should change to:
OUTPUT ----- mV
After a couple of seconds, display should change to:
OUTPUT ----- V
After a couple more seconds, display should change to:
OUTPUT mA
3. Take one single test lead and plug one end into the V jack and the other end into the
+LOOP jack of the 715 Calibrator (places a short between the two jacks).
4. Press any key on the 715 Calibrator. Display should read:
OUTPUT ----- mA
5. The 715 will then reset itself with all segments momentarily being displayed, then
change to:
OUTPUT 0.0000 V
The 715 is now out of the CAL mode. Turn the green O key to turn the calibrator off.
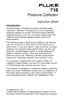
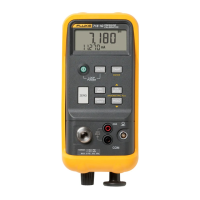
715 Calibration (V2.0 and Later)
1. On the 715 Calibrator, hold down the
V and the A keys at the same time, then
press and release the
O key.
2. The display shows CAL for 1 second and then xxx, where xxx is the number the
times the unit has been through a calibration adjustment. When the two keys are
released, PASS is displayed. One second later, a zero is displayed for the most
significant of the three digit password. Use the two small arrows to change the
number. After setting each digit, press
A. If the password entry was correct, 715
will go into calibration mode and the letter “K” will appear on the display. If the
password was wrong, 715 will go into normal operation mode.