Setting Up and Connecting NetTool
Configuring NetTool
2
2-3
• Restore factory default settings.
Select
Restore Defaults
to restore all of
NetTool’s factory default settings.
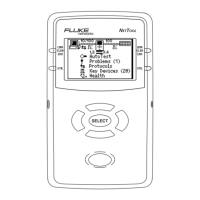
Identifying Unwanted Protocols
Select Unwanted Protocols to display a screen that
allows you to identify protocols on the network that you
want NetTool to warn you about. This feature can be
especially helpful to you during a network-wide migration
away from certain protocols. If NetTool sees a particular
protocol, it reports it to you in the Problem Log.
Manually Assigning NetTool an IP Address
Notes
• By default, NetTool uses DHCP to obtain its IP
address. If you have DHCP on your network, you
can skip this section because no further
configuration is required.
• For manual configuration, make sure any IP
address you assign to your NetTool is correct for
the subnet you are on.
To manually assign an IP address:
1. Select IP Setup to display the IP Setup screen.
2. Select Manual.
3. Press the Down
b arrow key to highlight the
address you want to configure (in this case
NetTool), then press SELECT to display the Edit
screen (Figure 2-3).
afq47s.bmp
Figure 2-3. Edit Screen
4. Press the Up
c
or Down b arrow key to supply
a number in the first field in the address. Then,
press the Right ` arrow key to advance to the
next position. Continue in this manner until the
desired IP address is displayed.