89
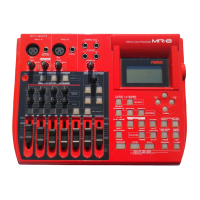
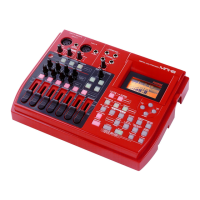
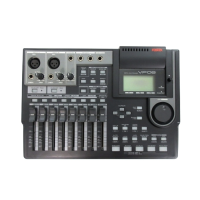
MR-8 Owner’s Manual
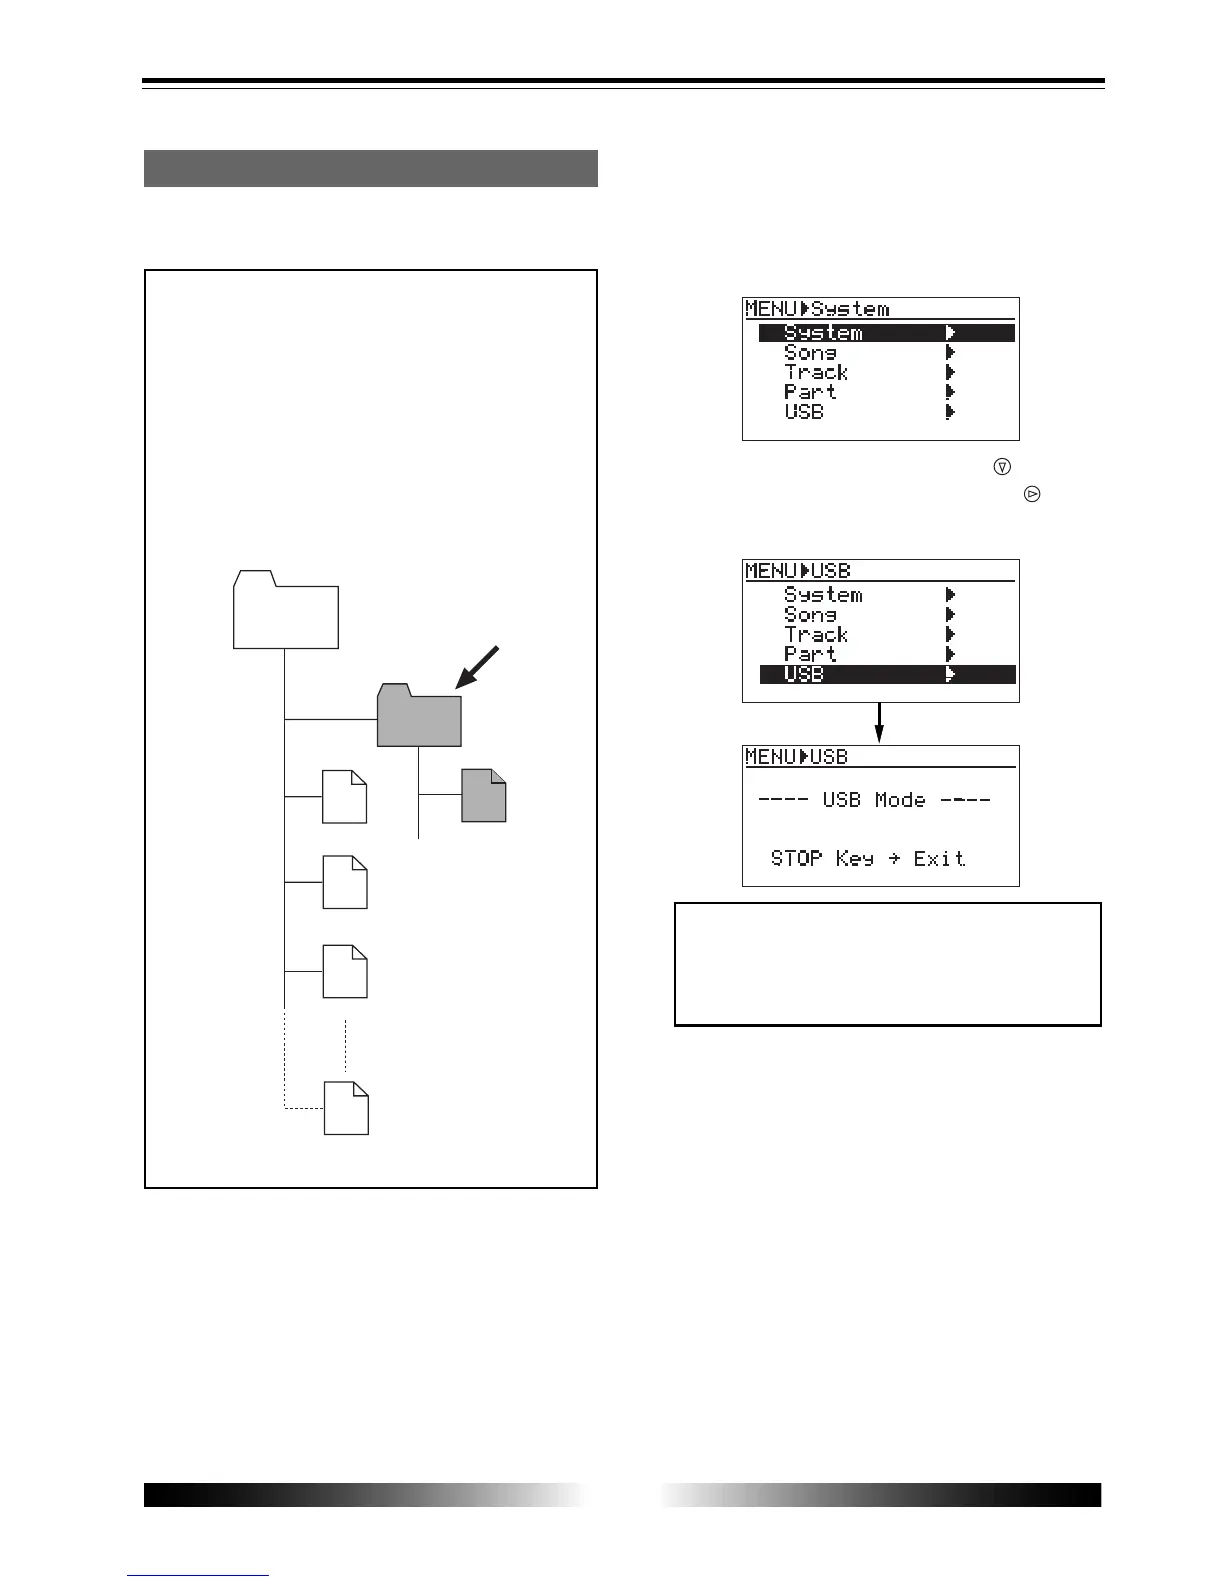
3) Highlight "USB" using the [CURSOR ] key, then
press the [ENTER] key (or the [CURSOR
] key).
The MR-8 enters the USB mode, while the display
shows the lower screen below.
1) Turn on the power of the personal computer and
the MR-8.
2) Press the [MENU] key to enter the menu mode.
The MENU screen is shown in which "System" is
highlighted.
<Important note>
Converted stereo WAV files are located in the
"2 MIX" folder in the Song folder, as shown
below. So you can export only a stereo WAV
file in the "2 MIX" folder (indicated by an ar-
row).
Note that, if you export a WAV file which is
located in a folder other than the "2 MIX"
folder, the MR-8 may malfunction.
Exporting a WAV file to a personal computer
The following describes the procedure for export-
ing a WAV file to a Windows ME computer.
#####001.wav
Song
#####002.wav
#####003.wav
#####008.wav
2 MIX
*********.wav
<Note>
While the MR-8 is in the USB mode, no keys
except the [STOP] key are ineffective. Press-
ing the [STOP] key exits the USB mode.
4) Connect the MR-8 to a personal computer using a
USB cable.
5) Open "My computer" on the computer screen.
You see the "Removable disc" drive added on the
computer. The first time you connect the MR-8,
the device driver is installed automatically.
6) Open the "Removable disc" drive added, and
select a desired stereo WAV file in the "2 MIX" folder
in a desired song folder, then copy to the computer.
When you open the "Removable disc" drive added,
the contents of the card inserted to the MR-8 are
shown, in which you can see all the song folders.