135
EN
Replacing the
pressure mem-
brane switch
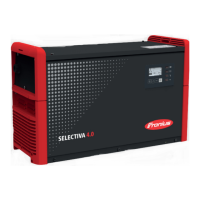
Removing the pressure membrane switch:
Remove the front panel and the
housing cover (see the "Opening the
device" section)
Disconnect the silicone tube (1) from
the pressure membrane switch
Disconnect the blade terminal (2) from
the pressure membrane switch
Press together at the marked point (3)
on the pressure membrane switch and
remove it from the metal holder
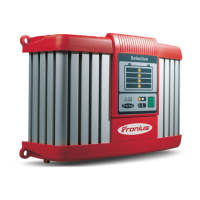
Installing the pressure membrane switch:
Clip the new pressure membrane
switch into the metal holder and make
sure it is secure
Connect the blade terminal (2) from the
pressure membrane switch
Connect the silicone tube (1) with the
pressure membrane switch
Fit the front panel and the housing co-
ver (see the "Closing the device" secti-
on)
Replacing the
Selrele PC board
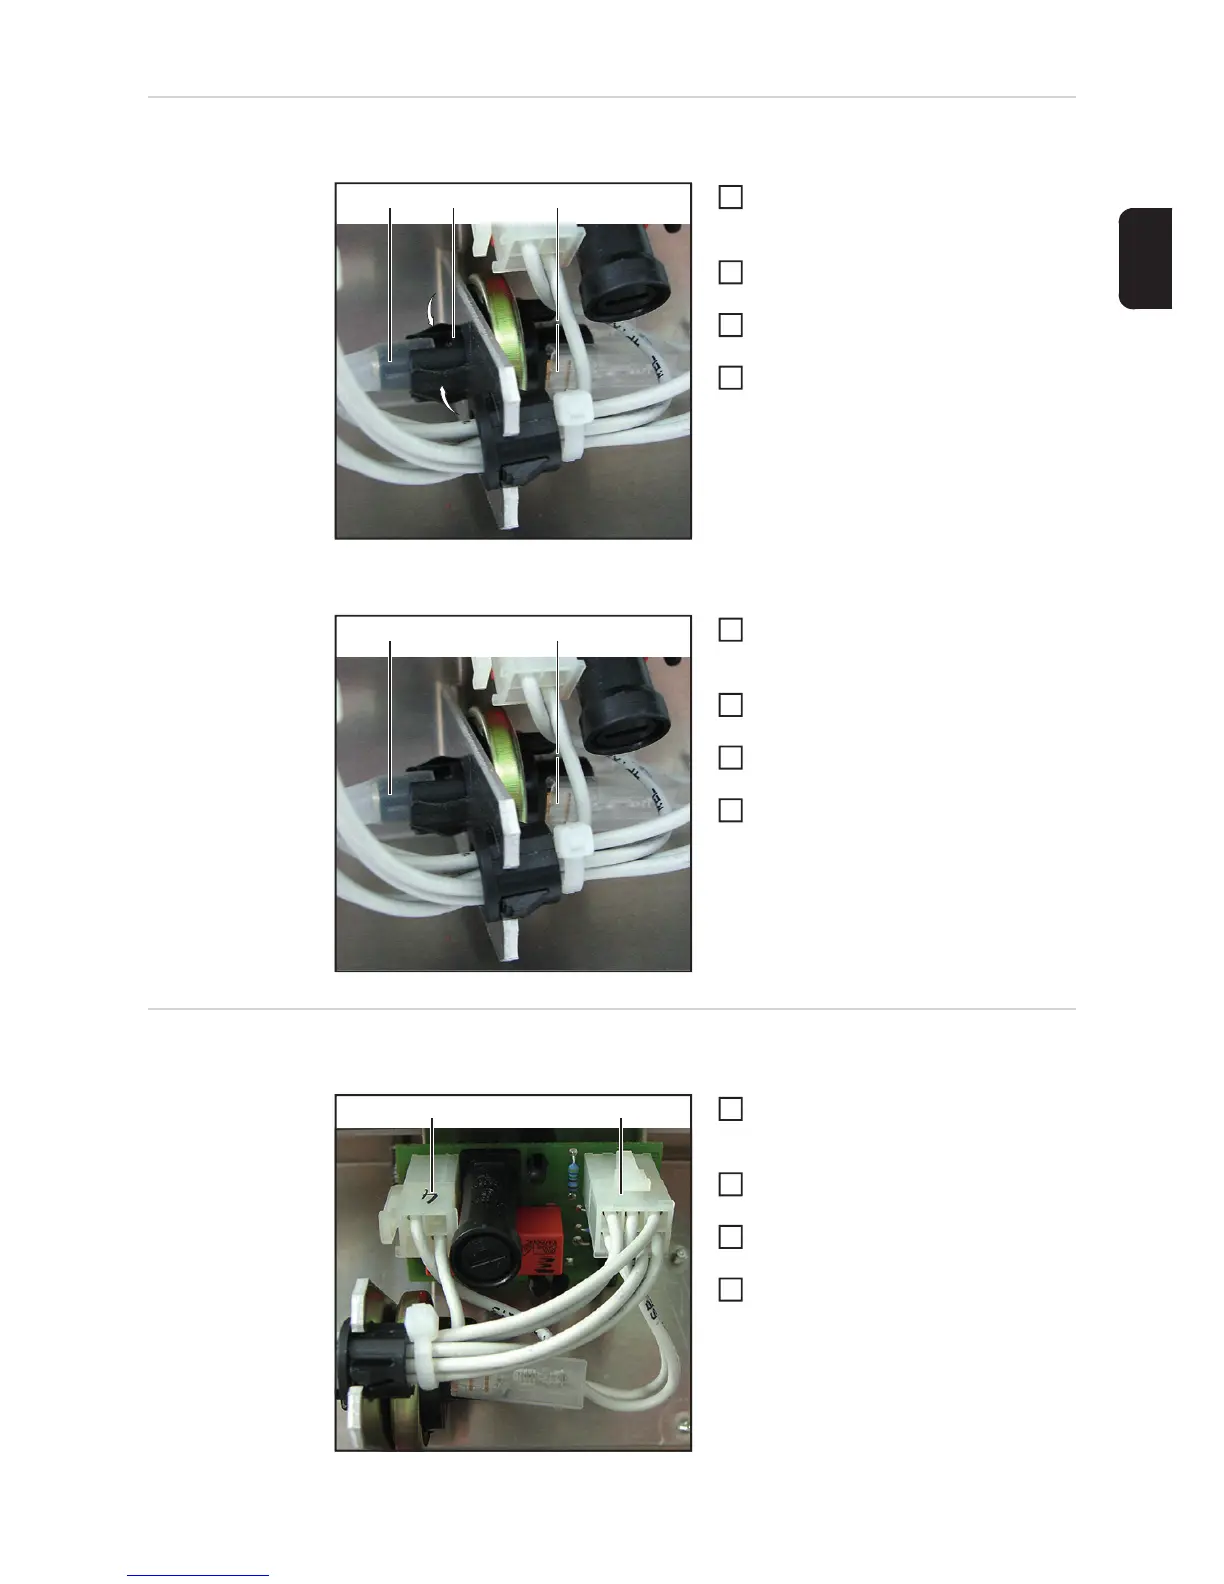
Removing the Selrele PC board:
Remove the front panel and the
housing cover (see the "Opening the
device" section)
Disconnect the 4-pin plug (1) from the
Selrele PC board
Disconnect the 6-pin plug (2) from the
Selrele PC board
Remove the Selrele PC board from the
slot spacers
(1) (2)
(3)
1
2
3
4
(1) (2)
1
2
3
4
(1) (2)
1
2
3
4
 Loading...