136
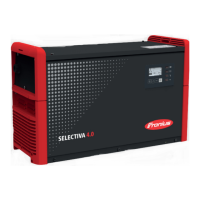
Installing the Selrele PC board:
Place the new Selrele PC board on the
slot spacers and make sure it is secure
Connect the 4-pin plug (1) to the Selre-
le PC board
Connect the 6-pin plug (2) from the
Selrele PC board
Fit the front panel and the housing co-
ver (see the "Closing the device" secti-
on)
Replacing the Air-
Puls auto-trans-
former
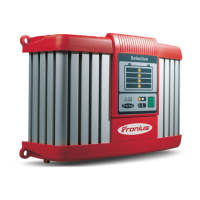
Replacing the Air-Puls auto-transformer:
Remove the front panel and the
housing cover (see the "Opening the
device" section)
Disconnect the three blade terminals
(1) from the Air-Puls auto-transformer
Undo the four M3 lock nuts including
the M3 shims (2)
Remove the Air-Puls auto-transformer
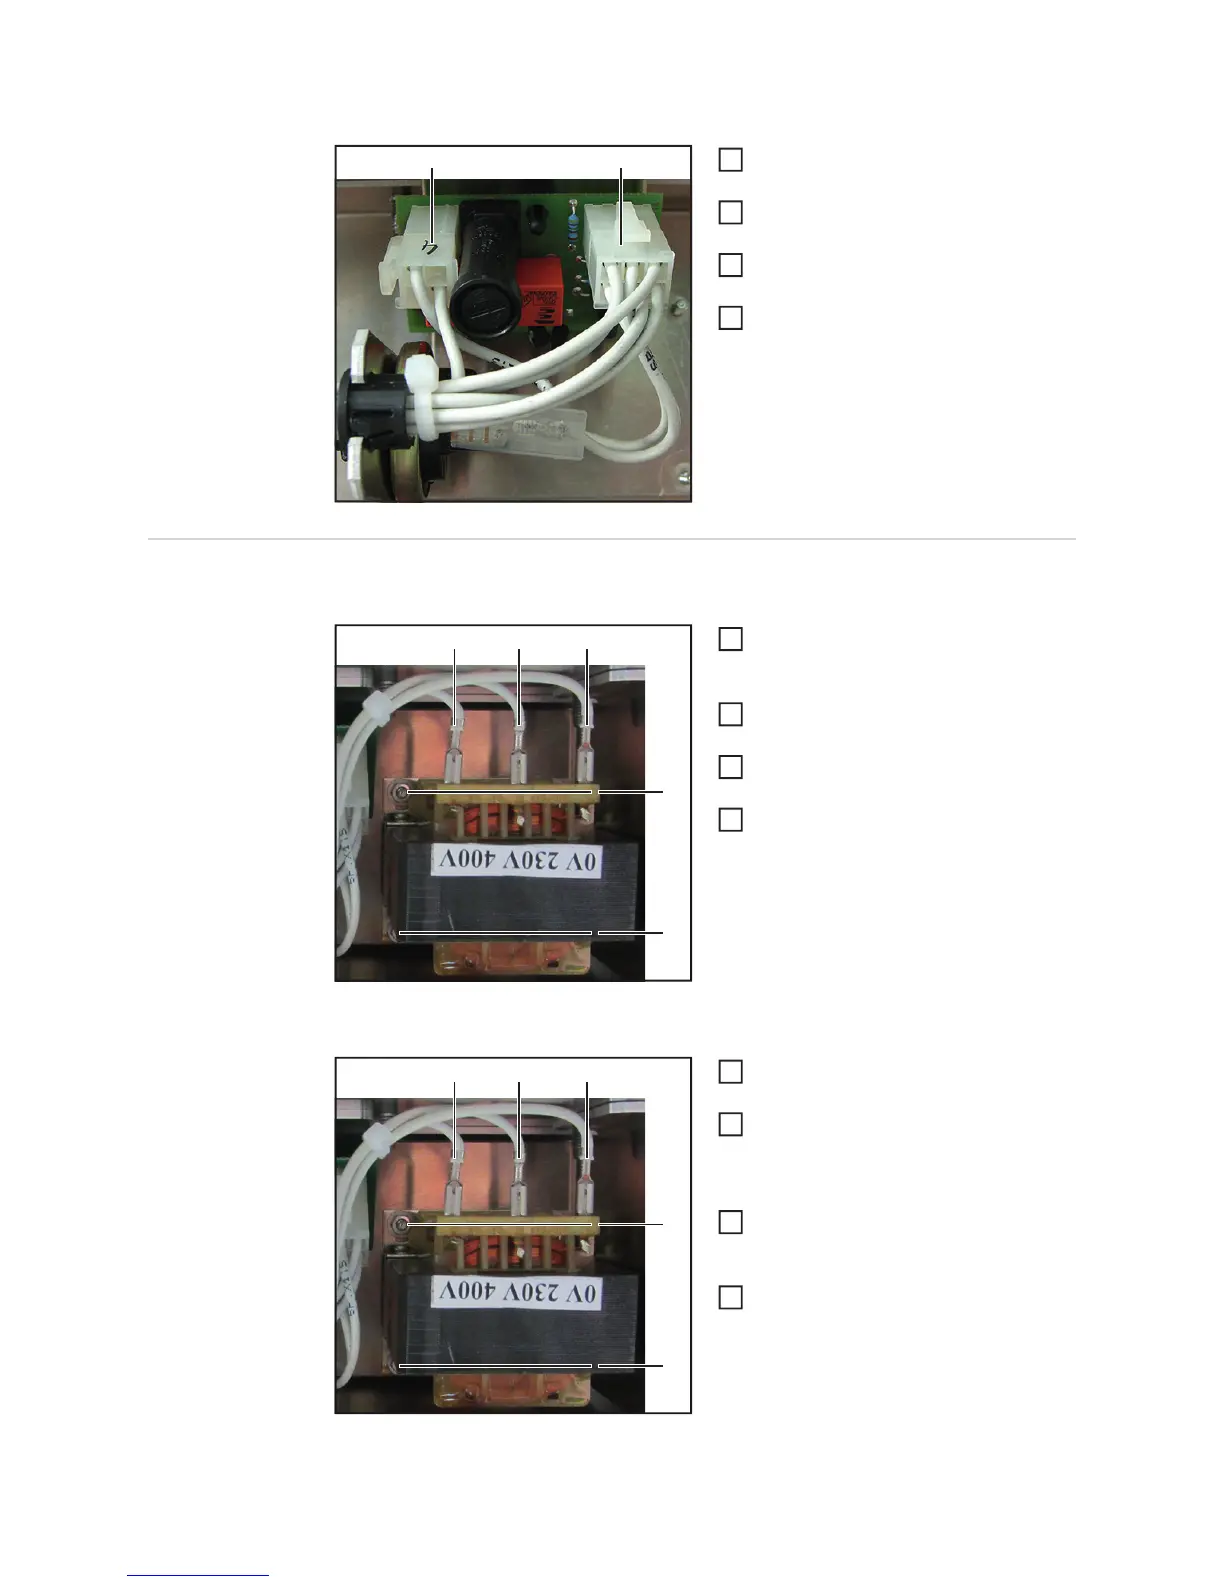
Installing the Air-Puls auto-transformer:
Place the new Air-Puls auto-transfor-
mer onto the grub screws
Place the four M3 lock nuts including
the M3 shims (2) onto the grub screws
and tighten
[1.25 Nm]
Connect the three blade terminals (1)
on the Air-Puls auto-transformer in the
correct sequence
Fit the front panel and the housing co-
ver (see the "Closing the device" secti-
on)
(1) (2)
1
2
3
4
(1) (1) (1)
(2)
(2)
1
2
3
4
(1) (1) (1)
(2)
(2)
1
2
3
4
 Loading...