EasyManuals Logo

Fronius Selectiva 4185 Service Manual

Fronius Selectiva 4185
Go to English
174 pages
To Next Page IconTo Next Page
To Previous Page IconTo Previous Page
Page #140 background imageLoading...
Page #140 background image
140
Closing the device
Closing the Se-
lectiva 8 kW
Closing the housing cover:
Insert the housing cover and fit with six
5x12 TX25 screws (4)
[3 Nm]
Fit the device frames with three 5x12
TX25 screws (2)
[3 Nm]
Engage the AC/DC connecting plate
and fit it with four 5x16 TX25 screws (1)
[3 Nm]
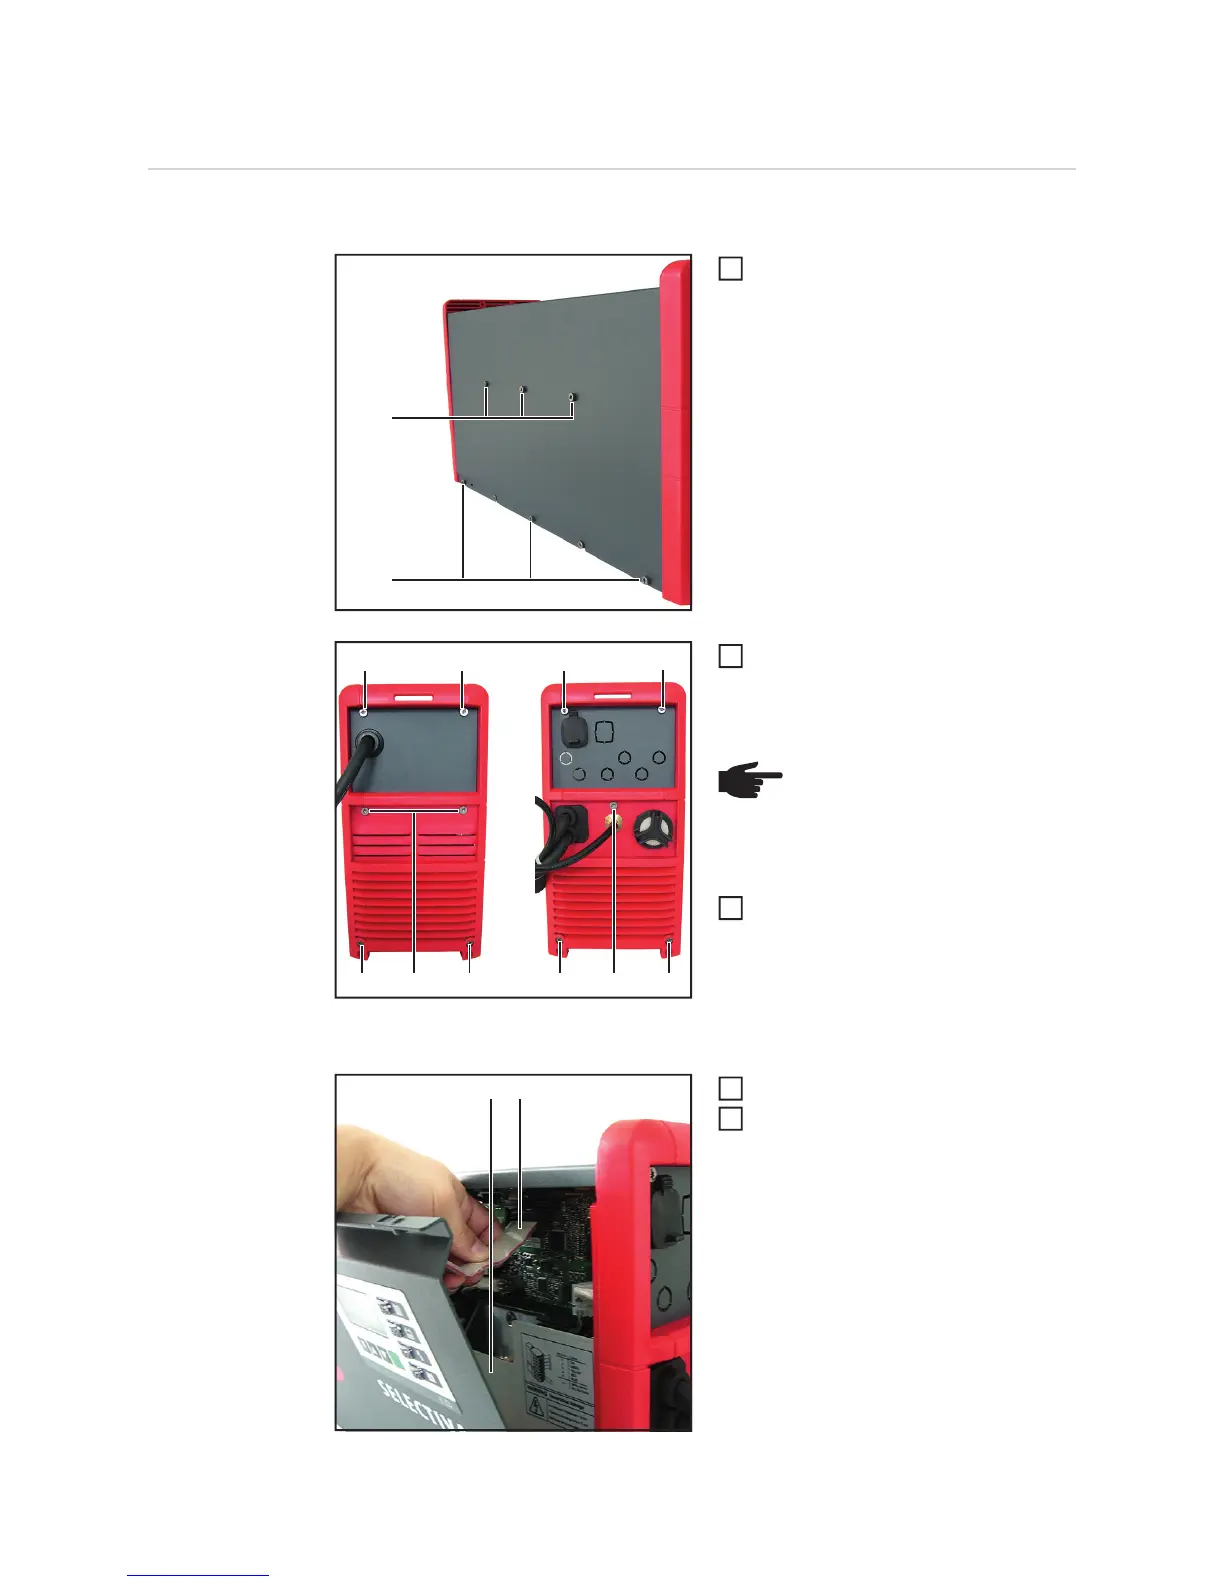
Closing the front panel:
Insert the insulating sheet (3)
Establish a connection (2) from the P-
display to the P-control
(4)
(4)
3
(1) (1) (1) (1)
(3) (2) (3) (3) (2) (3)
NOTE! If the device frames were
removed, they must be fitted with
four additional 5x12 TX25 screws
(3) [3 Nm]
2
3
(3) (2)
1
2

Table of Contents

Other manuals for Fronius Selectiva 4185

Questions and Answers:

Question and Answer IconNeed help?

Do you have a question about the Fronius Selectiva 4185 and is the answer not in the manual?

Fronius Selectiva 4185 Specifications

General IconGeneral
BrandFronius
ModelSelectiva 4185
CategoryBattery Charger
LanguageEnglish

Related product manuals