EasyManuals Logo

Fronius Selectiva 4185 Service Manual

Fronius Selectiva 4185
Go to English
174 pages
To Next Page IconTo Next Page
To Previous Page IconTo Previous Page
Page #142 background imageLoading...
Page #142 background image
142
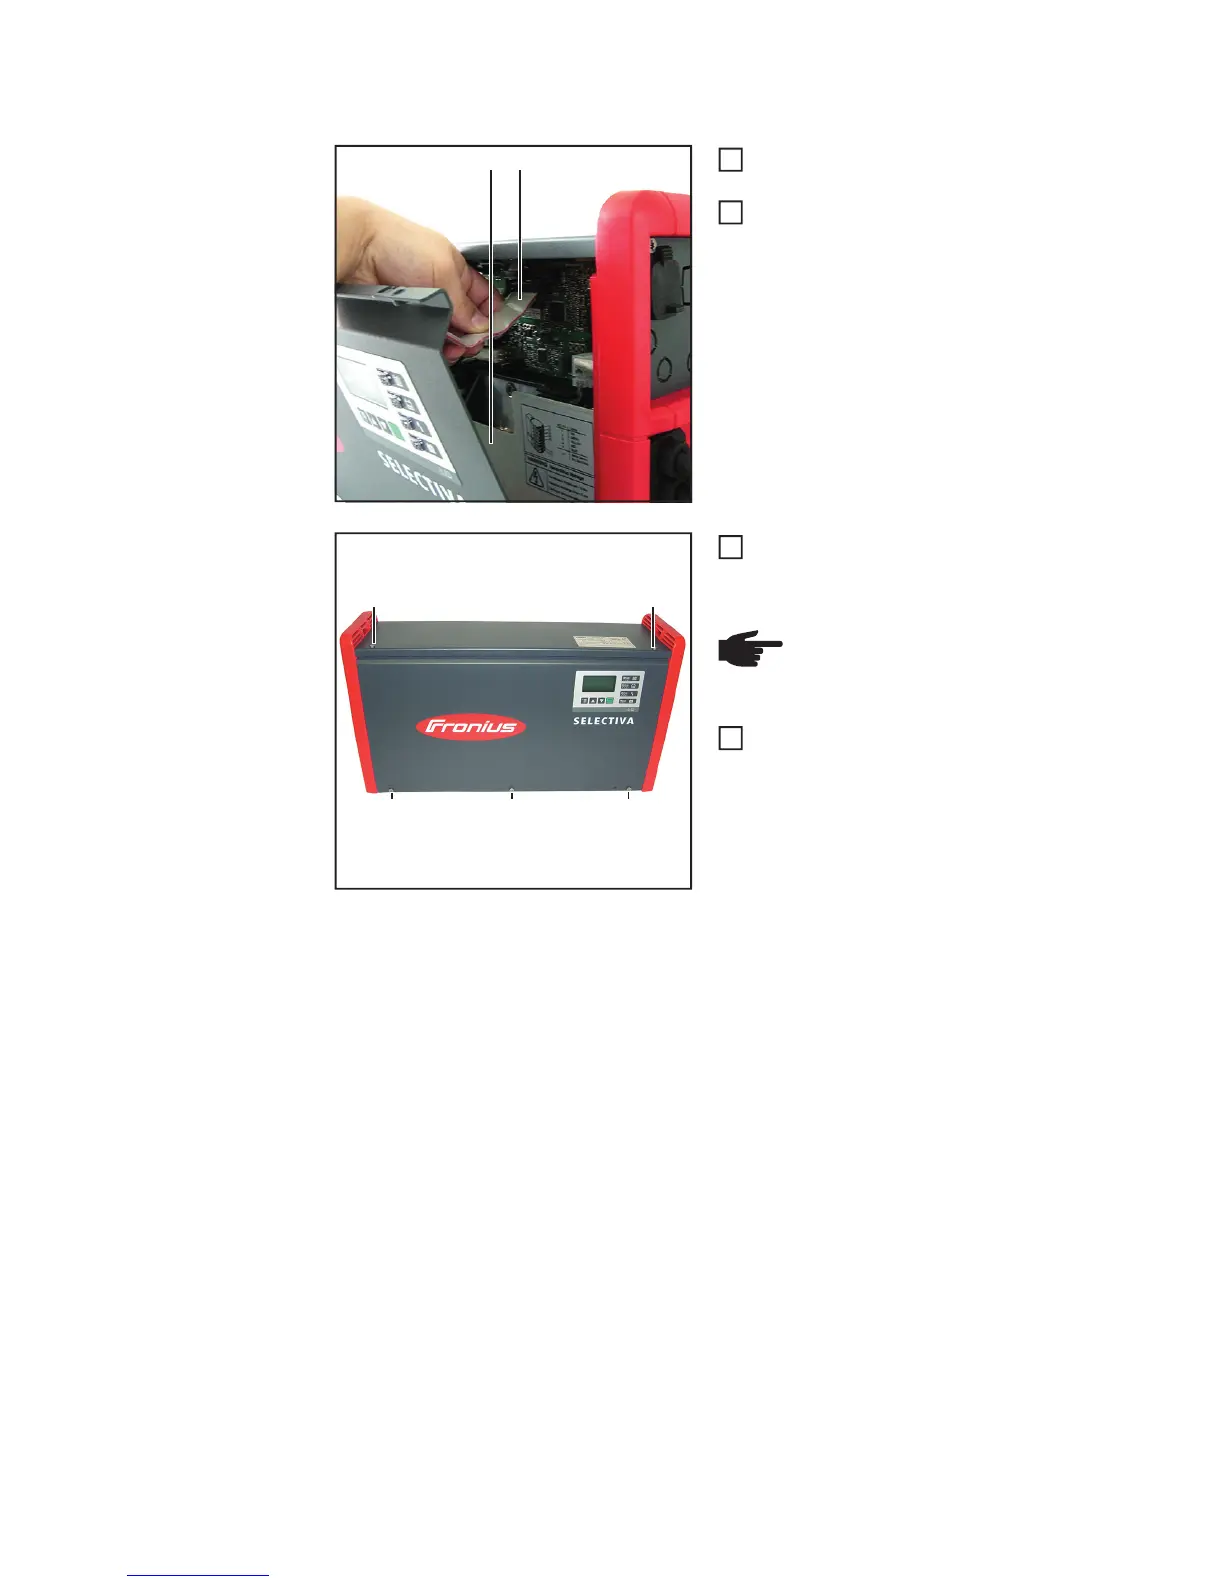
Closing the front panel:
Insert the insulating sheet (1) and at-
tach top right with cable tie
Establish a connection from the P-dis-
play to the P-control
Thread/engage the front panel at the
top
To avoid distorting the front panel, fit
with five 5x12 TX25 screws (2-6) in the
correct sequence
[3 Nm]
(3) (2)
1
2
(7) (8)
(5) (4) (6)
NOTE! Insert/connect the LED dif-
fuser strips, if present
4
5

Table of Contents

Other manuals for Fronius Selectiva 4185

Questions and Answers:

Question and Answer IconNeed help?

Do you have a question about the Fronius Selectiva 4185 and is the answer not in the manual?

Fronius Selectiva 4185 Specifications

General IconGeneral
BrandFronius
ModelSelectiva 4185
CategoryBattery Charger
LanguageEnglish

Related product manuals