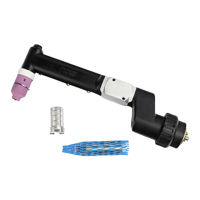
Connect the welding torch to the interconnecting hosepack
1
Fit the protective bag:
2
Position the protective bag as follows:
- the Fronius logo must be visible
- the loops of the protective bag must be at the top
Notes on the following diagrams:
left = power source end (A)
right = welding torch end (B)
3
Open the protective bag:
- Push both zip pulls to the right as far as they will go
- Pull the bottom end of the tape out of the zip pulls
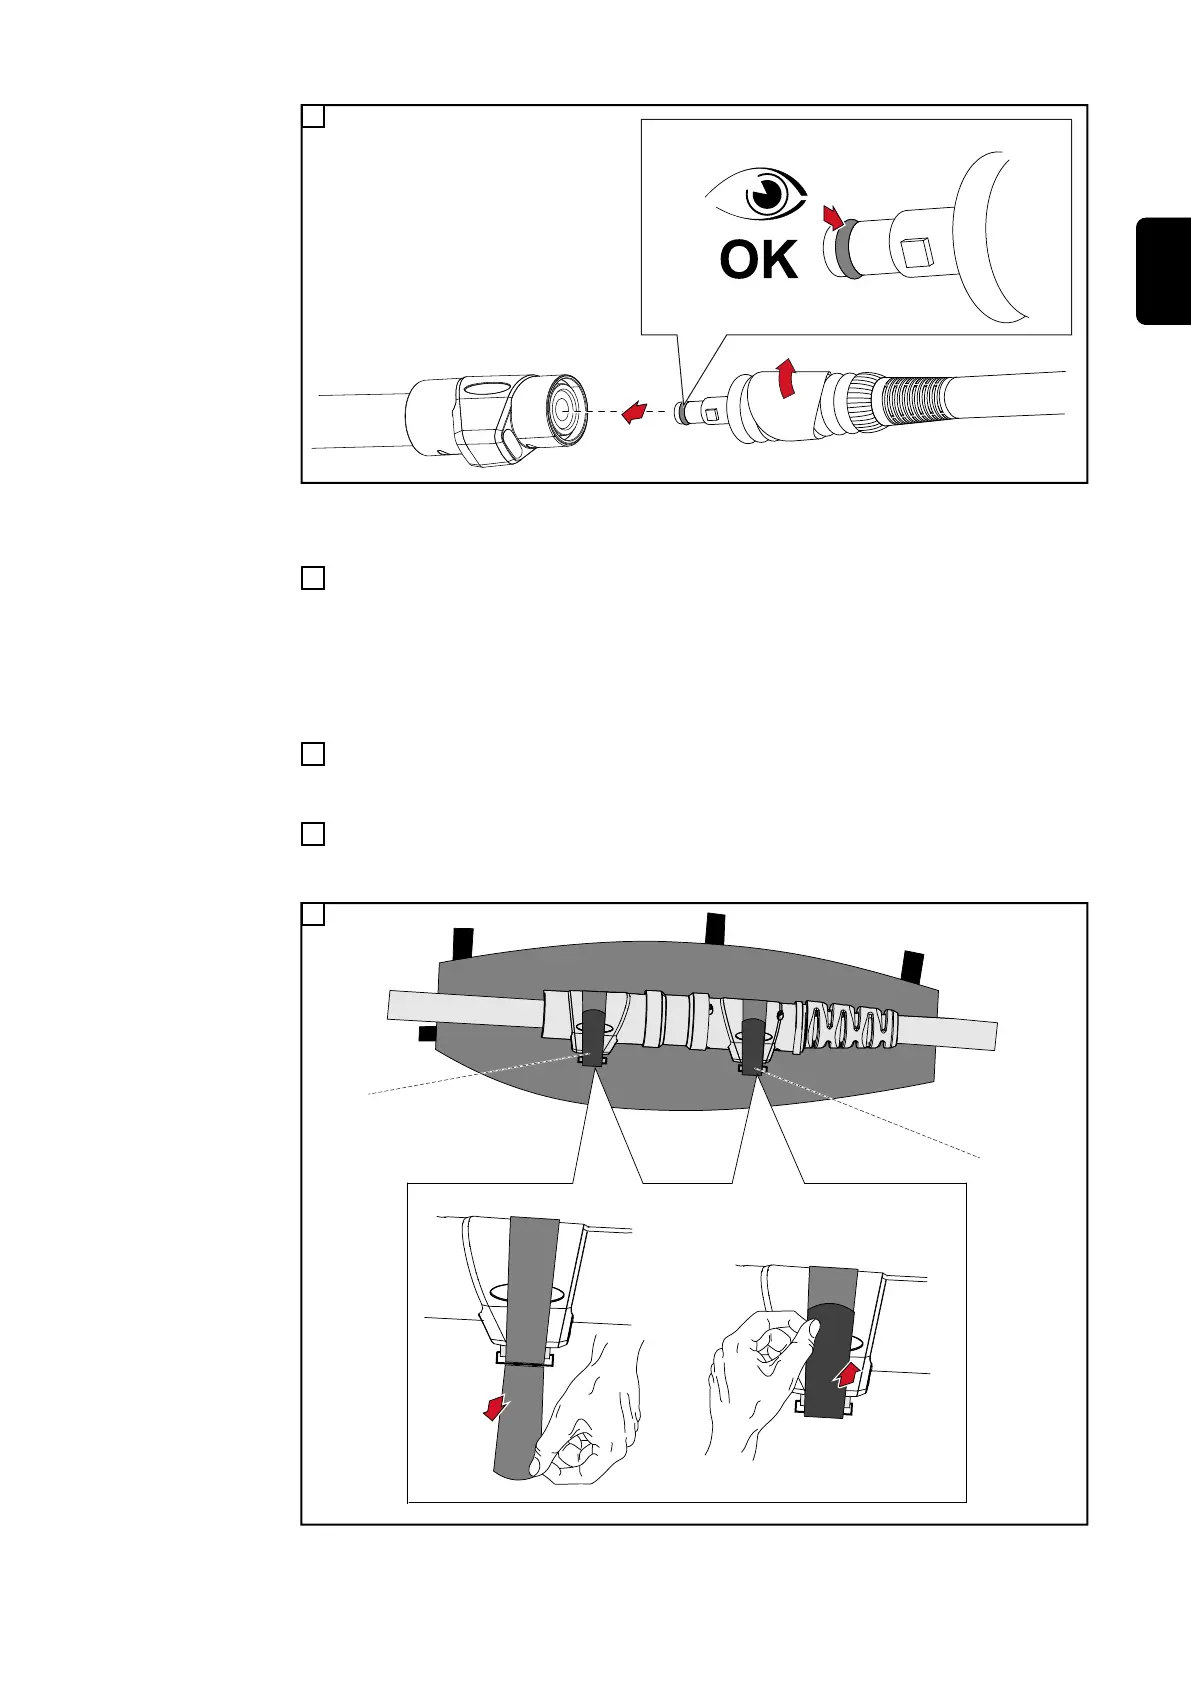
4
Place the interface connecting the extension hosepack and the torch hosepack in
the inside pocket of the protective bag
- * = Velcro strips on the inside pocket (inside pocket not shown)
- Secure the interface in the inside pocket with 2 Velcro strips
5
75
EN-US