30 Basic Operation
16
Confirm Tray 2 (550 Sheet Feeder) is listed under Printer Options in the Printer Settings page.
If the feeder is not listed, turn off the printer, unplug the power cord, and re-install the optional 550 sheet feeder.
17
After loading paper in the optional 550 sheet feeder, specify the paper type from the printer operator panel.
a
Press the (Menu) button.
b
Select Tray Settings, and then press the
button
.
c
Select Tray 2, and then press the
button
.
d
Select Paper Type, and then press the
button
.
e
Select the paper type for the optional 550 sheet feeder, and then press the
button
.
18
If you installed the optional 550 sheet feeder after installing the print driver, update your driver by following the
instructions for each operating system. If the printer is on a network, update the driver for each client.
Updating Your Driver to Detect Optional 550 Sheet Feeder
The following procedure uses the PCL 6/PS driver on Windows
®
7 and Windows
®
10 as examples.
NOTE:
• When you use XML Paper Specification (XPS) driver, the following settings are not required.
If the printer information is not updated automatically after clicking Get Information from Printer, follow these steps:
1
Click the Configuration tab, and then select Installable Options.
2
Select Paper Tray Configuration in the Items list box.
3
Select 2 Trays in the Paper Tray Configuration drop-down menu under Setting for.
4
Click OK.
5
Click Apply, and then click OK.
The following procedure uses OS X 10.11 as an example.
Windows
®
7 1 Click Start Devices and Printers.
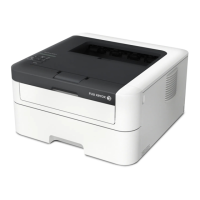
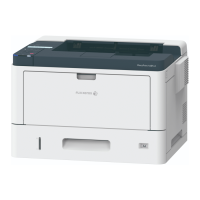
2 Right-click the printer icon of the DocuPrint P365 d or DocuPrint P368 d and select Printer
properties.
3 Click the Configuration tab, and then select Bi-Directional Setup.
4 Select Get Information from Printer and then select OK.
5 Click Apply, and then click OK.
6 Close the Devices and Printers dialog box.
Windows
®
10 1 Right-Click Start Control Panel.
2 Click Hardware and Sound Devices and Printers.
3 Right-click the printer icon of the DocuPrint P365 d or DocuPrint P368 d and select Printer
Properties.
4 Click the Configuration tab, and then select Bi-Directional Setup.
5 Select Get Information from Printer and then select OK.
6 Click Apply, and then click OK.
7 Close the Devices and Printers dialog box.
OS X 10.11 1 Select the Printers & Scanners in System Preferences.
2 Select the printer in the Printers list, and click Options & Supplies.
3 Select Driver, select the options that have been installed on the printers, and then click
OK.
 Loading...


