Caution: All power and cabling to the RU must be disconnected
from the RU before starting this procedure.
Aention: Toute l'alimentation et le câblage doivent être
déconnectés de l'EF avant de commencer cee procédure.
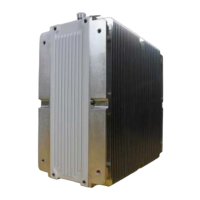
Caution: e RU is heavy. Fujitsu recommends removing the RU on
a two-person team to avoid damage to the unit or injury to the user.
Aention: Le RU est lourd. Fujitsu recommande de retirer l'EF d'une
équipe de deux personnes pour éviter d'endommager l'appareil ou
des blessures à l'utilisateur.
Note: e screws included in the Wall Mount Kit are intended for installing the RU onto a wood surface. To
install on other surfaces, for example, concrete, brick, or unistrut, the appropriate hardware mounting anchors
must be acquired separately.
Note: Always ensure that the mounting surface and anchors can withstand up to 240 lbs (108.862 kg) of weight.
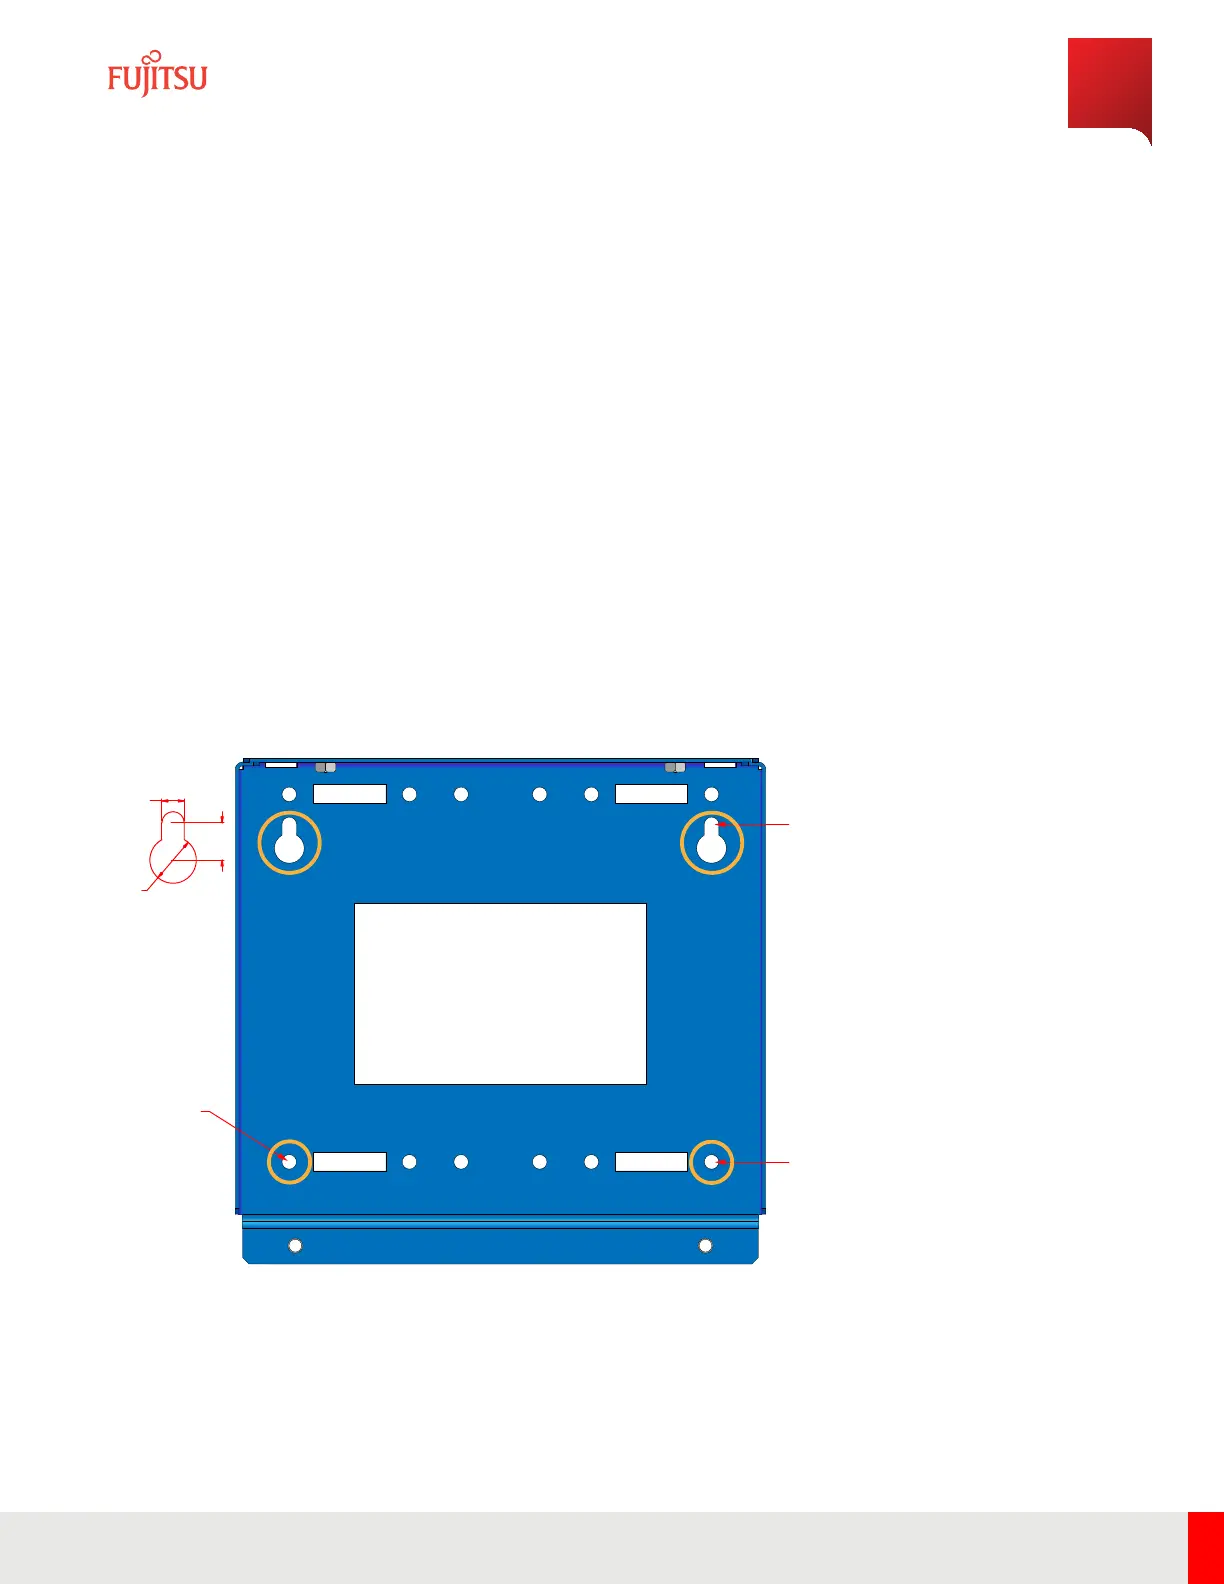
Step 1
Install the Wall Mounting Plate to a designated wall location using M10 bolts with at and split washers in each of
the four holes circled in the following graphic to secure it in place.
Note: e wall mount plate can be used to mark the location for the bolts on the wall surface prior to
installation.
NOTE: [Bracketed] measurements are shown in inches (in.)
Non-bracketed measurements are shown in milimeters (mm)
(2X) 55,00
[2.165]
(6X) 335,00
[13.189]
12,00
[0.472]
12,0
[0.47]
25,0
[0.98]
20,0
[0.79]
FNC001603_Rev_03
Figure 22
Wall Mount Plate
Installation
RU Installation
106
Release 1.0 · Issue 1.1, May 2021
Fujitsu and Fujitsu Customer Use Only