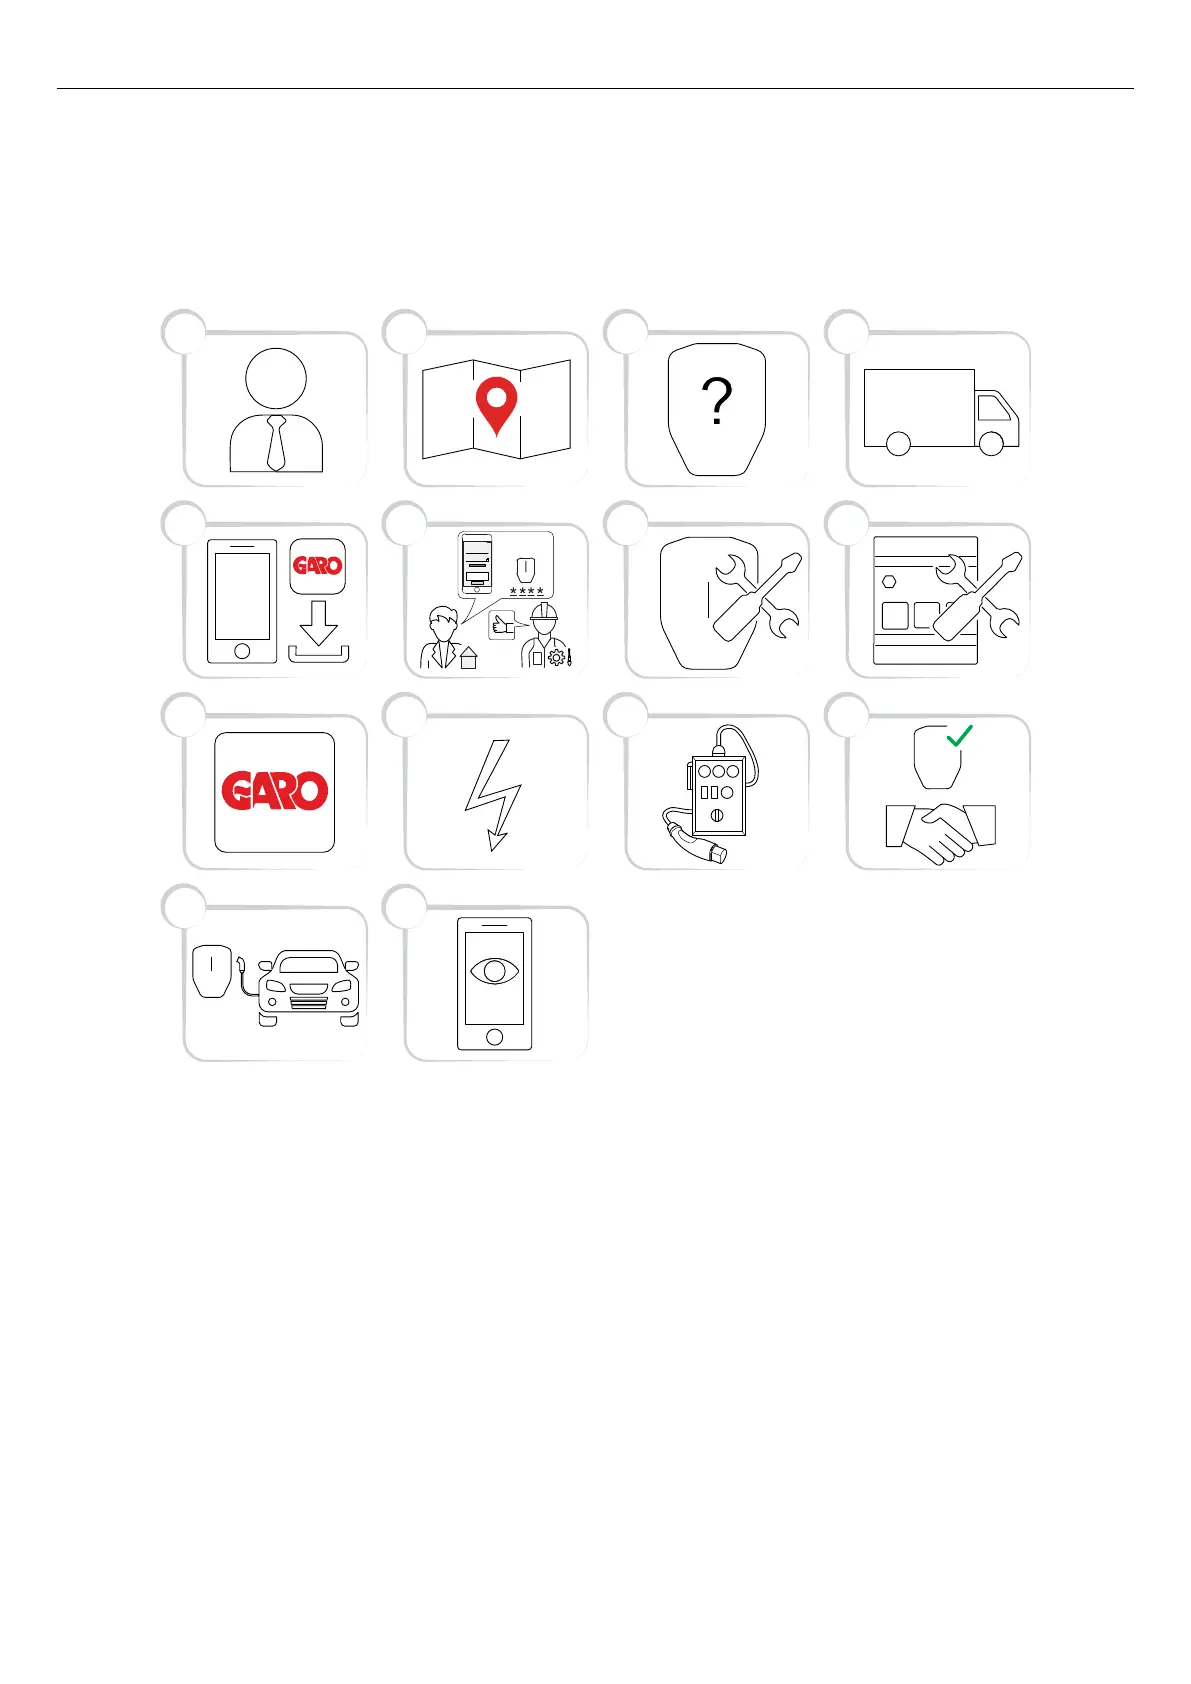
4.14.2 GARO CONNECT APP PROCESS OVERVIEW
The GARO Connect app is based on a standard/
startup process for both the owner of the charging
station, and the installer of the charging station. The
illustration shows the process from both perspectives.
1. Owner (or installer): Consult a GARO
representative for correct choice of product variant.
2. Owner: Prepare the installation and choose
location.
3. Owner (or installer): Choose product(s) and
accessories.
4. Owner (or installer): Receive delivery of product(s)
and accessories.
5. Owner and installer: Download the GARO Connect
app.
6. Owner (or installer on behalf of the owner): Prepare
the installation and invite the installer.
7. Installer: Install the charging stations(s) (CS(s)).
8. Installer: Install the load interface(s) (LI).
9. Installer: Follow the installation guide in the
administrative tool - the GARO Connect app.
10. Installer: Apply power/voltage to the charging
station.
11. Installer: Perform a test of the installation.
12. Installer and owner: Declare installation as
complete in the GARO Connect app. Do the
handover to the owner.
13. Owner and/or EV driver: Charge an EV.
13
109 11
65 7
21 3
12
8
4
14
Installation
code
Generate new code
10:06
Invite installer
Generate new code
Update message
X0N0DWV0N11D
Version: 1.3 57
Installation