GFK-1322A Appendix Q Quick Start Guide Q-7
Q
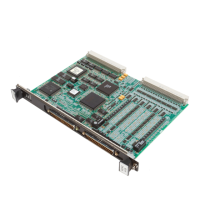
Hardware Installation and Powerup
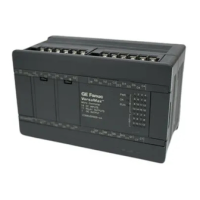
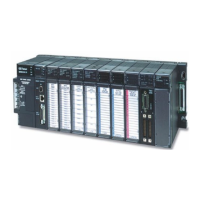
The LBIM can be installed in any rack, in any slot except slot 0, which is reserved for the CPU
module.
Caution
Power to the PLC rack must be off before installing or removing the
module.
1
.
Grasp the module with the rear hook facing away from you.
2
.
Align the module with the desired base slot and connector. Tilt the module upward so that the
top rear hook on the module engages the slot on the baseplate.
3
.
Swing the module downward until the connectors mate and the locking lever on the bottom of
the module snaps into place, engaging the baseplate notch.
When power is applied to the LBIM, the following sequence of events should occur:
• PWR indicator lights
• LBIM performs self-test, during which IN MSG and OUT MSG indicators will light briefly
• When powerup is complete, the PWR indicator will remain lighted and the SVC indicator
will be flashing to indicate Module is unconfigured.
If the IN MSG and OUT MSG indicators flash alternately (indicates possible EEPROM checksum
error, incorrect backplane initialization, or errors during initialization of the network interface)
power cycle the module. (For troubleshooting information, refer to Chapter 5.)
 Loading...