7-18 ApexPro™ Telemetry 2001989-203C
Parts lists, drawings and replacement
Hard drive
Perform the following procedures to replace the hard drive and verify that the rebuild
procedure is complete:
Replace the hard drive on page 7-18
Log into ATS via VNC on page 7-20
Verify that the rebuild procedure completed successfully on page 7-20
Replace the hard drive
NOTE
GE recommends that you replace the defective hard drive with a known blank,
formatted hard drive supplied as a FRU.
The top and bottom hard drives have different procedures. Refer to the appropriate
procedure:
Bottom hard drive on page 7-18
Top hard drive on page 7-19
Bottom hard drive
1. Record the serial number of the new hard drive you are installing.
2. Complete the preparation procedures. See Field replacement preparation on page
7-3.
3. Remove the chassis cover. See Chassis cover on page 7-6.
4. Remove the drive bay. See Drive bay on page 7-16.
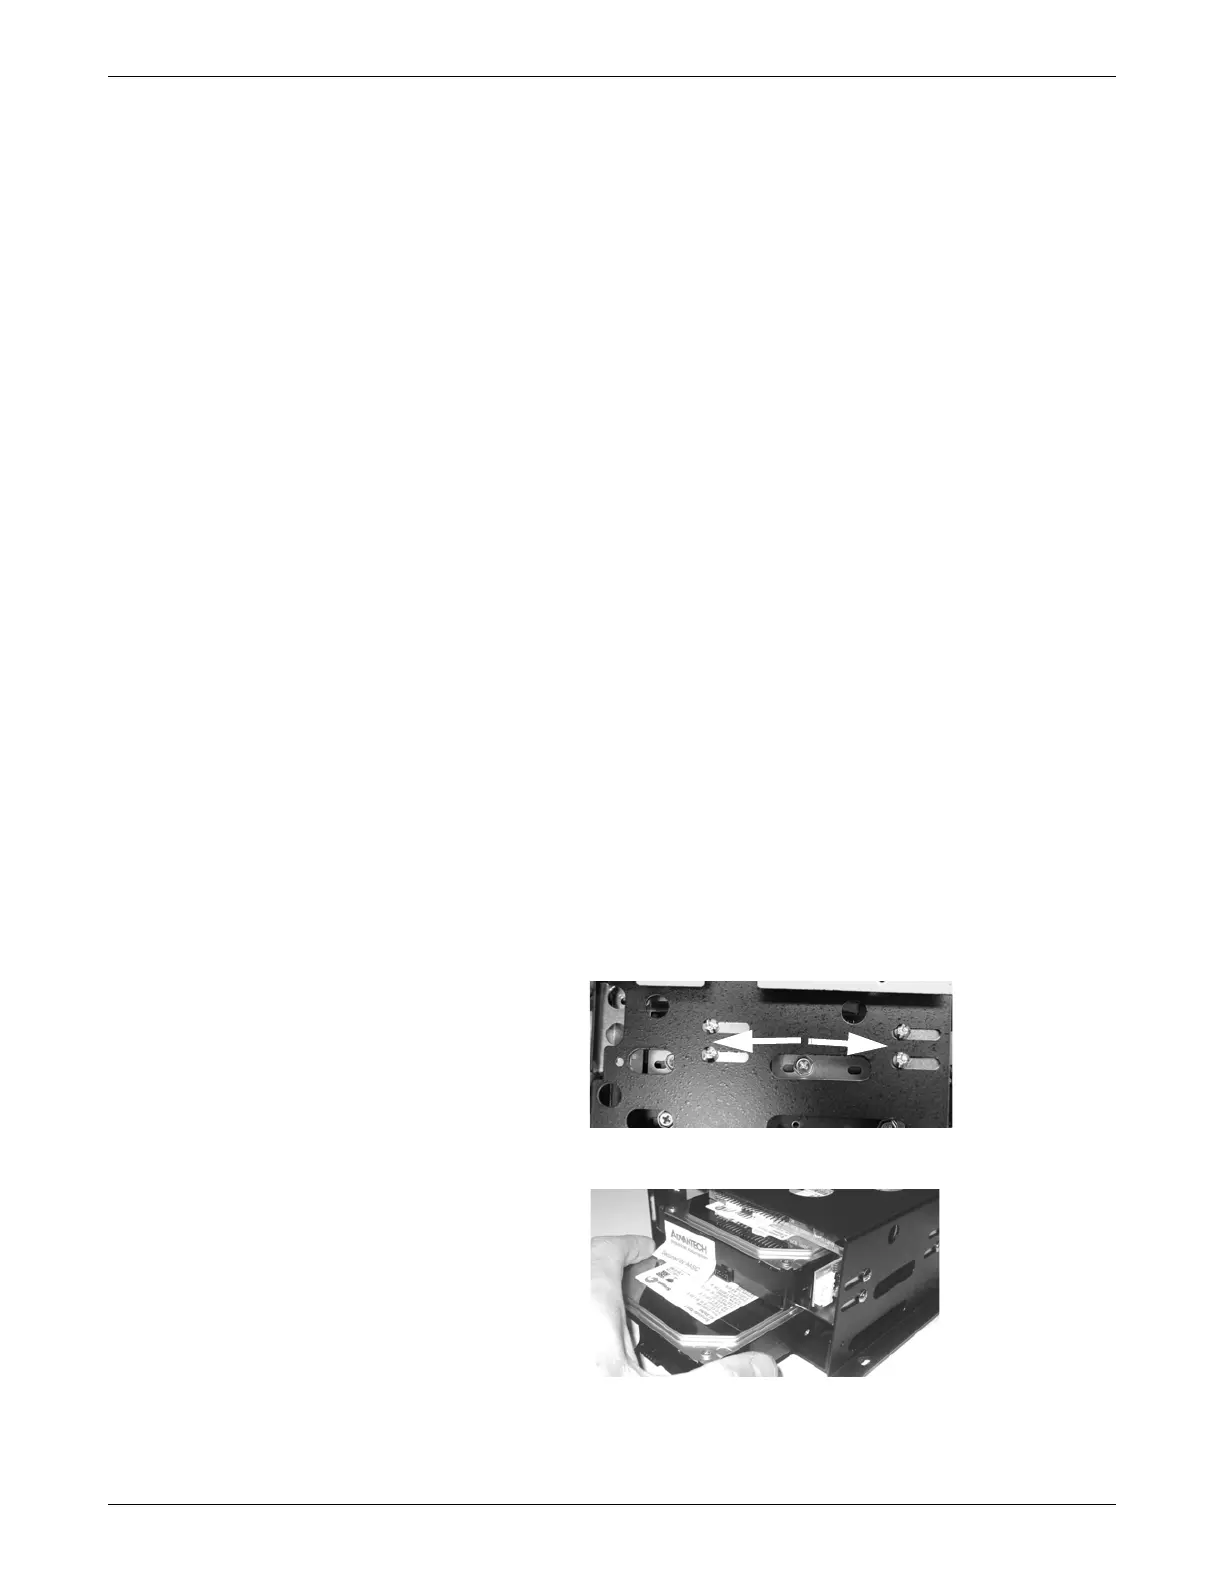
5. Using a phillips screwdriver, remove the 4 anchor screws securing the bottom
hard drive on both sides inside the drive bay.
018A
6. Slide the bottom hard drive out of the back of the drive bay.
074A