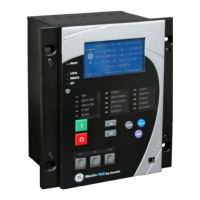
1-18 F650 Digital Bay Controller GEK-113000AE
1.3 ENERVISTA 650 SETUP SOFTWARE 1 GETTING STARTED
1
a) CONFIGURING AN ETHERNET CONNECTION
Before starting, verify that the Ethernet network cable is properly connected to the Ethernet port on the back of the relay.
1. Install and start the latest version of the EnerVista 650 Setup software (available from the GE EnerVista DVD or online
from http://www.gegridsolutions.com/index.htm (see previous section for installation instructions).
2. Go to “Communication>Computer” and enter the following data referring to communications:
3. Select Control Type as MODBUS TCP/IP from the drop-down list. This option will display a number of interface
parameters that must be entered for proper Ethernet communications.
4. Enter the relay IP address (from “Setpoint>Product Setup >Communication Settings>Network>IP ADDRESS”) in
the IP Address field in MODBUS TCP/IP SETUP.
5. Enter the relay ModBus address (from “Setpoint>Product Setup >Communication Settings>ModBus
Protocol>ModBus Address COM1/COM2 setting”) in the Unit Identifier (Slave Address) field.
6. Enter the ModBus port address (from “Setpoint>Product Setup >Communication Settings>ModBus
Protocol>ModBus Port Number” setting) in the ModBus Port field.
7. The Device has now been configured for Ethernet communications. Proceed to press the ON button to begin
communicating.
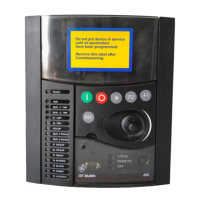
b) CONFIGURING AN RS232 CONNECTION
Before starting, verify that the RS232 serial cable, or the USB Cable, is properly connected to the RS232 port or the USB
port on the front panel of the relay.
1. Install and start the latest version of the EnerVista 650 Setup software (available from the GE EnerVista DVD or online
from http://www.gegridsolutions.com/index.htm (see previous section for installation instructions).
2. Go to “Communication>Computer” and enter the following data referred to communications:
3. Select Control Type as No Control Type from the drop-down list. This option will display a number of interface
parameters that must be entered for proper serial communications.
4. Enter the relay Slave Address (“Setpoint>Product Setup >Communication Settings>ModBus Protocol” menu) in
the Slave Address field. The default value is 254.
5. Enter the physical communications parameters (Baudrate and parity settings) from the “Setpoint>Product Setup
>Communication Settings>Serial Ports” menu, in their respective fields. Default values are 19200 for baudrate and
none for parity.
6. The Device has now been configured for RS232 communications. Proceed to press the ON button to begin
communicating.