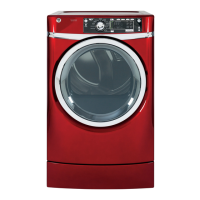
27
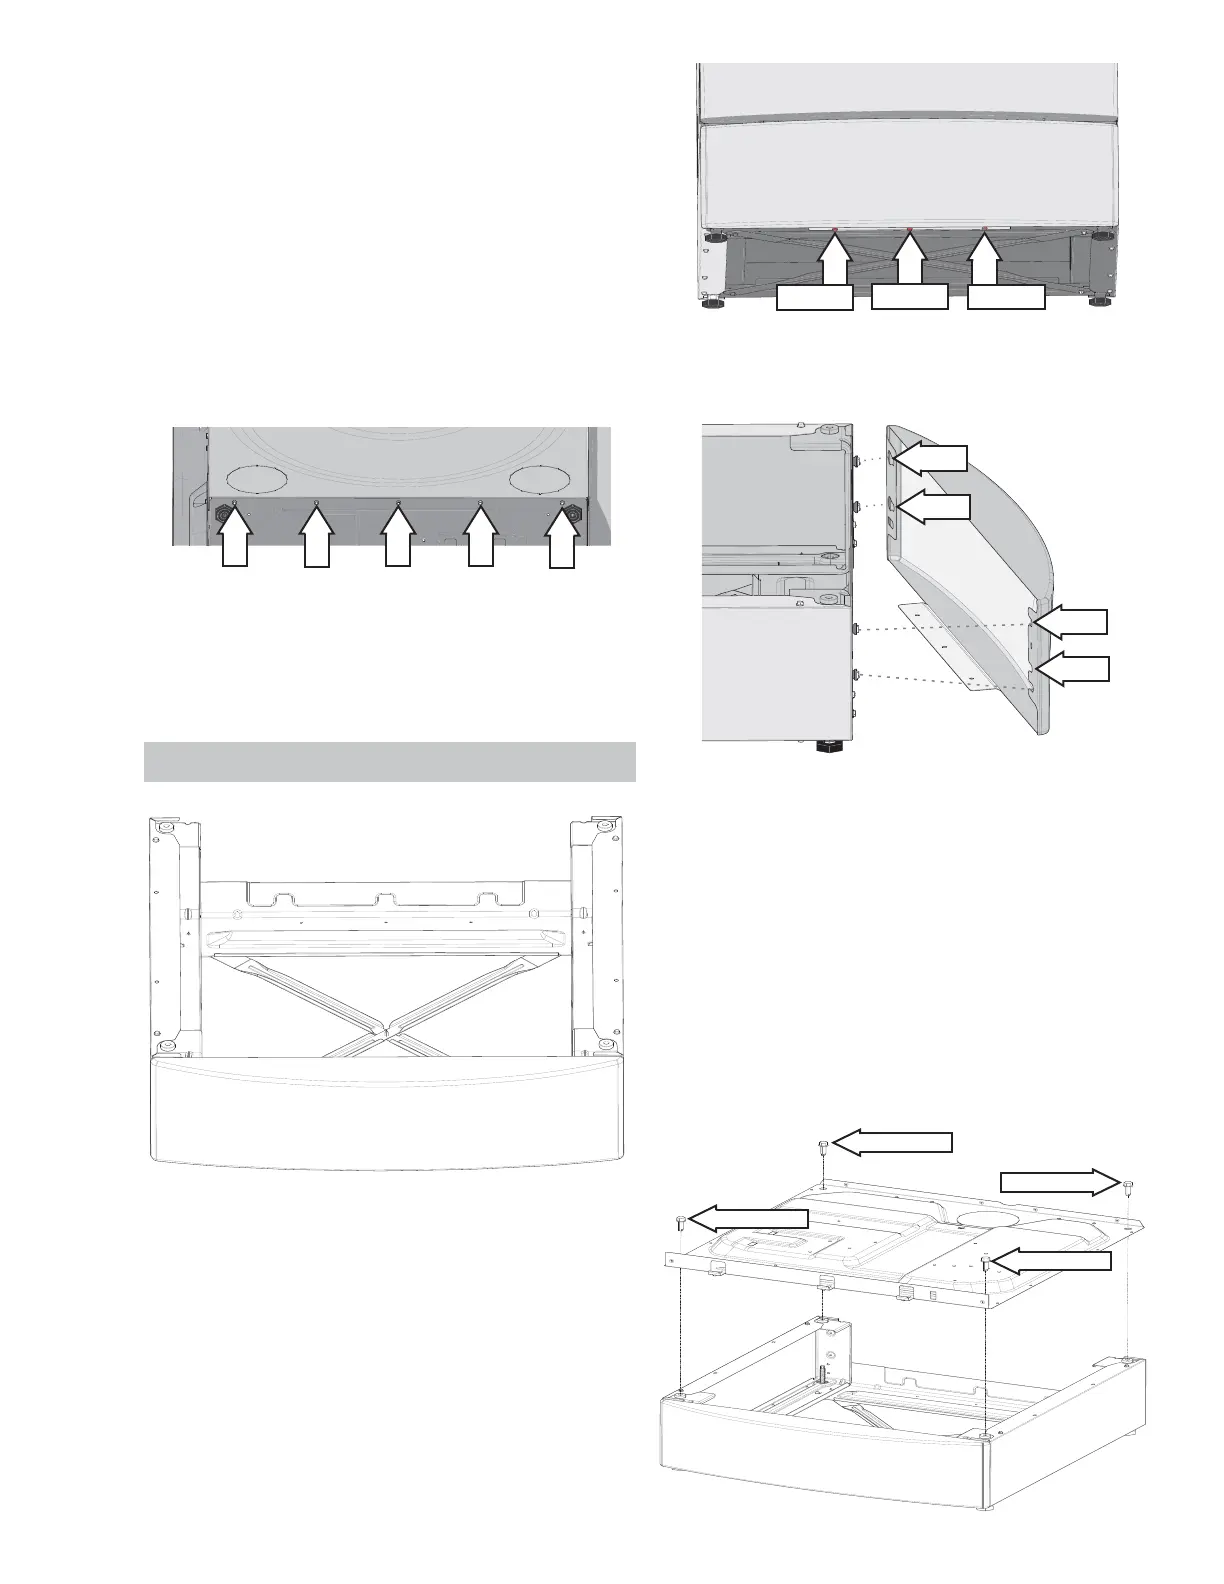
10. Remove any wire harness attachments on the
panel being removed.
11. Remove the vent duct .
12. Lay unit on the side opposite of the side panel
that's being replaced.
13. Remove the riser mounting bolts and remove the
riser.
14. While the unit is still laying on its side, remove
the rear drum support screws on the side of the
panel that's being replaced
15. 5HPRYHWKH¿YHLQKH[VFUHZVIURPWKHERW-
tom of the side panel.
1/4"
1/4"
1/4"
1/4"
1/4"
16. Remove the one Phillips screw on the bottom
front of the side panel, then remove the panel.
17. Transfer all alignment pins and mounting clips to
the new panel.
Ri se r Ass em b l y
Th e r i ser i s a n i n t eg r at ed p a r t o f t h e d r yer, a n d c an
not be permanently removed. The purpose of the
riser is to add an additional 7 inches of height to the
dryer.
Th e r i ser c om p on ent s c a n b e r ep la ced sep a r at el y o r
as a complete assembly.
Ri s er Fr o n t Pa n el Rem o v a l
1. Tilt the dryer back and install prop blocks.
2. Remove the 3 1/4 in. hex screws on the bottom
of the riser front panel.
1/4" hex
1/4" hex
1/4" hex
3. Remove the prop blocks.
4. Slide the riser front panel slightly to the left to
disengage the key hole tabs.
Tab
Tab
Tab
Tab
Riser Removal
1. Disconnect the power, water supply and gas (gas
units) from unit and move the dryer to an area
that allows room to access the front and back
side of the dryer.
2. Remove the control panel.
3. Remove the front panel.
4. Remove the rear panel.
5. Lay the unit on its side and remove the four riser
mounting bolts.
See Re a r Pa n el Rem o v a l o n p a g e 26 .
See Ri s er Rem o v a l o n p a g e 2 7 .
See Co n t r o l Pa n e l Rem o v a l o n p a g e 2 0 .
See Fr o n t Pa n e l Re m o v a l o n p a g e 2 4 .
See Re a r Pa n el Rem o v a l o n p a g e 26 .
9/16 hex
9/16 hex
9/16 hex
9/16 hex