29
C. Sep a r a t e t h e d o or f r a m e f r o m t h e c h ro m e
door cover. Set the door frame aside on a soft
DQGÀDWVXUIDFH
3. Relocate the door mask.
A. Place the chrome door cover on a soft and
ÀDWVXUIDFHVRWKDWWKHGRRUPDVNLVIDFLQJ
upwards.
B. Remove the t wo 1/ 4 in. hex screw t hat secure
door mask in place. Rotate the door mask 180
degrees and reinstall the screws to secure the
door mask.
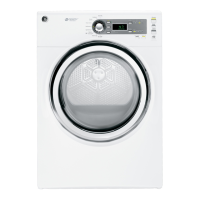
Before
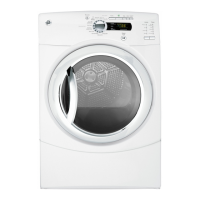
Aft er
C. Rel o ca t i o n i s c o m p let e, set t h e ch r o m e d o or
cover aside.
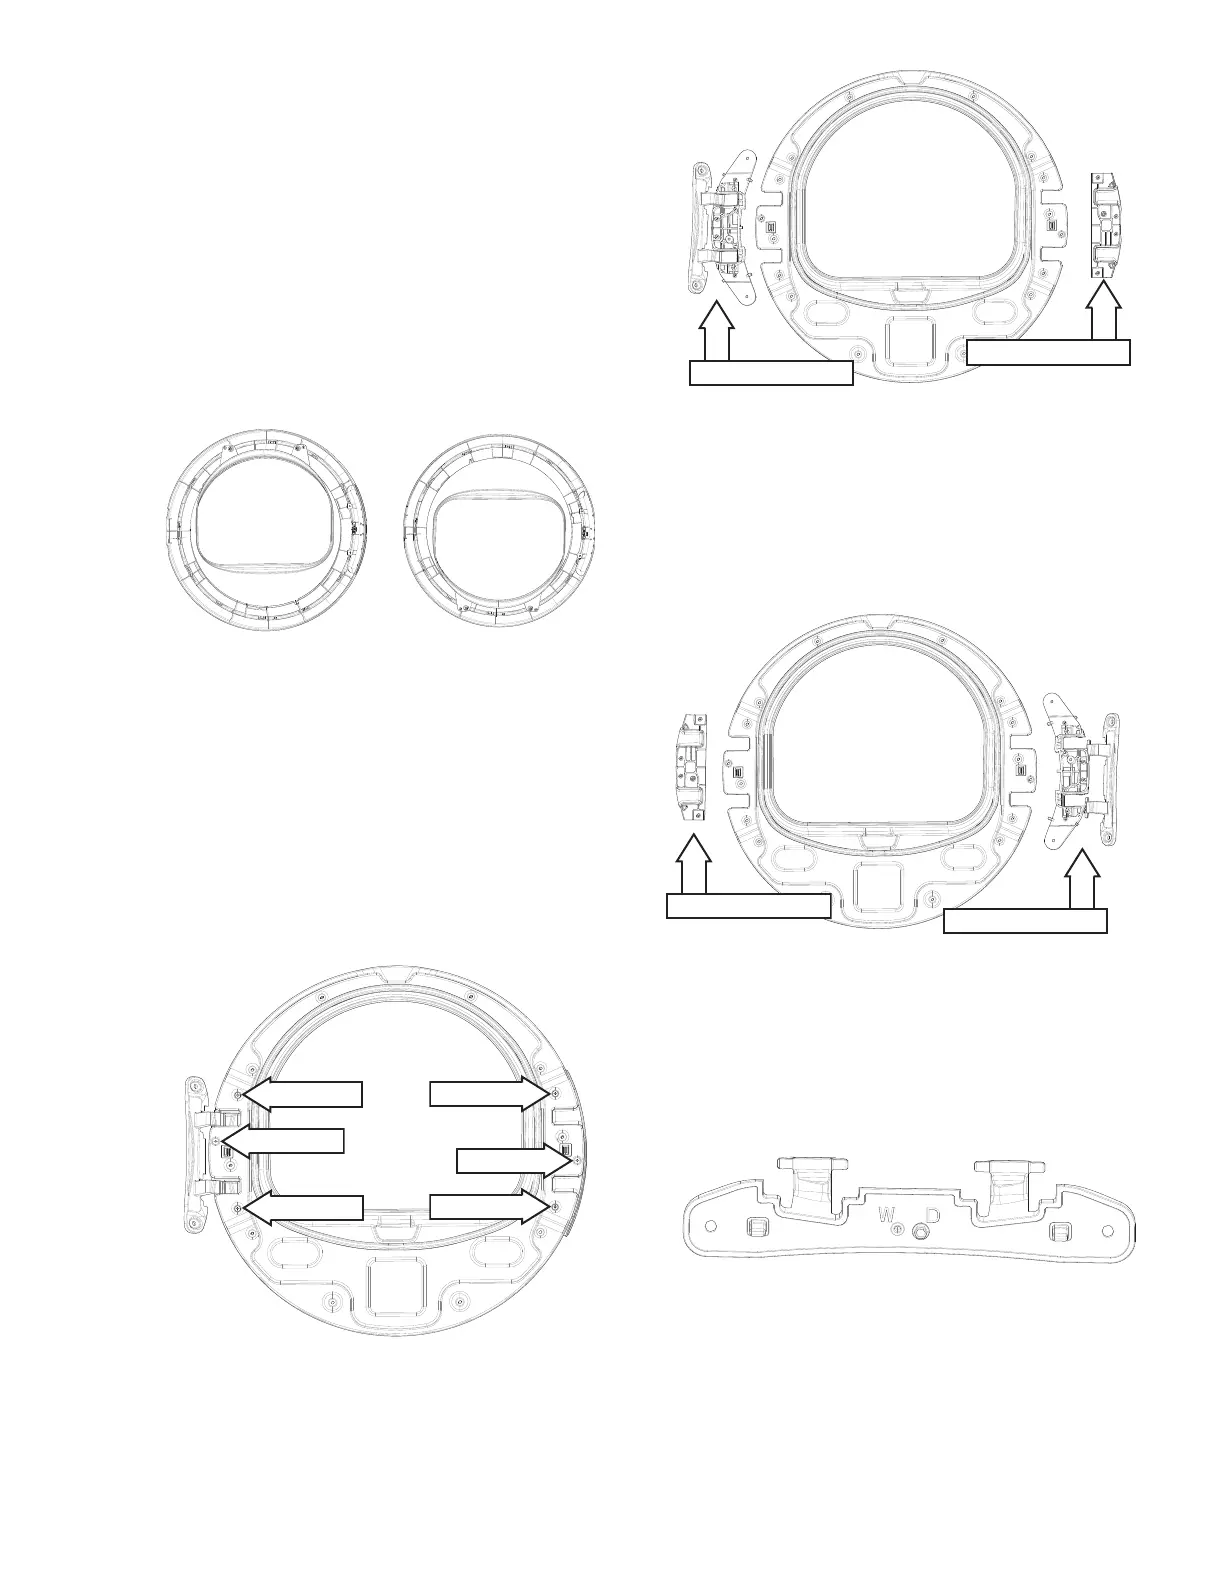
4. Relocate the hinge assembly and handle spacer.
A. 3ODFHWKHGRRUIUDPHRQDVRIWDQGÀDW
surface so that the inner door seal is facing
upwards.
B. Remove the six # 2 Phillips screw s t hat secure
the hinge assembly and handle spacer.
C. Sep a r a t e t h e h i n ge assem b l y a n d h a nd l e
spacer from the door frame.
D. Rot at e t he hinge assembly 180 degrees and
relocate on the opposite side of the door
frame.
E. Ro t a t e t h e h a n d l e s p a c e r 1 8 0 d e g r e e s a n d r e -
locate on the opposite side of the door frame.
Components Reversed
F. Re i n s t a l l t h e h i n g e a s s e m b l y a n d h a n d l e
spacer and screws.
5. Reassembly the door assembly.
6. Remove the pin screw from the hole marked "D"
and reinstall it in the hole labeled "W".
7. Reinstall the door assembly.
Handle Spacer
Hinge Assembly
Handle Assembly
Hinge Assembly
#2 Phillips
2 Phillips
#2 Phillips
#2 Phillips
#2 Phillips
#2 Phillips