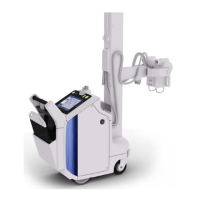
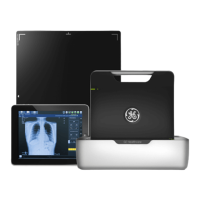
GE HEALTHCARE OPTIMA XR200AMX/XR220AMX
D
IRECTION 5336113-1EN REVISION 10 INSTALLATION MANUAL
Chapter 6 Detector checks and QAP Page 119
Chapter 6 Detector checks and QAP
Perform QAP every time you calibrate the detector, and as the final step in calibrations during
installation.
For more information about performing QAP and viewing QAP results, see the Optima XR200amx
or Optima XR220amx Operator Manual, Quality Assurance and Maintenance.
6.0.1 Detector check
This procedure applies only to the Optima XR220amx and Optima XR200amx with digital upgrade
systems.
1. On the Application screen, press the WORKLIST
icon.
2. On the Worklist screen, at the bottom, press the QAP
button.
3. On the Image Quality screen, in the left folder tree, select Quality Control Tools >
Acquisition.
4. On the Quality Assurance Program screen, press DETECTOR CHECK
, and then press
START
.
The test takes about one minute. While the test is running, the status bar at the bottom of the
screen says “Performing Dark Image Tests.”
When the test is complete, the results screen is displayed.
5. Scroll to the right side of the screen to see the pass/fail results.
All tests should pass. If there are any failures, contact GE Service.
6. To quit the QAP session and return to Applications, press EXIT
. Or, to return to the previous
QAP screen, press BACKUP
.
6.0.2 QAP checkout
This procedure applies only to the Optima XR220amx and Optima XR200amx with digital upgrade
systems.
1. On the Application screen, press the WORKLIST
icon.
2. On the Worklist screen, at the bottom, press the QAP
button.
3. On the Image Quality screen, in the left folder tree, select Quality Control Tools >
Acquisition.
4. On the Quality Assurance Program screen, press QAP
, and then press START.
The test takes about ten minutes, and is made up of three parts. After completing each part,
the program automatically advances to the next part, but you must press START
to initiate the
testing for each part.
1. Detector Check.
2. Detector QC Checks:
> User ID is required to take an exposure.
> Flat field phantom must inserted in collimator rails.
> QC Check must pass to proceed to Flat Field Tests.
3. Flat Field Tests:
> Follow the instructions on the screen.
> Remove the DAP meter, if present.
 Loading...
