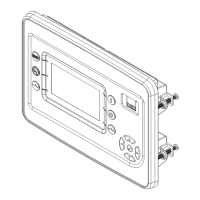
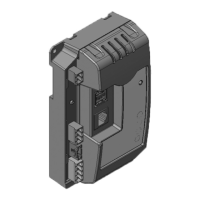
24 Owner’s Manual for Power Zone Gateway on PZ 410
Installation and Operation
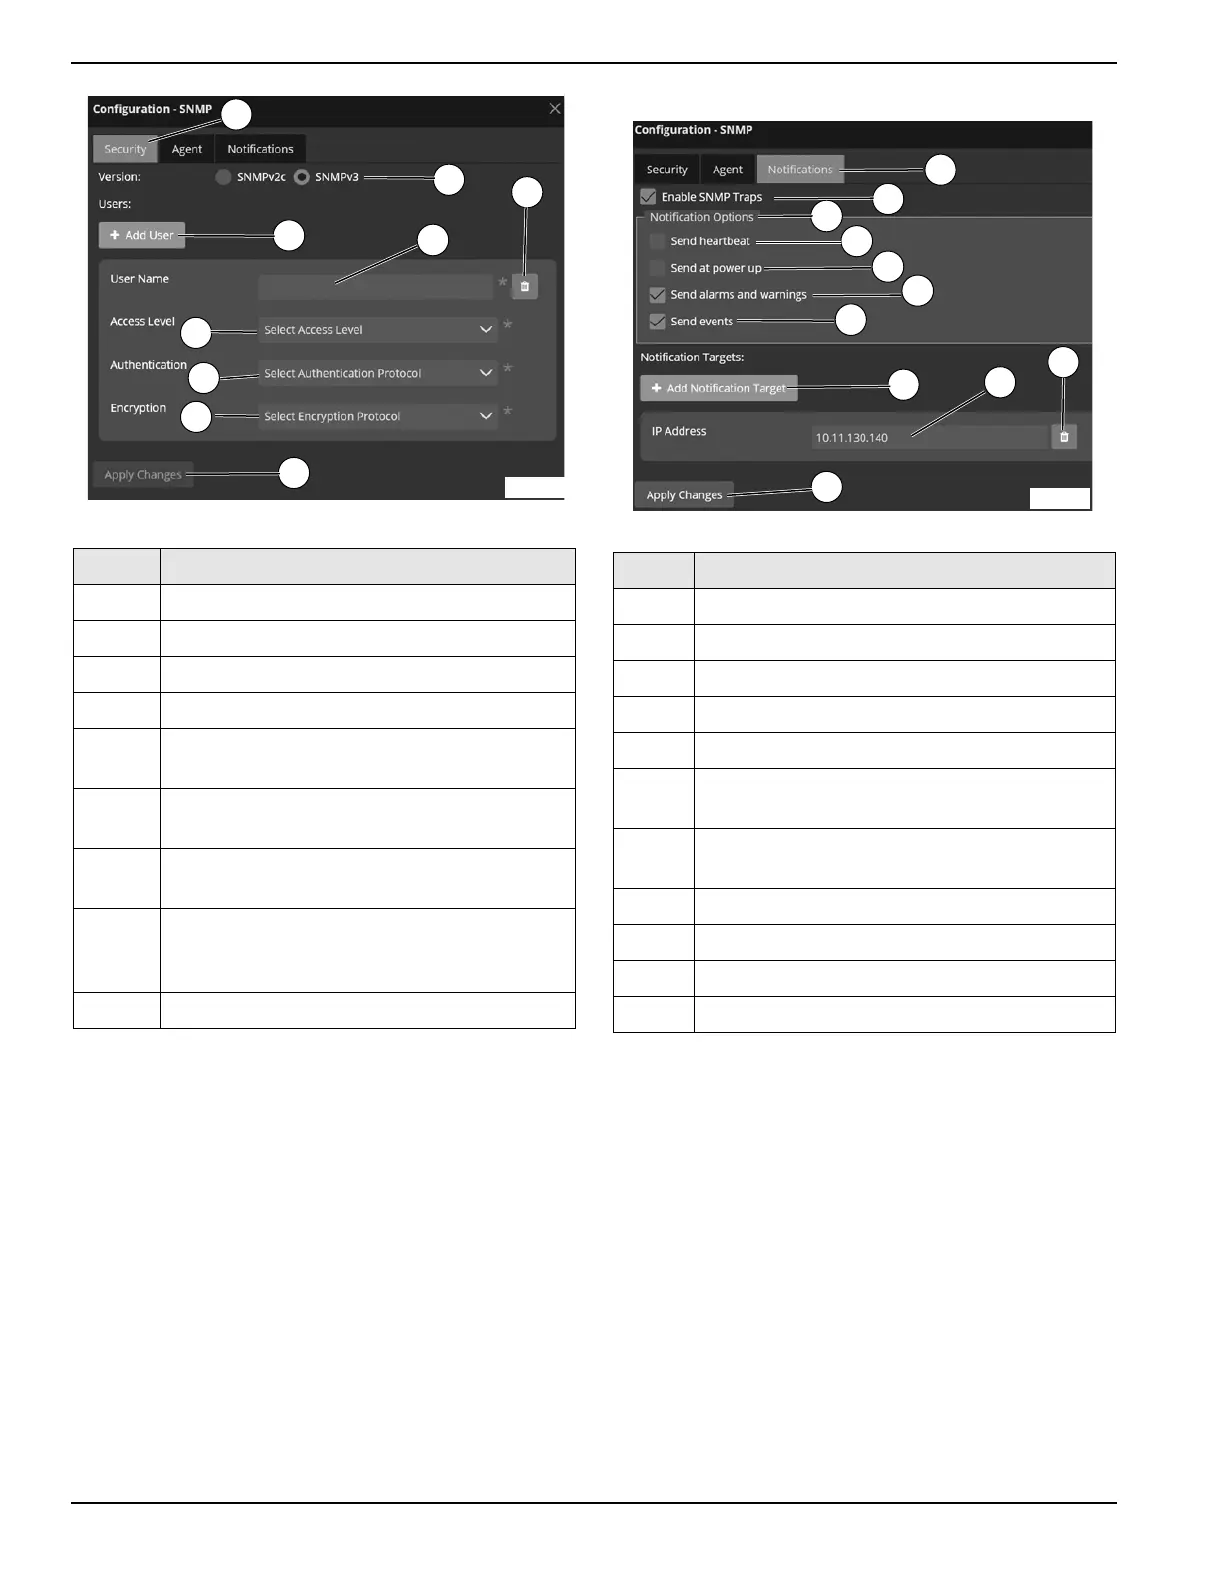
Figure 3-41. SNMPv3
SNMP Notifications
Figure 3-42. SNMP Notifications
1. See Figure 3-42. Select the “Notifications” tab.
2. Tap the checkbox to enable SNMP traps to be set.
3. Select “Send Heartbeat” (D) checkbox to send out
periodic notifications.
4. Select “Send at Power Up” (E) checkbox to send
notifications at startup.
5. Select “Send Alarms and Warnings” (F) checkbox
to send SNMP alarm and warning messages.
6. Select “Send Events” (G) checkbox to send Power
Zone Events.
7. To add notification targets, tap the “Add Notification
Target” tab and enter the corect IP address.
8. To delete a particular notification target, tap the
trash button (K) on the right side of the screen.
9. Tap the “Apply Changes” button (L) to save all
settings.
Letter Setting Name
D Enable SNMP.
E Select SNMP version SNMPv3.
F Add user.
G Delete entry.
H
User name. Requests will be rejected if mes-
sage does not include matching user name.
J
Access Level (None, Read Only, Read
Write).
K
Authentication Level setting (No authentica-
tion, MD5, SHA).
L
Encryption setting (No Encryption, 128-bit
AES, 256-bit AES-Blumenthal, 256-bit AES-
Reeder)
M Save settings.
014611
M
D
E
F
G
H
J
K
L
Letter Setting Name
A Notifications tab selected.
B Enable SNMP Traps to be sent.
C Notification Options.
D Select to send out periodic message.
E Select to send message at Gateway startup.
F
Select to send Power Zone Alarms and Warn-
ings in SNMP messages.
G
Select to send Power Zone events in SNMP
message.
H Add SNMP manager address.
J IP address of SNMP manager.
K Delete notification target entry.
L Apply changes.
014593
A
B
C
D
E
F
G
H
J
K
L
 Loading...