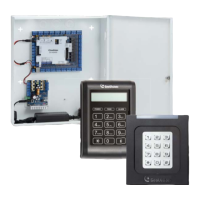
96
3.4 Web-Based Configurations
You can easily configure GV-AS400 through its Web interface. Three categories of settings
are involved in the Web based configurations: Basic Setting, Advanced Setting and
Extended Device. They are described later in this section.
3.4.1 Installing on the Network
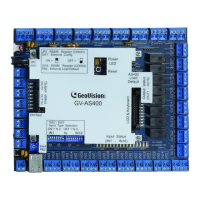
GV-AS400 must be assigned an IP address to make it accessible on the network.
1. Connect the network cable to the Ethernet port on GV-AS400.
2. Use a computer on the same LAN with GV-AS400 to assign an IP address.
• The default address of GV-AS400 is https://192.168.0.100
• The default Username and Password for login are admin
Note the computer used to set the IP address must be at the same network or subnet
sequence assigned to GV-AS400.
3. GV-ASB400 is able to support two network environments: Fixed IP and DHCP. Based on
your network, see2.5.1 Installing AS200E on a Network for setup.
3.4.2 Basic Setting
The Basic Setting consists of four types of settings:
Category Setting Description
Network Setting There are different methods to install GV-
AS400 on the network. See 2.5.1 Installing
AS200E on a Network.
Other Setting See 2.5.2.A System Setup.
Firmware Upgrade See 2.5.2.B Upgrading Firmware.
Basic Setting
Account Setting See 2.5.2.C Changing Login ID and
Password.
 Loading...