Fixed IP Dome
73
6
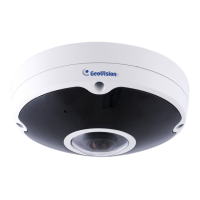
9. On the back side, make sure the black plastic clips are slightly above
the ceiling board and pointing outward.
Back Side Front Side
10. Tighten the bracket screws from the front side of the camera.
11. Connect the network and power cables to the camera. See 6.4
Connecting the Camera in the Quick Start Guide.
12. Access the live view. See 9.2 Accessing the Live View in the Quick
Start Guide.
13. Follow steps 6 and 7 in the Hard-Ceiling Mount section to adjust the
angle, focus and zoom of the camera.
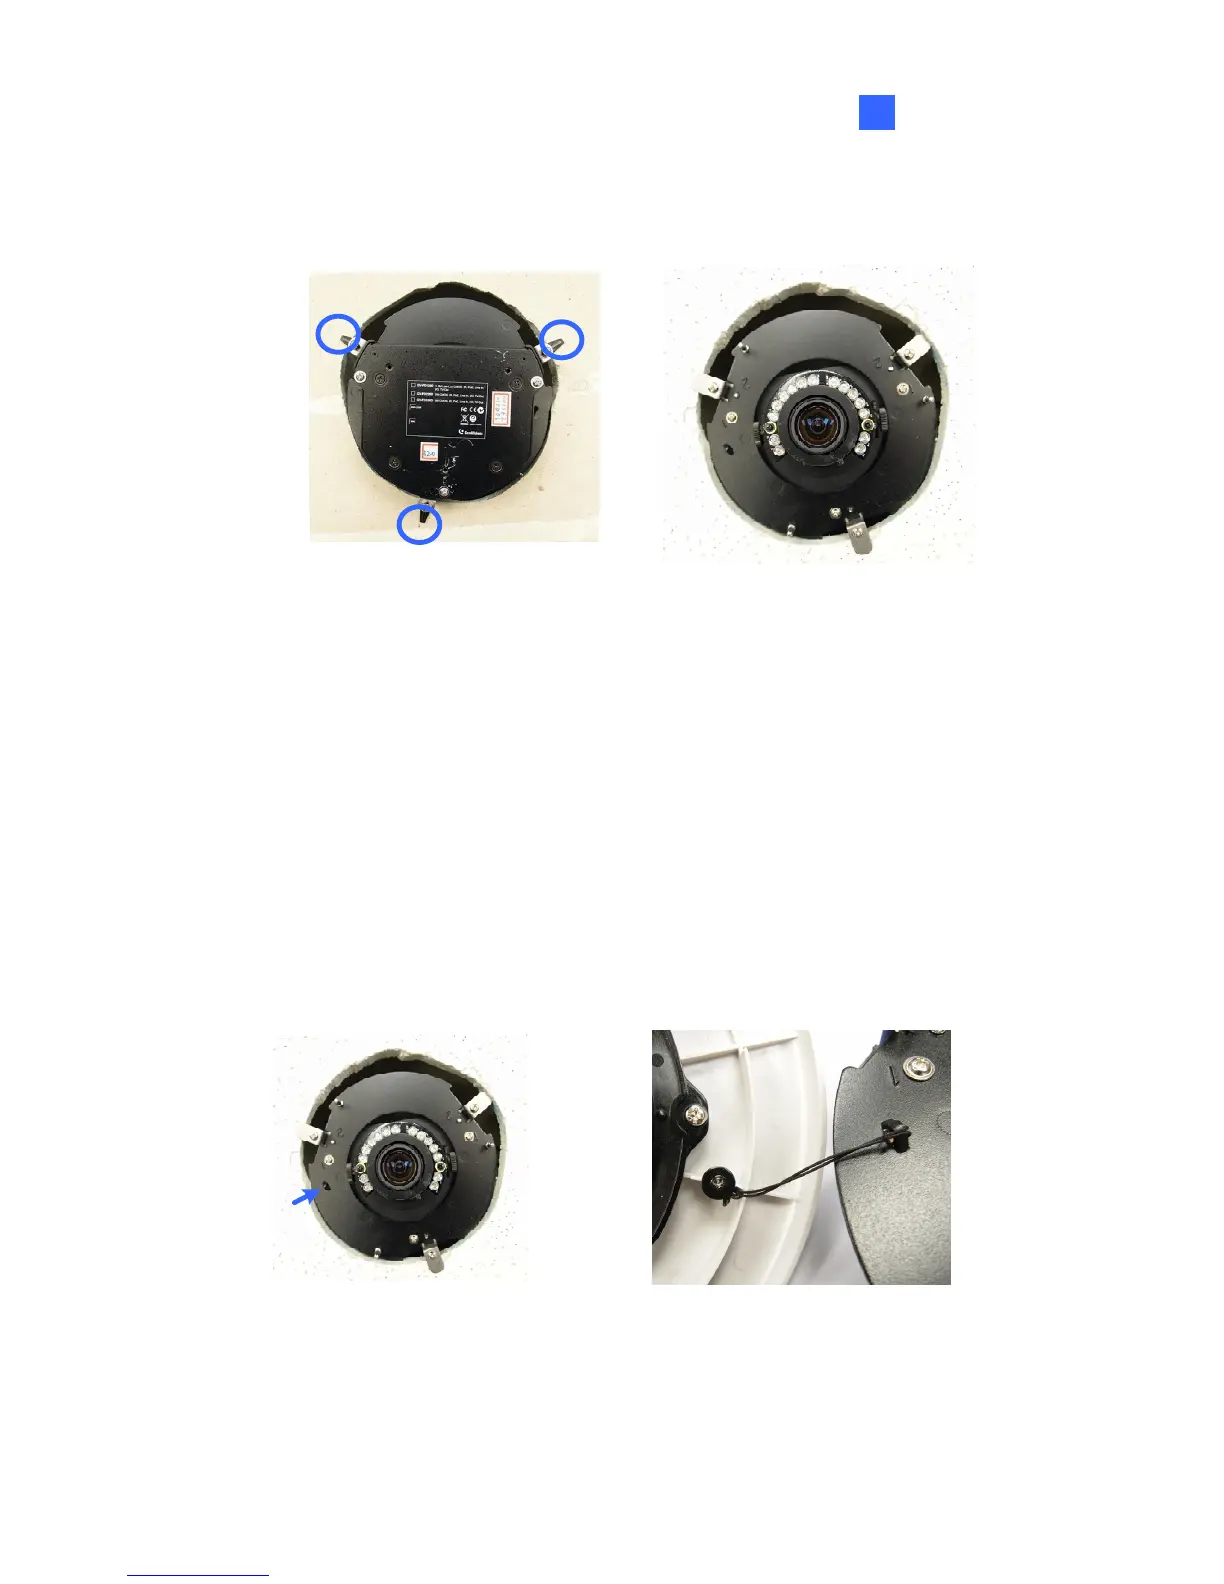
14. Use the housing cover thread and the thread lock screw to attach the
housing cover to the camera body.
 Loading...