14
CHAPTER 2
Getting Started
4
Press Enter twice to return to the Main Menu.
Checking and measuring the available cutting area
After you load material, you can check and measure available cutting
area dimensions. After you load material, the plotter checks the width
available for cutting. For sheet material, it also checks the length. This
feature lets you plan and lay out jobs to make efficient use of material.
To check a cut area
1
At the Main Menu, press F4 (Menu 1).
2
Press F1 to check the cut area. The display shows the dimensions of
the job, which is slightly less than the material dimensions. If roll
material is used, the length appears as 0.
To measure a cut area
1
At the Main Menu, press F4 (Menu 1).
2
Press F2 to measure an area.
3
Use the left and right slew keys on the control panel to slew the
carriage to the point where you want to begin.
4
Press F4 to reset the display to zero.
SKEW
Skew Control: +
ON −
−−
− norm
-
ENTER Key to Accept
F3
F4
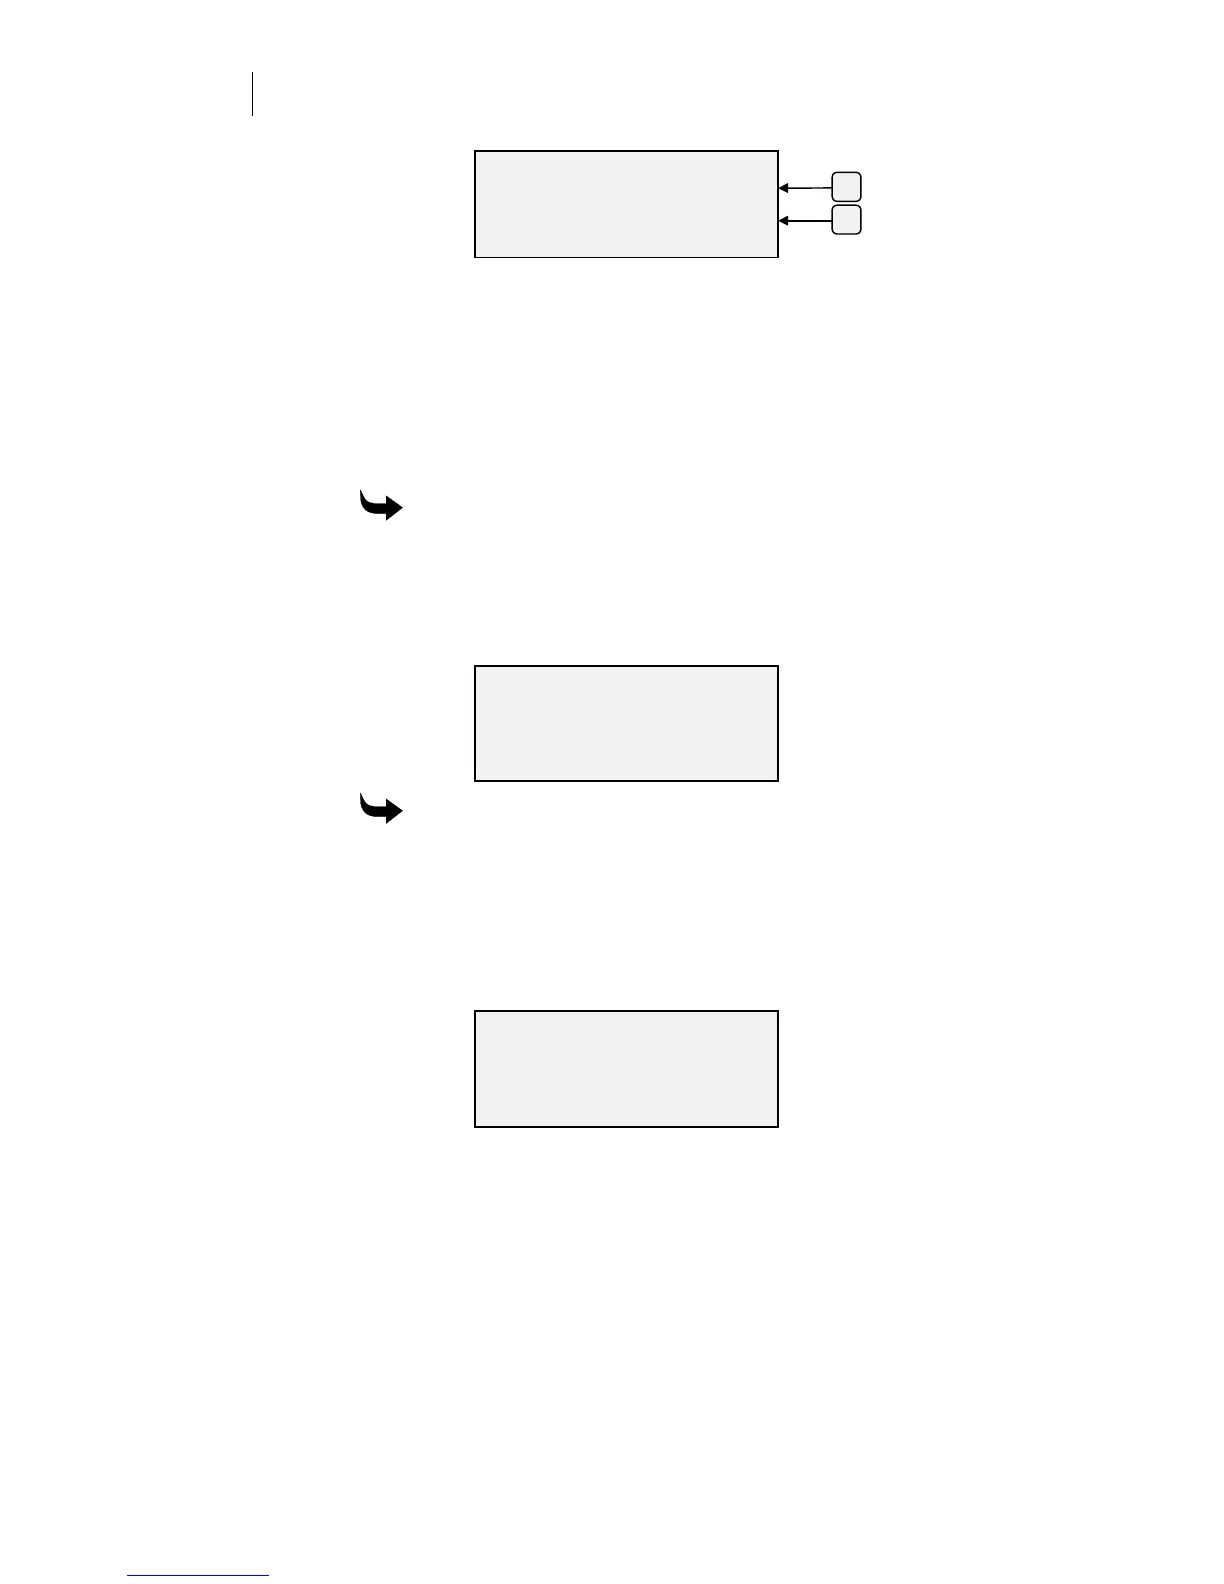
Material Cut Area
Length: Width:
42.00 in 35.50 in
(107.52 cm 90.17 cm )
Length: Width:
0.00 in 0.00 in
(0.00 cm 0.00 cm )
Slew
ENTER
F4 = Reset