2
1
CF-9 User's Guide
09/30/92 GPD Global 11
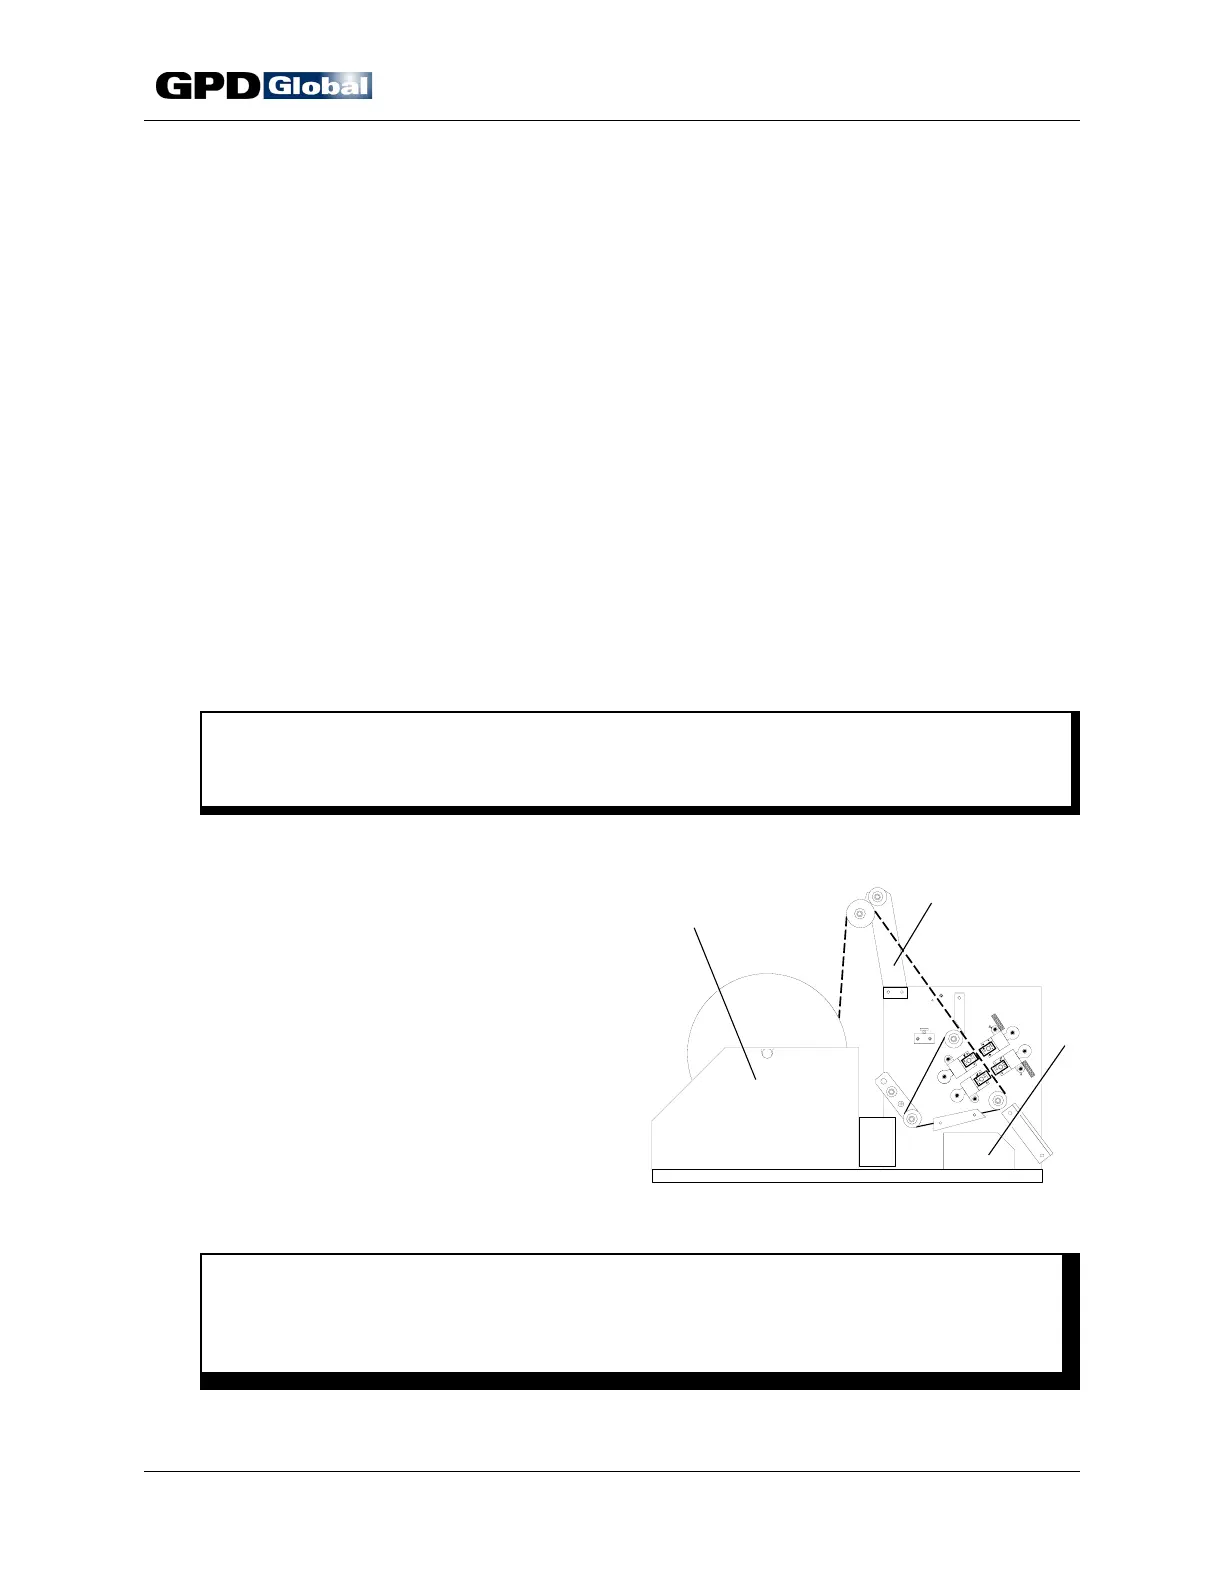
Figure 7 CF-9 Installation
Installation
1. Carefully unpack and check your CF-9 for possible shipping damage. If any obvious
damage is observed, contact GPD's service department prior to operating the machine.
2. Standard equipment included with the CF-9:
1 Standard Die Set 1 Reel / Ammo Pack Holder
1 Standard Knife Set 1 Operating Manual
1 Anti-static Shield and Bin Package 1 Set of Wrenches
1 LCD Micrometer Adjustment Package
3. Position the CF-9 on a level, stable working surface. If using the optional Lazy Susan or
Work Station, install CF-9 on these at this time.
4. Assemble reel holder and tape guide arm. Refer to Figure 7, Items 1 & 2 for proper
placement on the machine. The screws (1/4-20x1/2") for securing the reel holder and tape
guide arm are located in the appropriate holes in the CF-9's main frame.
C A U T I O N
Never pull, push or lift machine by reel holder or tape guide arm - this could bend
them out of alignment and seriously affect machine performance.
5. Assemble safety shield with hinges and 10-32x3/8" screws attached to shield.
6. Position component bin (Item 3).
7. Install any accessory equipment to be used
during processing. Refer to CF-9
Accessories appendix.
8. Set speed control to zero (0) position.
9. Hook up electrical power per your local
electrical code and machine specifications.
Refer to Specifications.
W A R N I N G
Make sure the power supplied is of proper voltage and is fused at the proper
amperage. This information is recorded in Specifications and on the serial number
plate located on the power cord side of the machine.