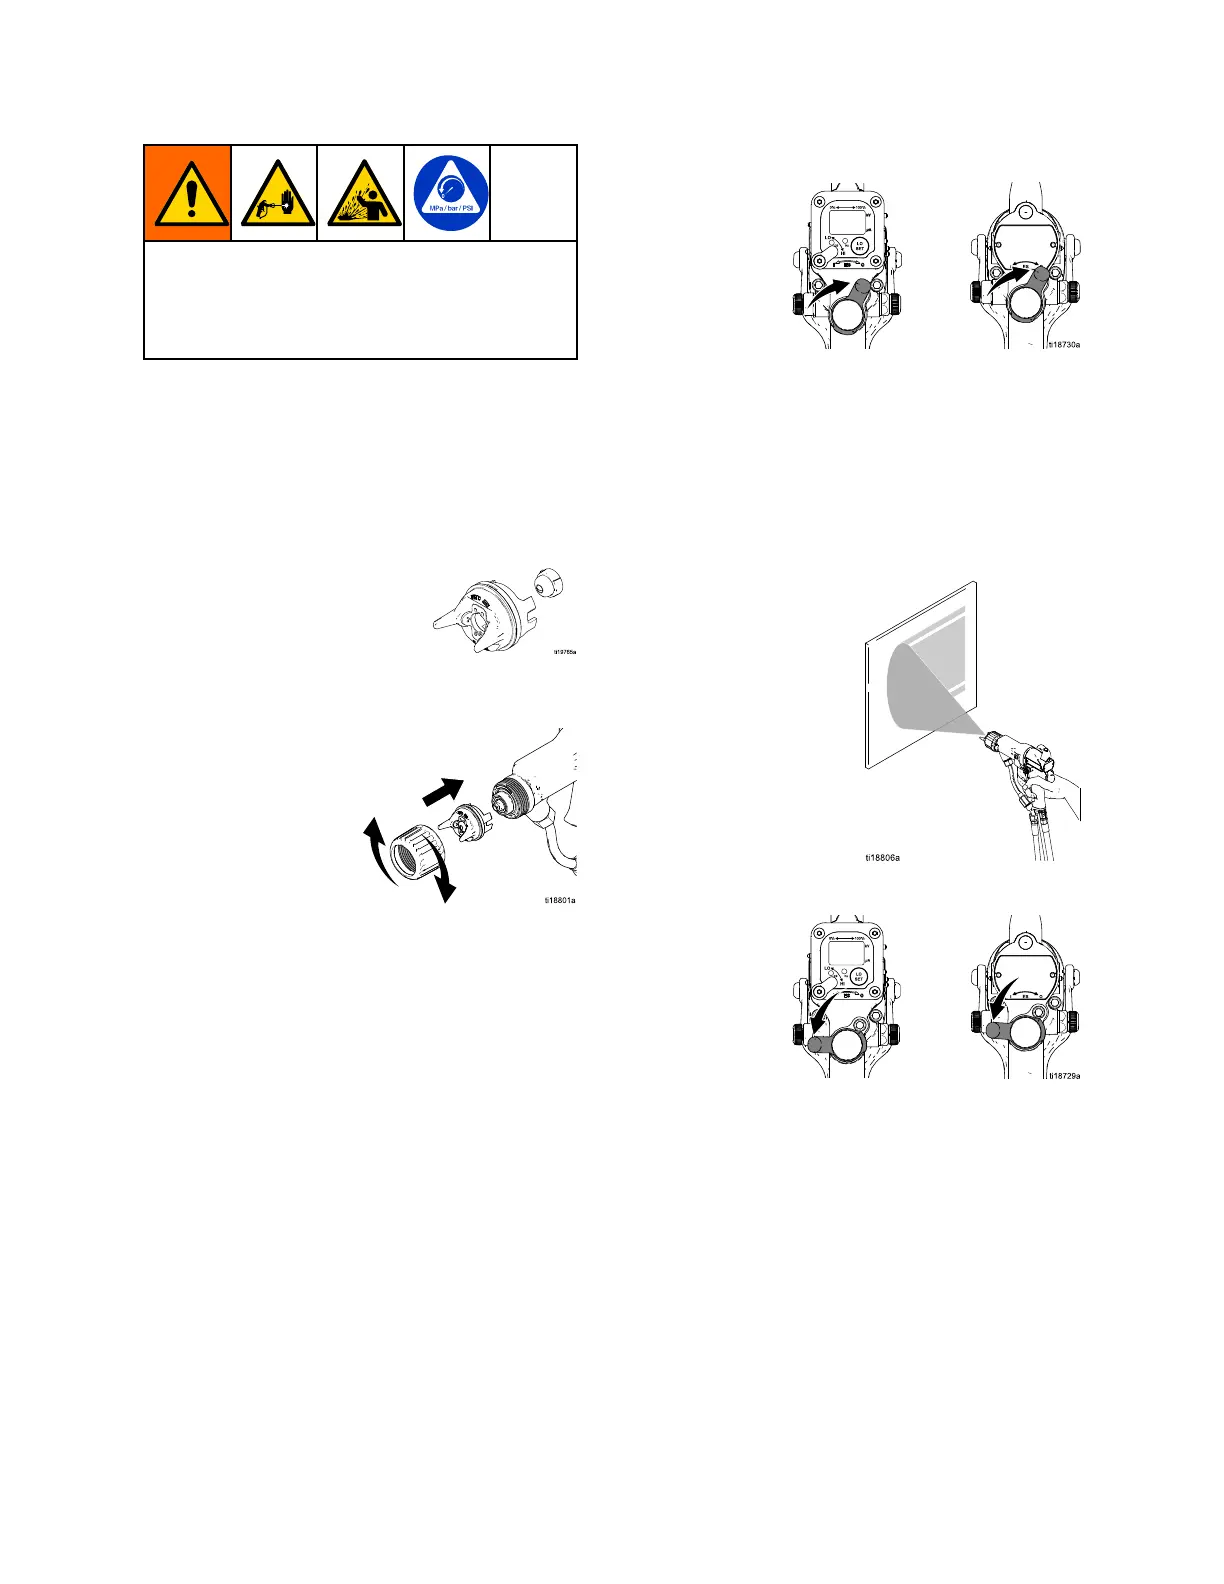
GunSetup
Toreducetheriskofaskinin-
jectioninjury,alwaysfollowthe
PressureReliefProcedure,page26,
beforeremovingorinstallingthespraytip,air
cap,ortipguard.
11.Theuidoutputandpatternwidthdepend
onthesizeofthespraytip,theuid
viscosity,andtheuidpressure.Usethe
SprayTipSelectionChart,page61,asaguide
forselectingtheappropriatespraytipforyour
application.
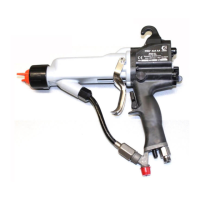
12.Alignthespraytiptabwiththegrooveintheair
cap.Installthetip.
13.Installtheaircapandretainingring.Orientate
theaircapandtightentheretainingringsecurely.
14.Closetheatomizingairadjustmentvalve(G)and
thefanairadjustmentvalve(F).
15.CheckthattheESOn-OffswitchisOFF(O).
16.Startthepump.Settheuidregulatorto400psi
(2.8MPa,28bar).
17.Sprayatestpattern.Examinetheparticlesizein
thecenterofthepattern(tailswillberemoved
instep21).Increasethepressureinsmall
increments.Sprayanotherpattern.Compare
particlesize.Continueincreasingpressureuntil
theparticlesizeremainsconstant.Donotexceed
3000psi(21MPa,210bar).
18.TurnON(I)theESOn-Offswitch.
22
3A2495K