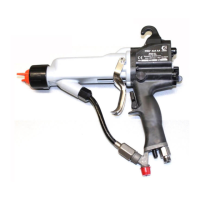
Repair
Smart Smart
Smart
Module Module
Module
Replacement Replacement
Replacement
IftheErrordisplayappears,theSmartModulehas
lostcommunicationwiththepowersupply.Checkfor
goodconnectionsbetweentheSmartModuleand
thepowersupply.
Ifthemodule’sLEDsarenotlighting,replacethe
module.
1.Followthestepsin
PreparetheGunforService,page39.
2.Removethepivotscrew(31e),o-ring(31f),and
ESHI/LOswitch(31c)atthebottomleftcornerof
theSmartModulecartridge(31a).
3.Removetheremainingthreescrews(31d)from
thecartridge.
4.PulltheSmartModuleoutthebackofthegun.
Disconnecttheribboncable(RC)fromthe
connector(GC)inthegunhandle.
5.Removethegasket(31b).
6.Installanewgasket(31b)onthenewcartridge
(31a).Makesurethenotchedcornersofthe
gasketareatthetop.
7.Alignthemodule’sribboncable(RC)with
thegun’scable(GC)andslidethemsecurely
together,asshown.Tucktheconnectedcables
intotherecessofthegunhandle.Installthe
moduleushtothebackofthegunhandle.
8.Installthepivotscrew(31e),o-ring(31f),and
ESHI/LOswitchinthebottomleftcornerofthe
cartridge(31a).
9.Installthethreeremainingscrews(31d).Torque
to7–9in-lb(0.8–1.0N•m).
Figure42SmartModule
Figure43AlignRibbonCables
3A2495K51
 Loading...